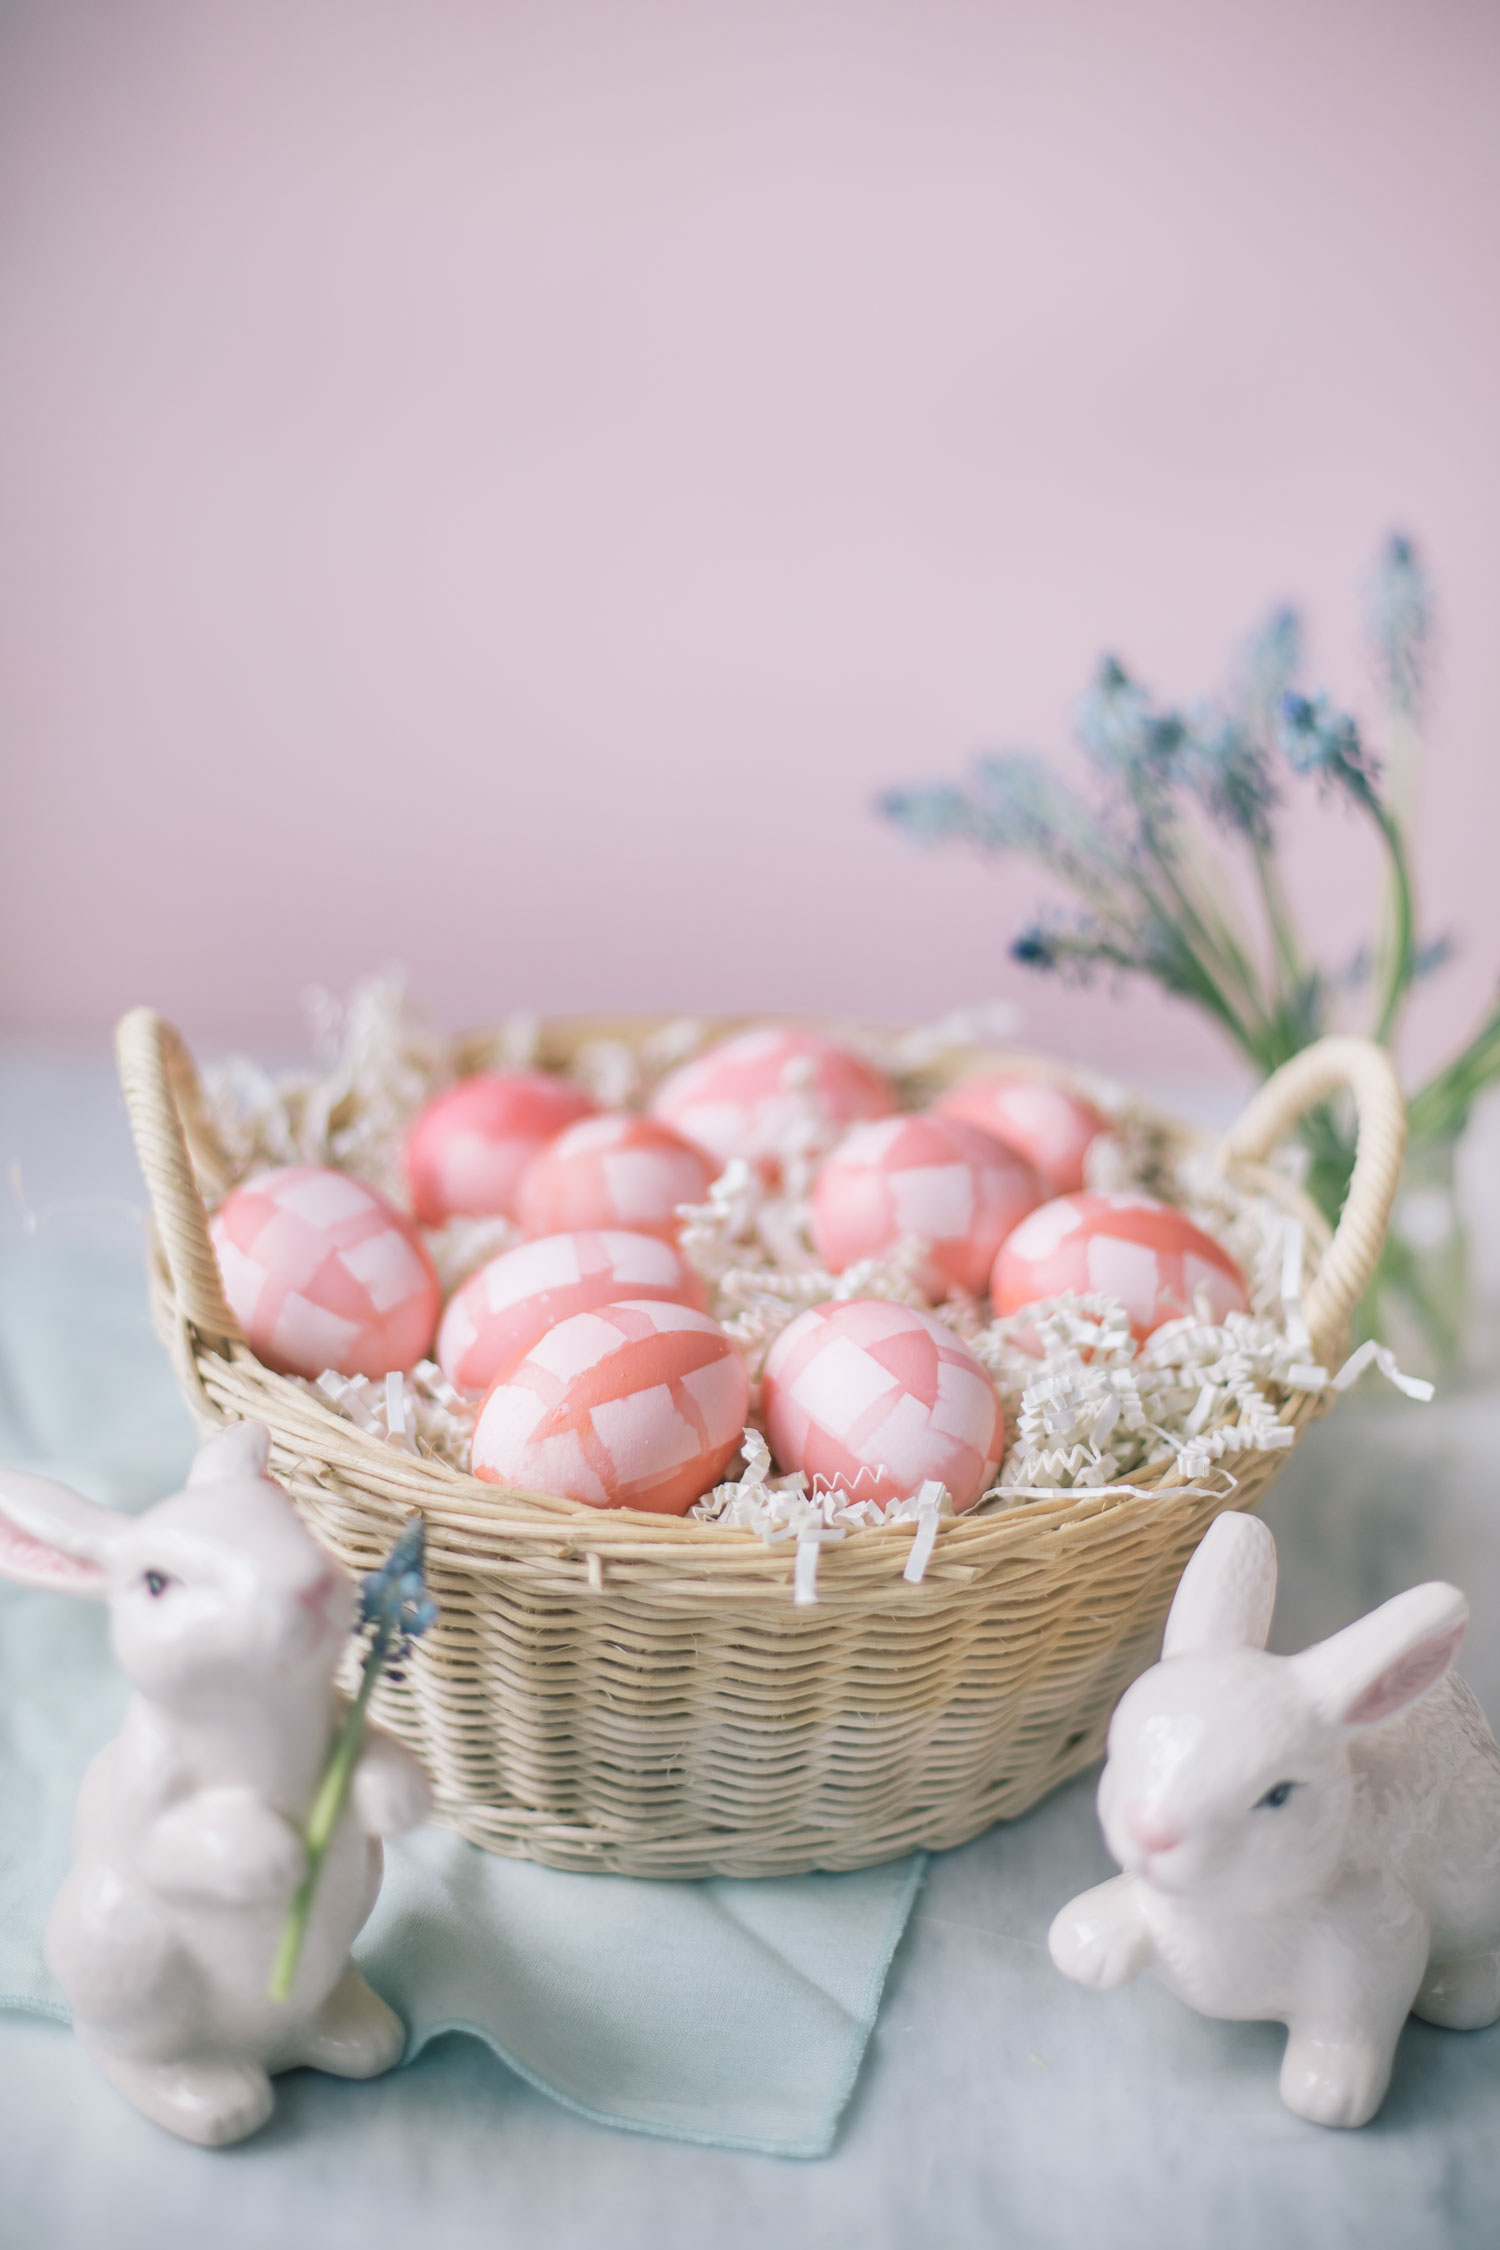
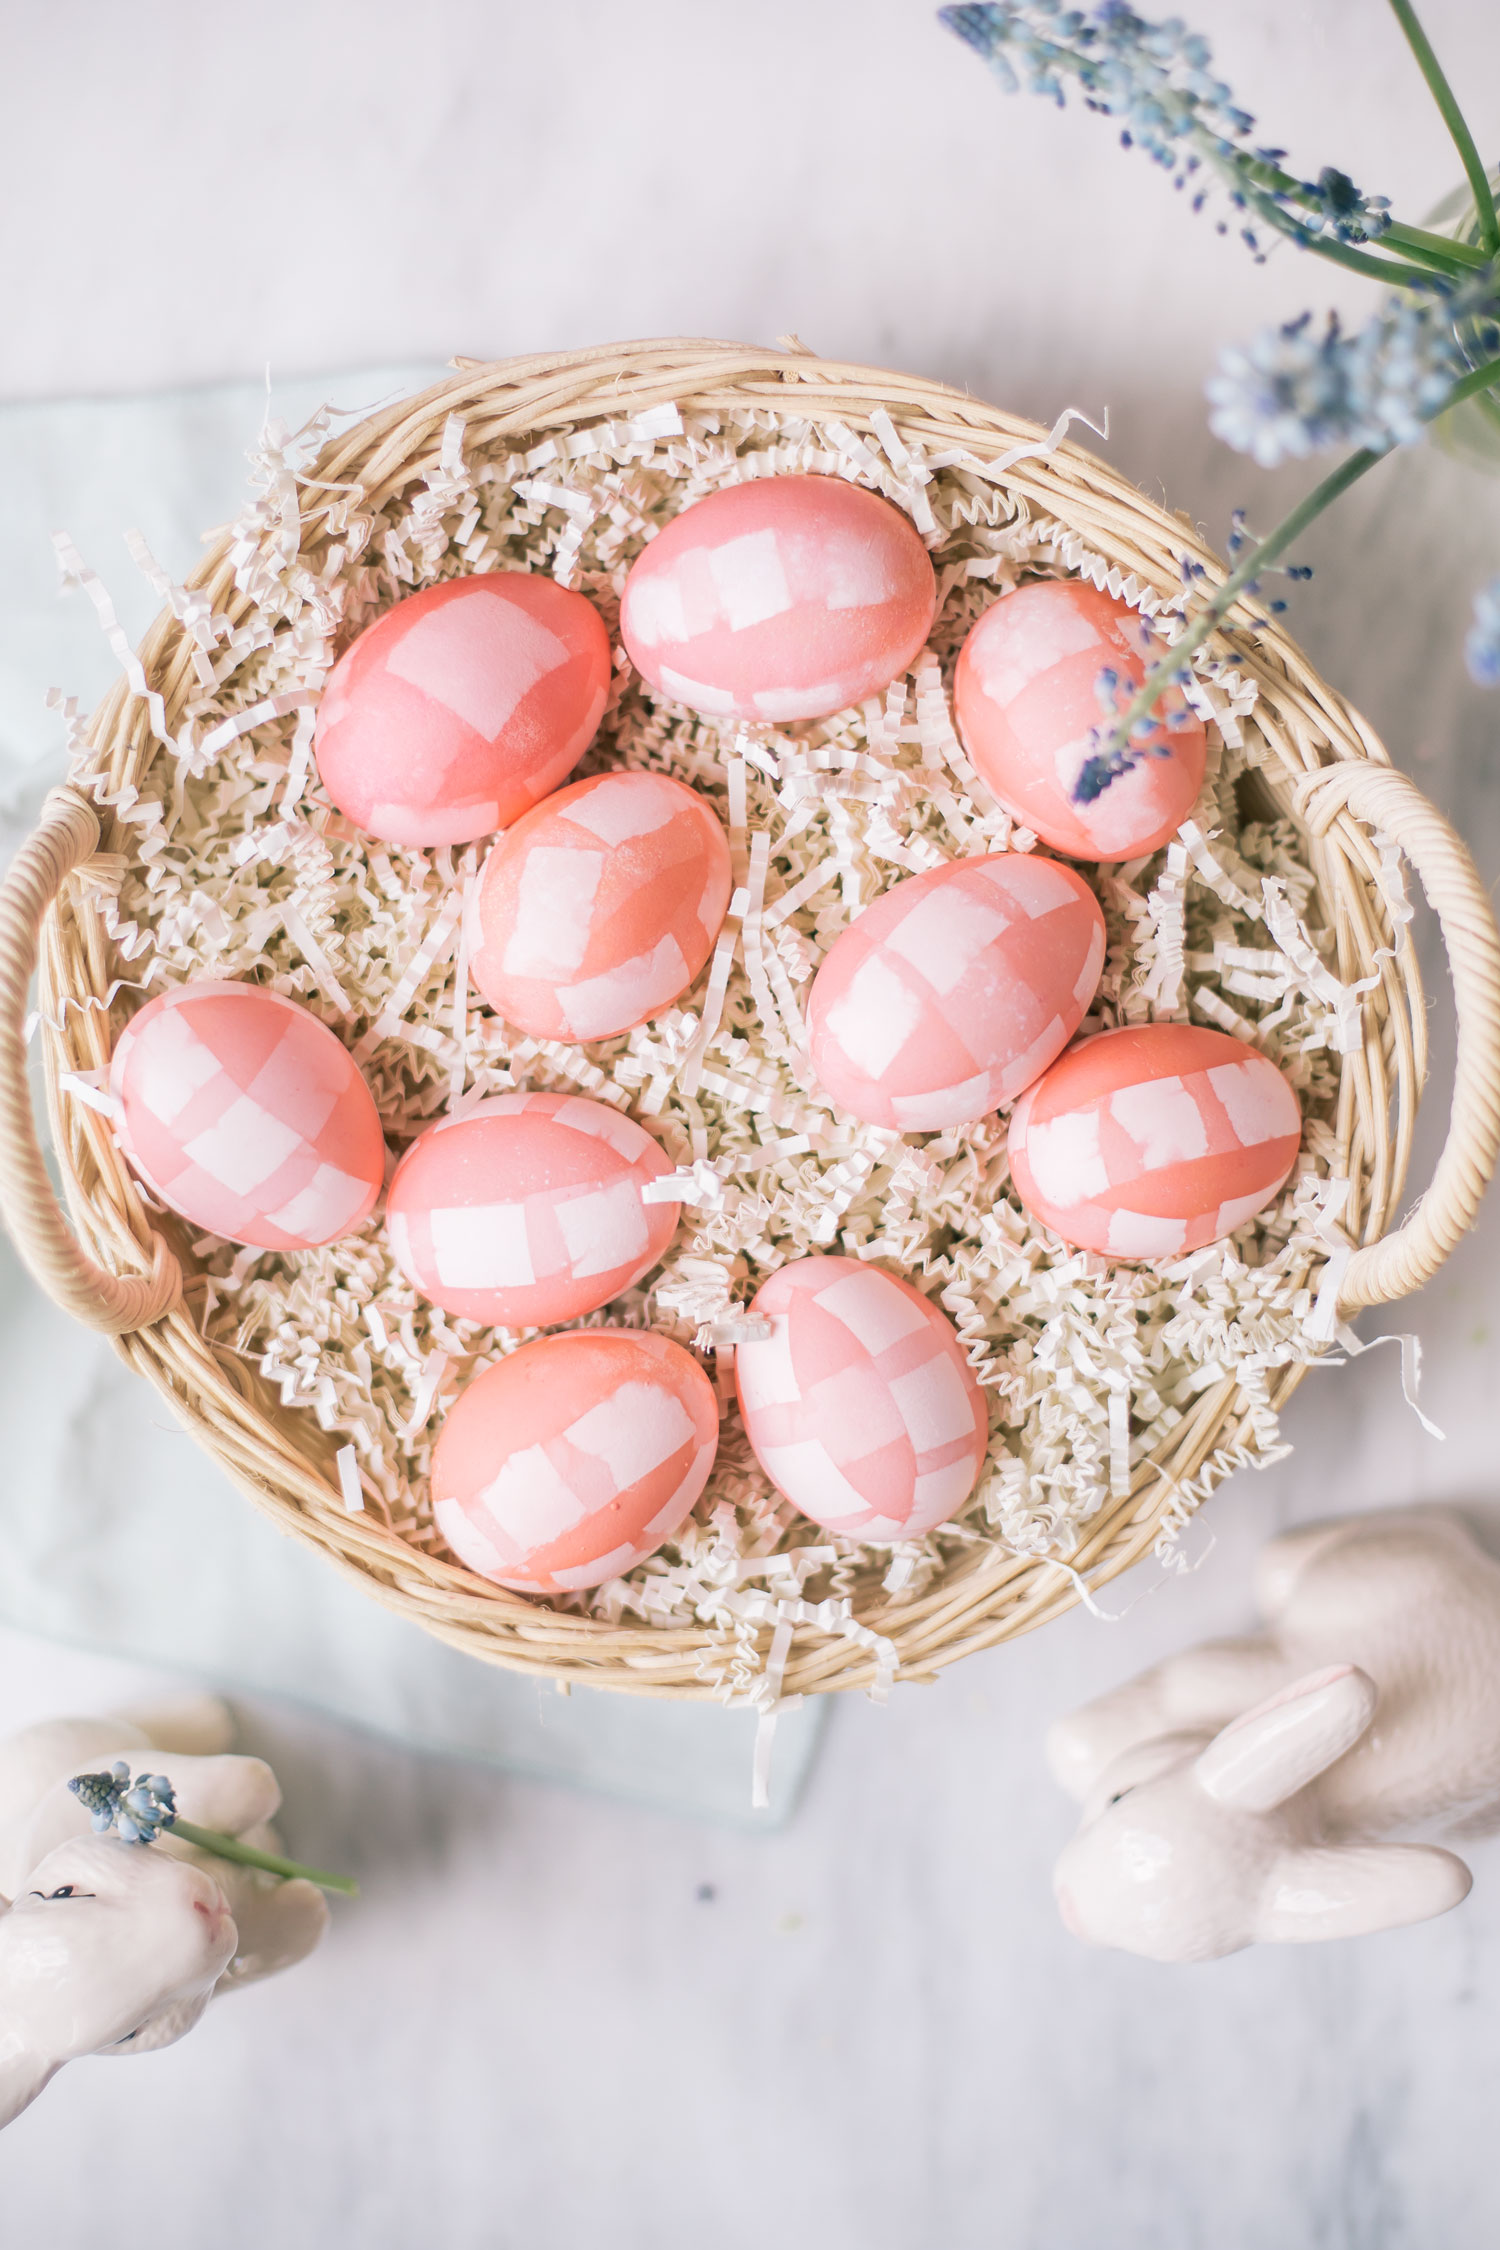
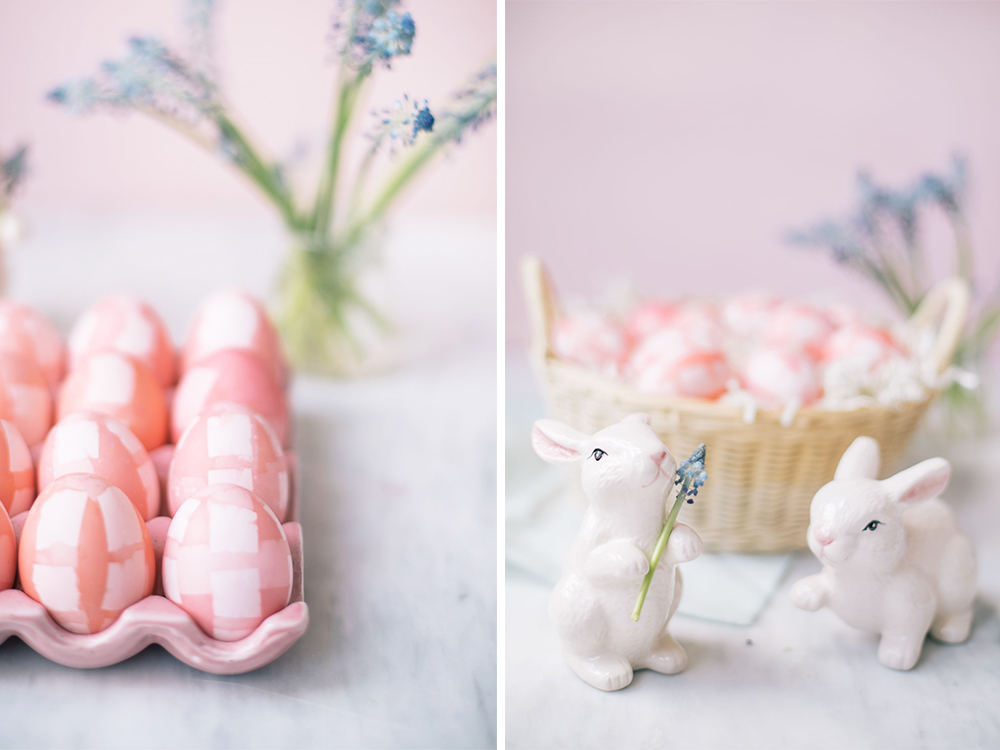
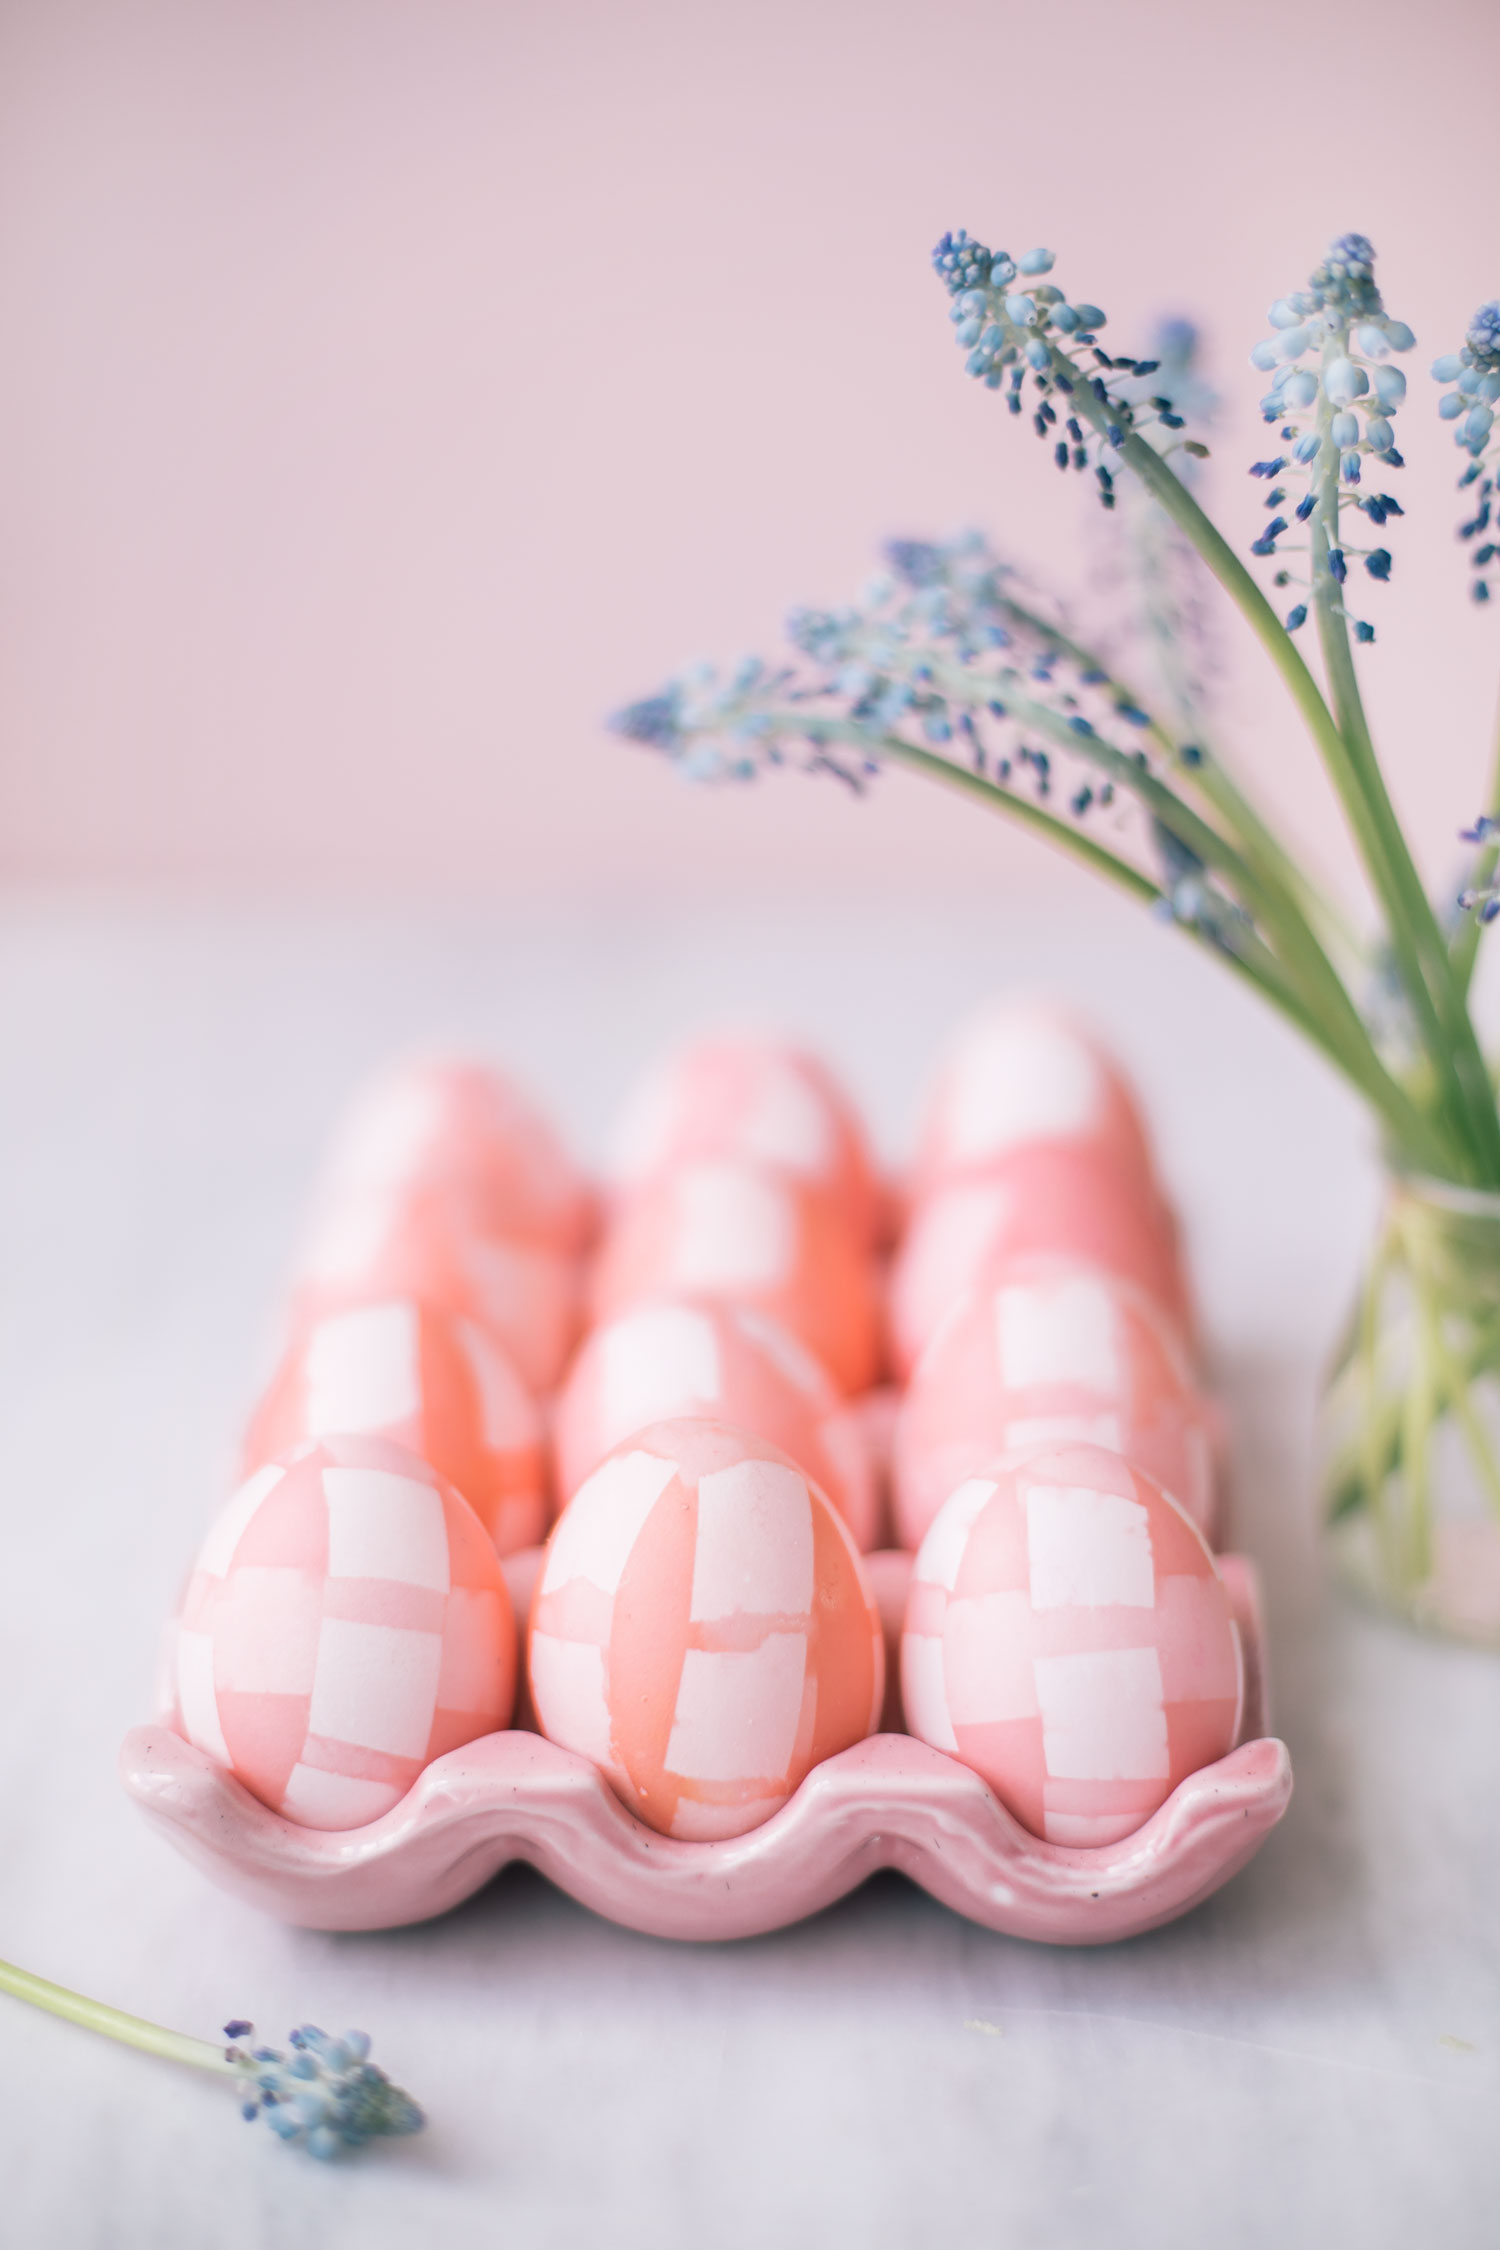
 A couple of weeks back, Jamie and I took a little day trip to Target as I was dying to get a couple of bottles of the newly released Yes Way Rosé wine. Unfortunately for us, Yes Way Rosé wasn’t sold at the Target location we were at, so that ended up being a bit of a bust. However, I couldn’t very well leave Target empty-handed so I picked up a few goodies including this easter egg set I shared a couple of weeks ago on my Highs and Lows. I thought the nesting egg set was just the cutest decoration for Easter but I also fell in love with the little pink gingham egg and thought I might be able to recreate them at home with dye instead of paint. Let me tell you, it took A LOT of tries to get the eggs right but by about the 10th egg, I “perfected” these little pink gingham eggs and wanted to share the tutorial with you. These eggs are by no means as perfectly gingham printed as the nesting egg, but I love that each one comes out unique and they do look pretty cute sitting in our living room for Easter.
 What You Will Need:
-White Eggs
-Pot for boiling water + eggs
-Red food Colouring + bowl to put food colouring in
-White vinegar
-Paper Towel
-Washi tape (or painters tape as thin as washi tape)
-Scissors
-Slotted spoon
Step 1: Prepare your eggs by either blowing them out or hard-boiling them for about 12 minutes. If you’re hard-boiling your eggs, allow them to cool completely before you begin dying them.
Step 2: When your eggs are prepared, set them aside and bring 1 cup of water to a boil. Once water is boiled, pour it into a metal or glass bowl (one that won’t stain) and mix together 2 tsp vinegar and 10-12 drops of red food colouring in.
Step 3: Begin dying your eggs by placing them 1 at a time in the dye for 8-10 seconds. This will produce a light pink, barely-there pastel color. Remove your egg with a slotted spoon and allow any excess dye to drip off. Carefully place your egg on some paper towel and gently pat it until completely dry.
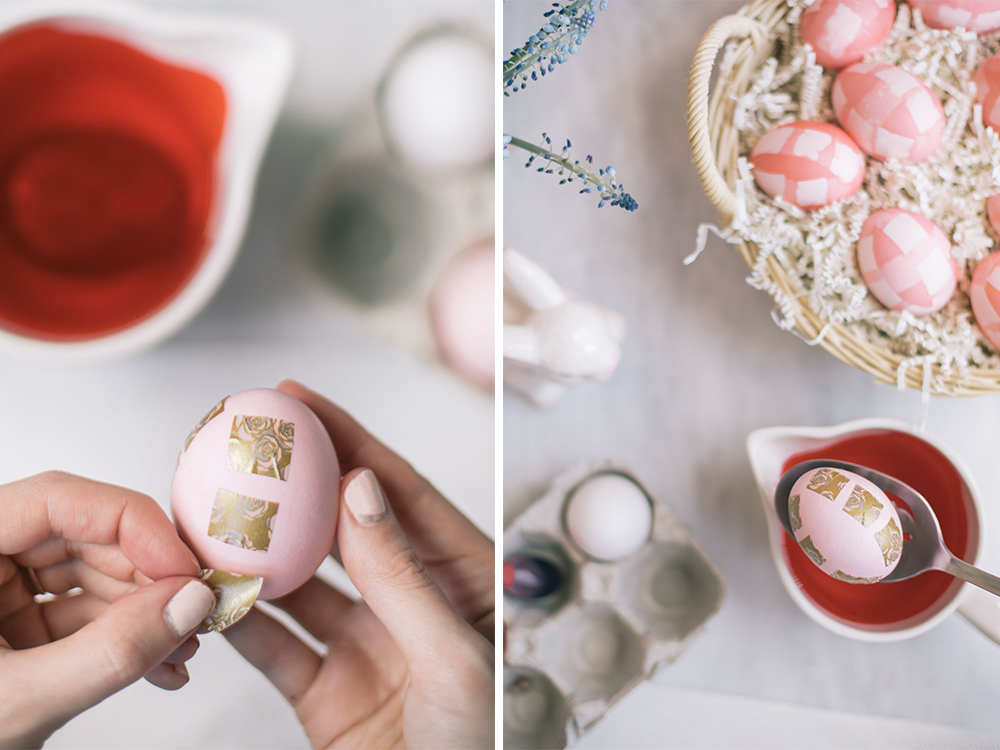 Step 4: Using your washi tape or painters tape* cut small squares, one at a time and begin placing them on your egg in a straight line. I created 4 lines with 3 squares on each to create the gingham pattern on my eggs. Make sure that you press the tape down well so that there are no bubbles or creases and so that it is secure on the egg.
Step 5: Place your egg back into your dye, this time for about 15-20 seconds. Remove egg from dye, allow any excess dye to drip through your slotted spoon, transfer to paper towel and gently pat dry once again. Do not remove the tape.
*I preferred washi tape as it was the perfect thickness BUT it doesn’t stick as well as painters tape. If you can find painters tape as thick as washi tape, get that!
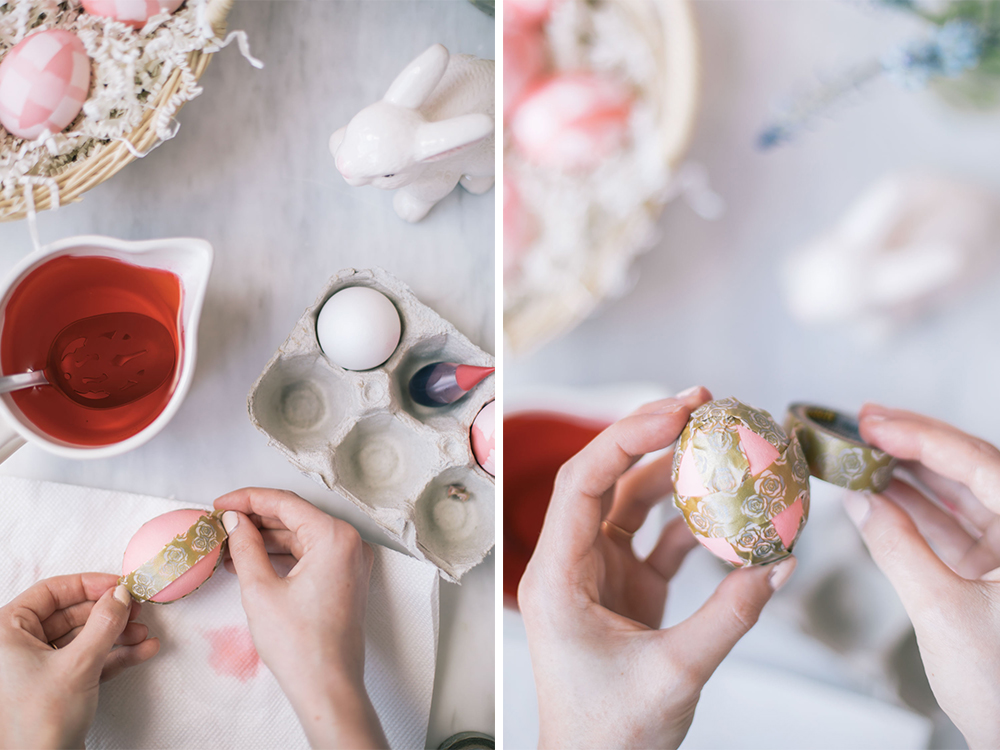 Step 6: Cut 4 strips with your washi tape and cover the squares that you previously made completely making sure to secure the tape and remove and bubbles as best as you can. This step is a little more difficult as the tape is wet so if it’s not perfect, don’t worry.
Step 7: Cut one more piece of washi tape to go around the middle of your egg and secure as you’ve done the other pieces.
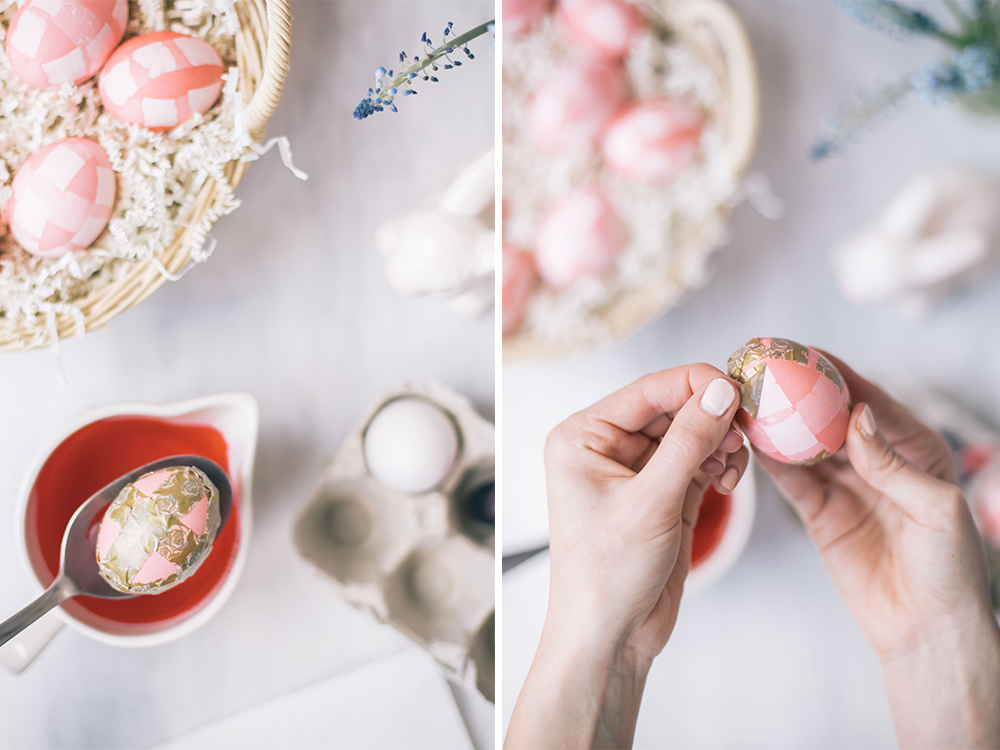 Step 8: Place your egg back in the dye and leave it in there for about 30 seconds.
Step 9: Remove your egg from the dye and once again allow any excess dye to drip from the slotted spoon, transfer to paper towel and pat dry as best as you can.
Step 10: Remove the tape and enjoy your gingham dyed eggs!
