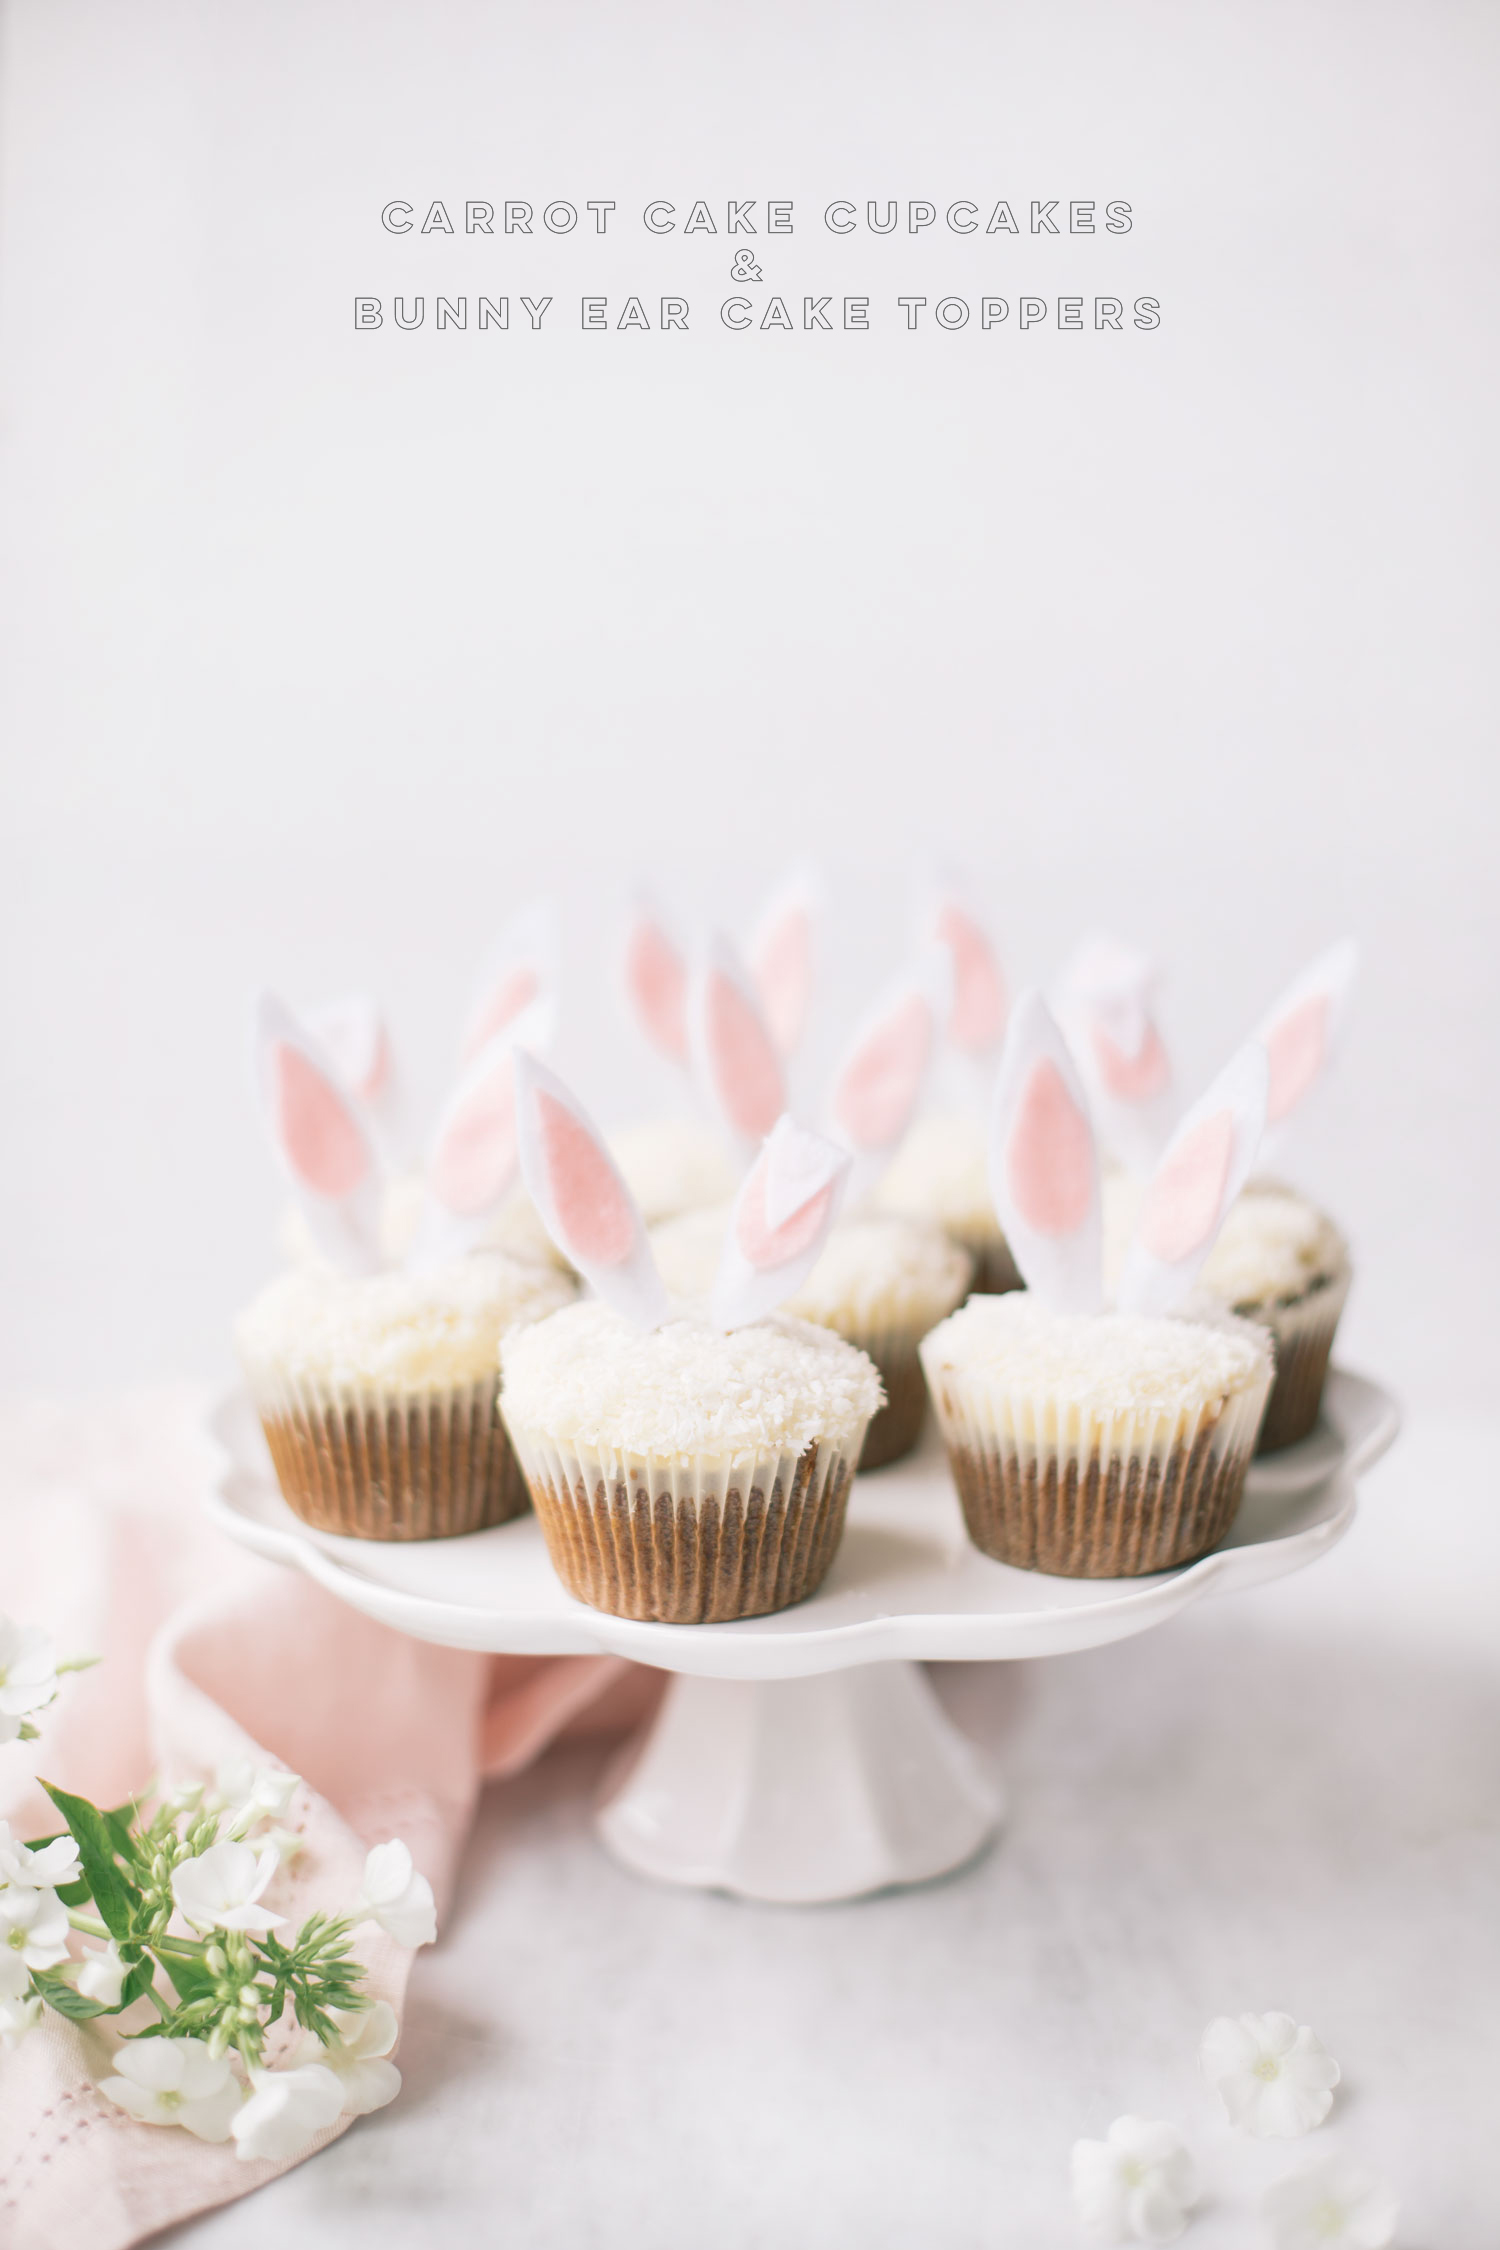
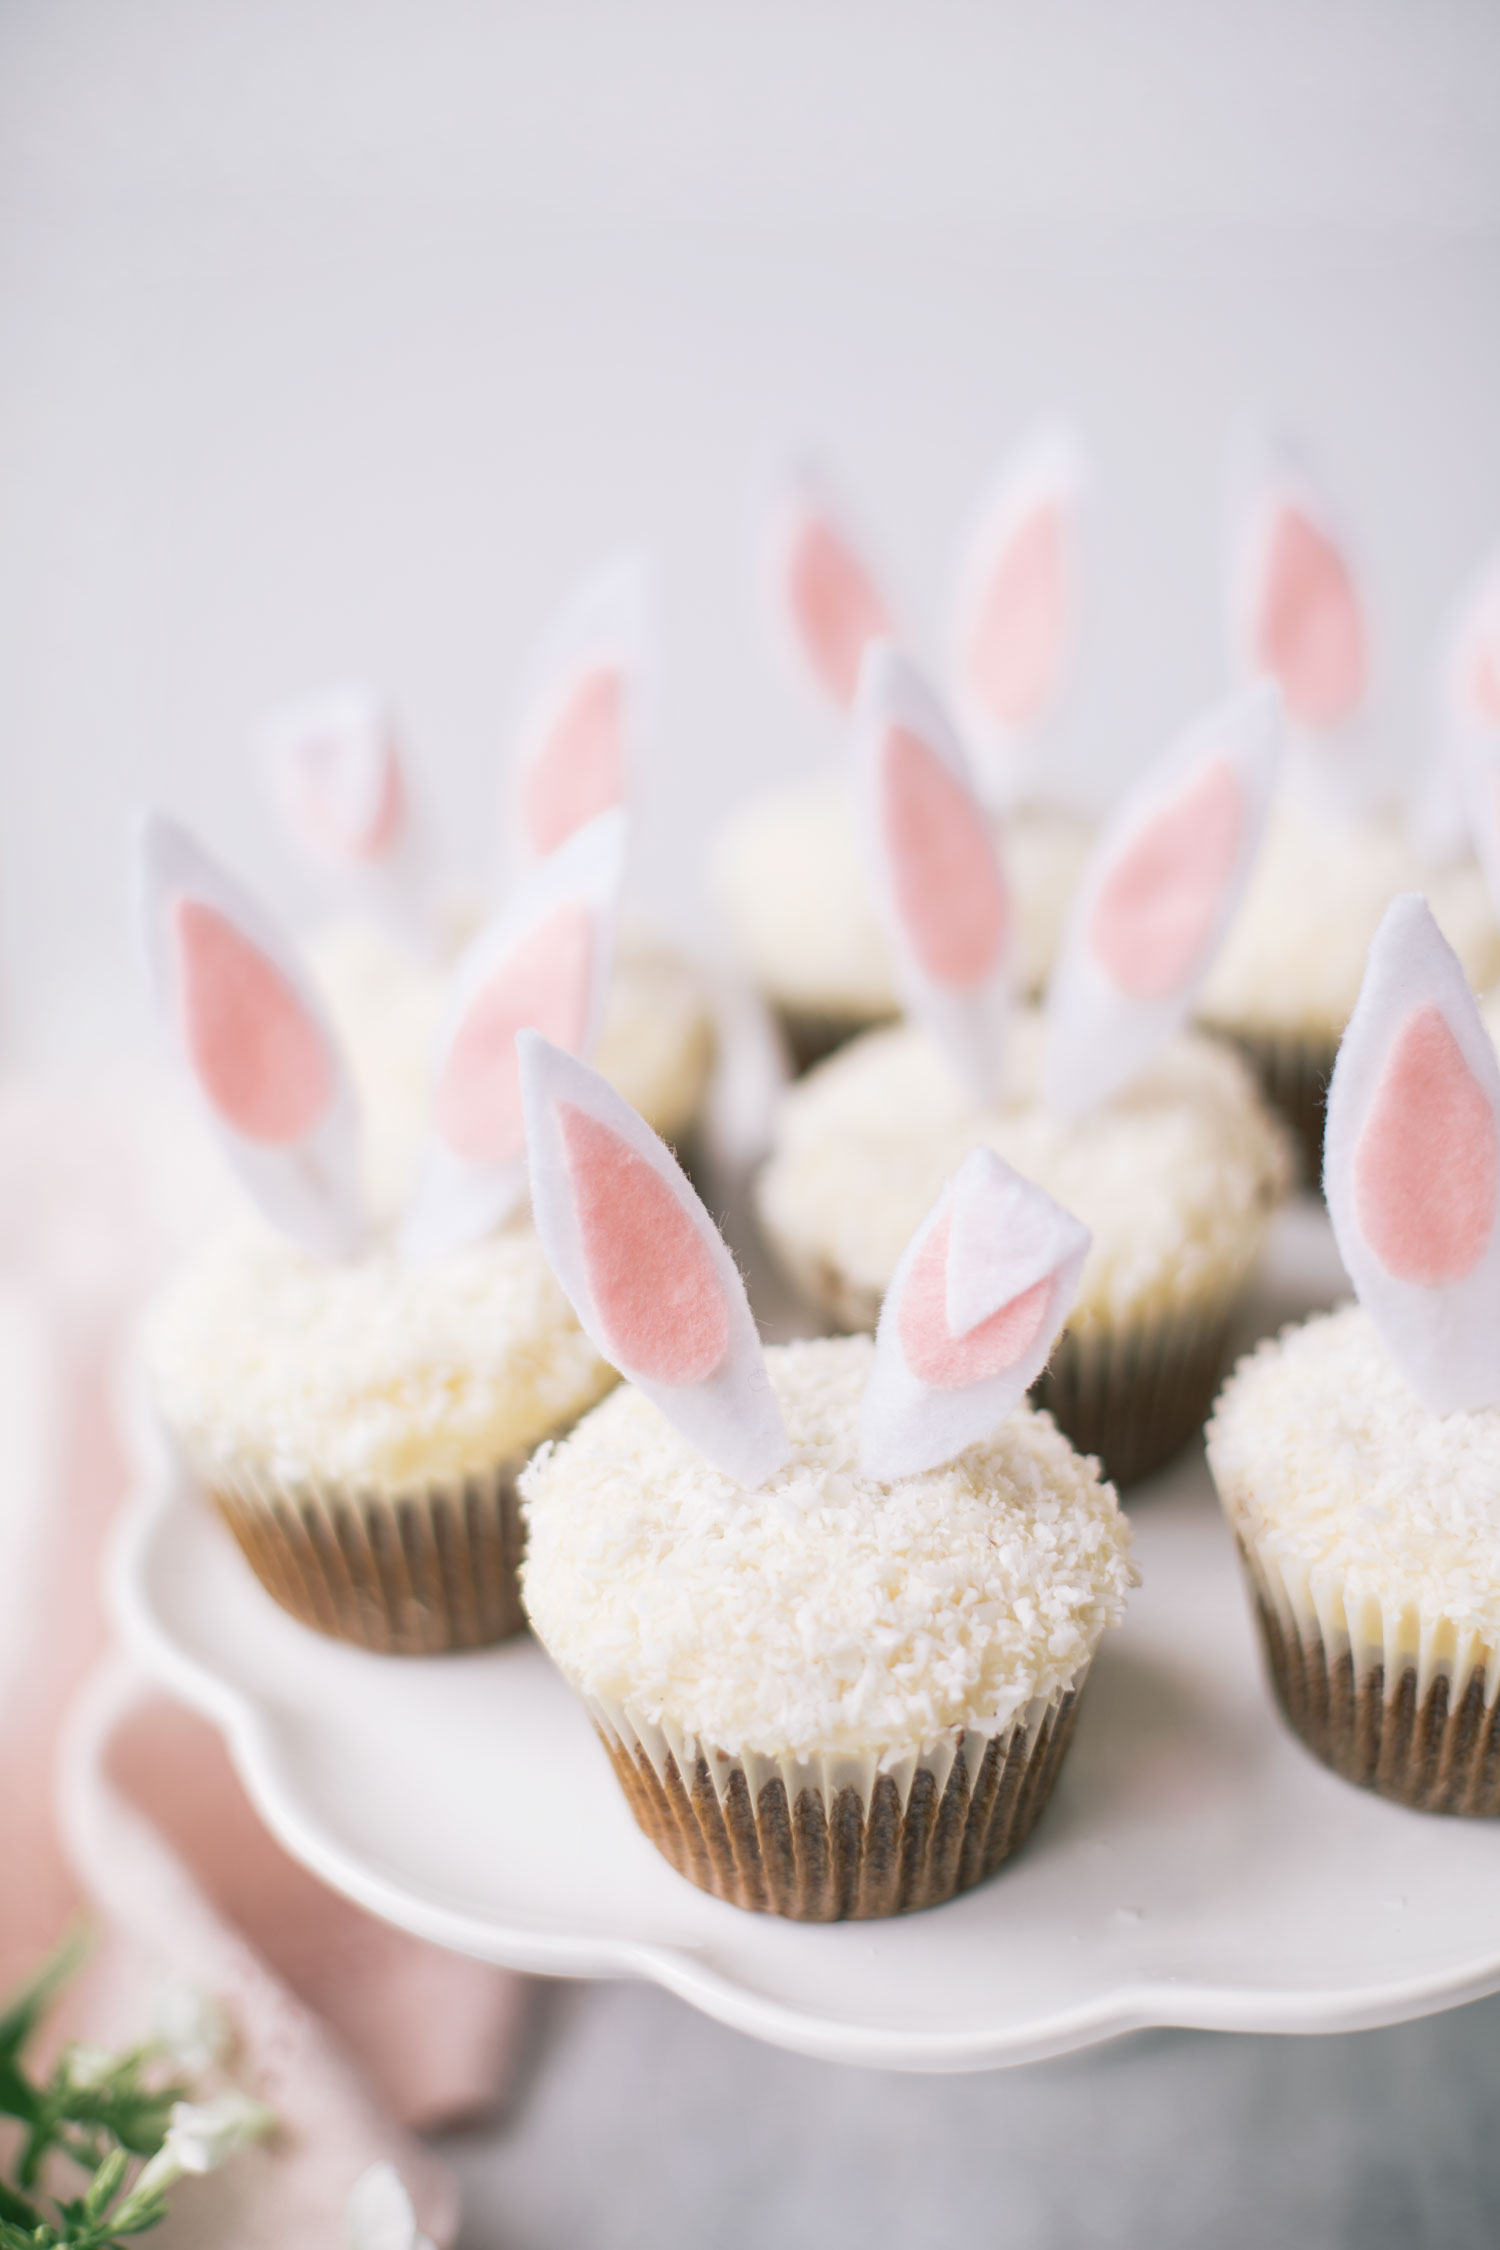
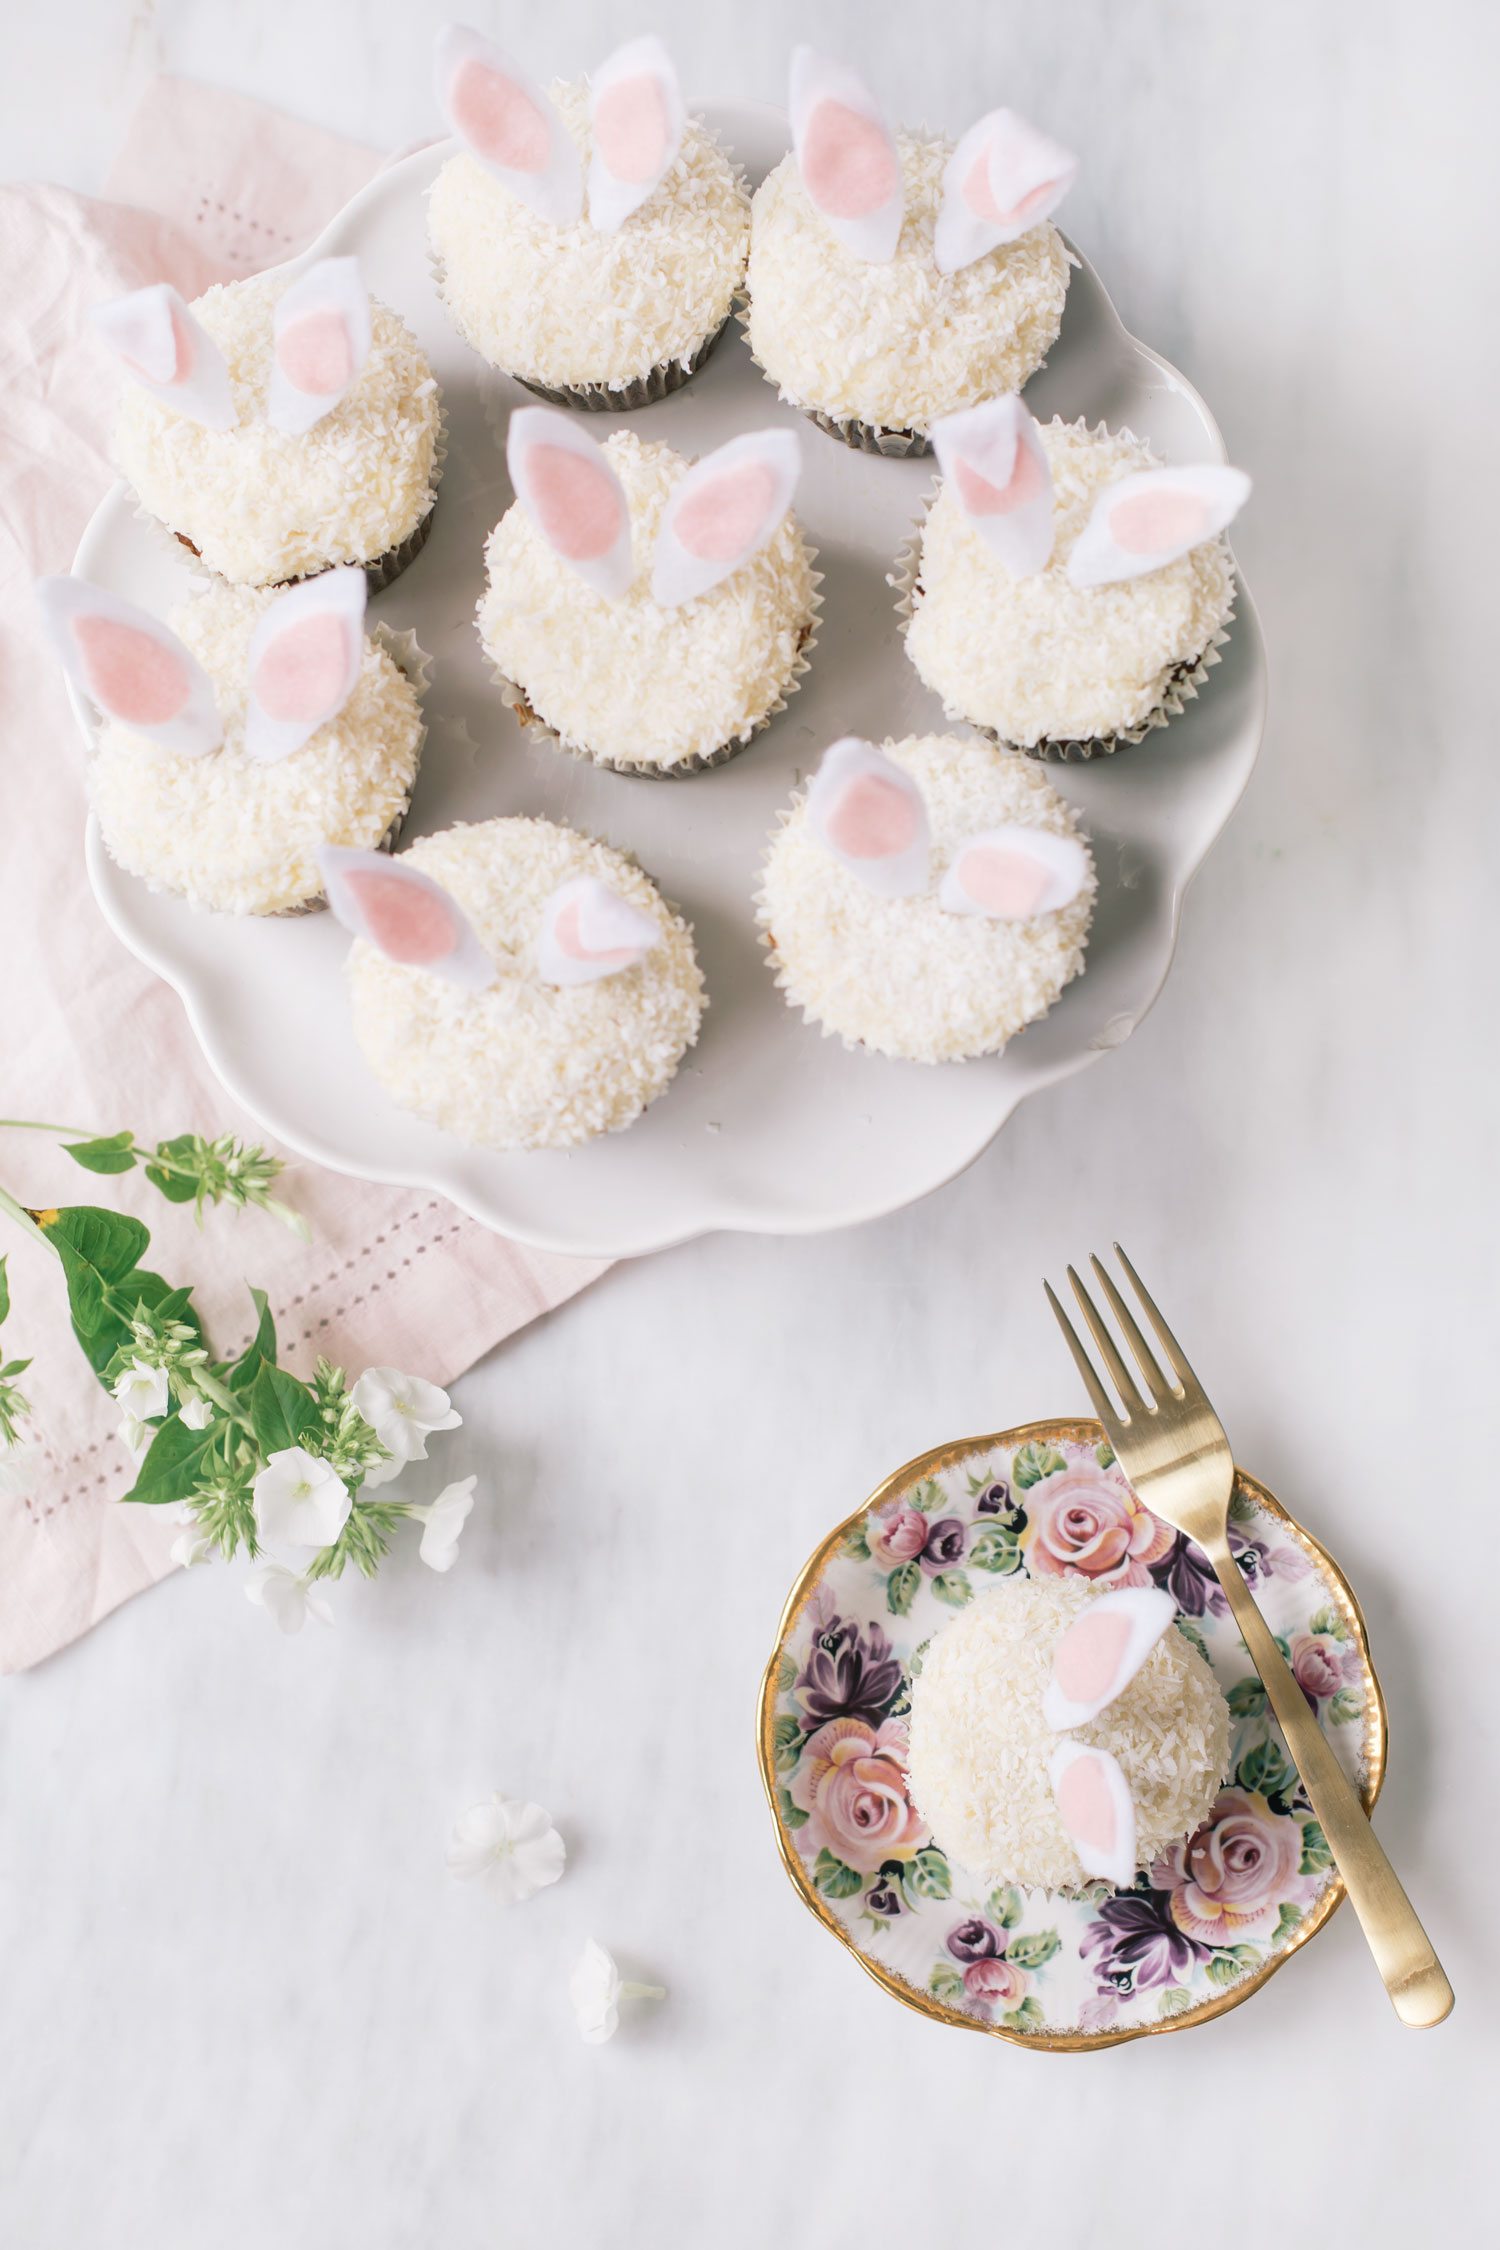
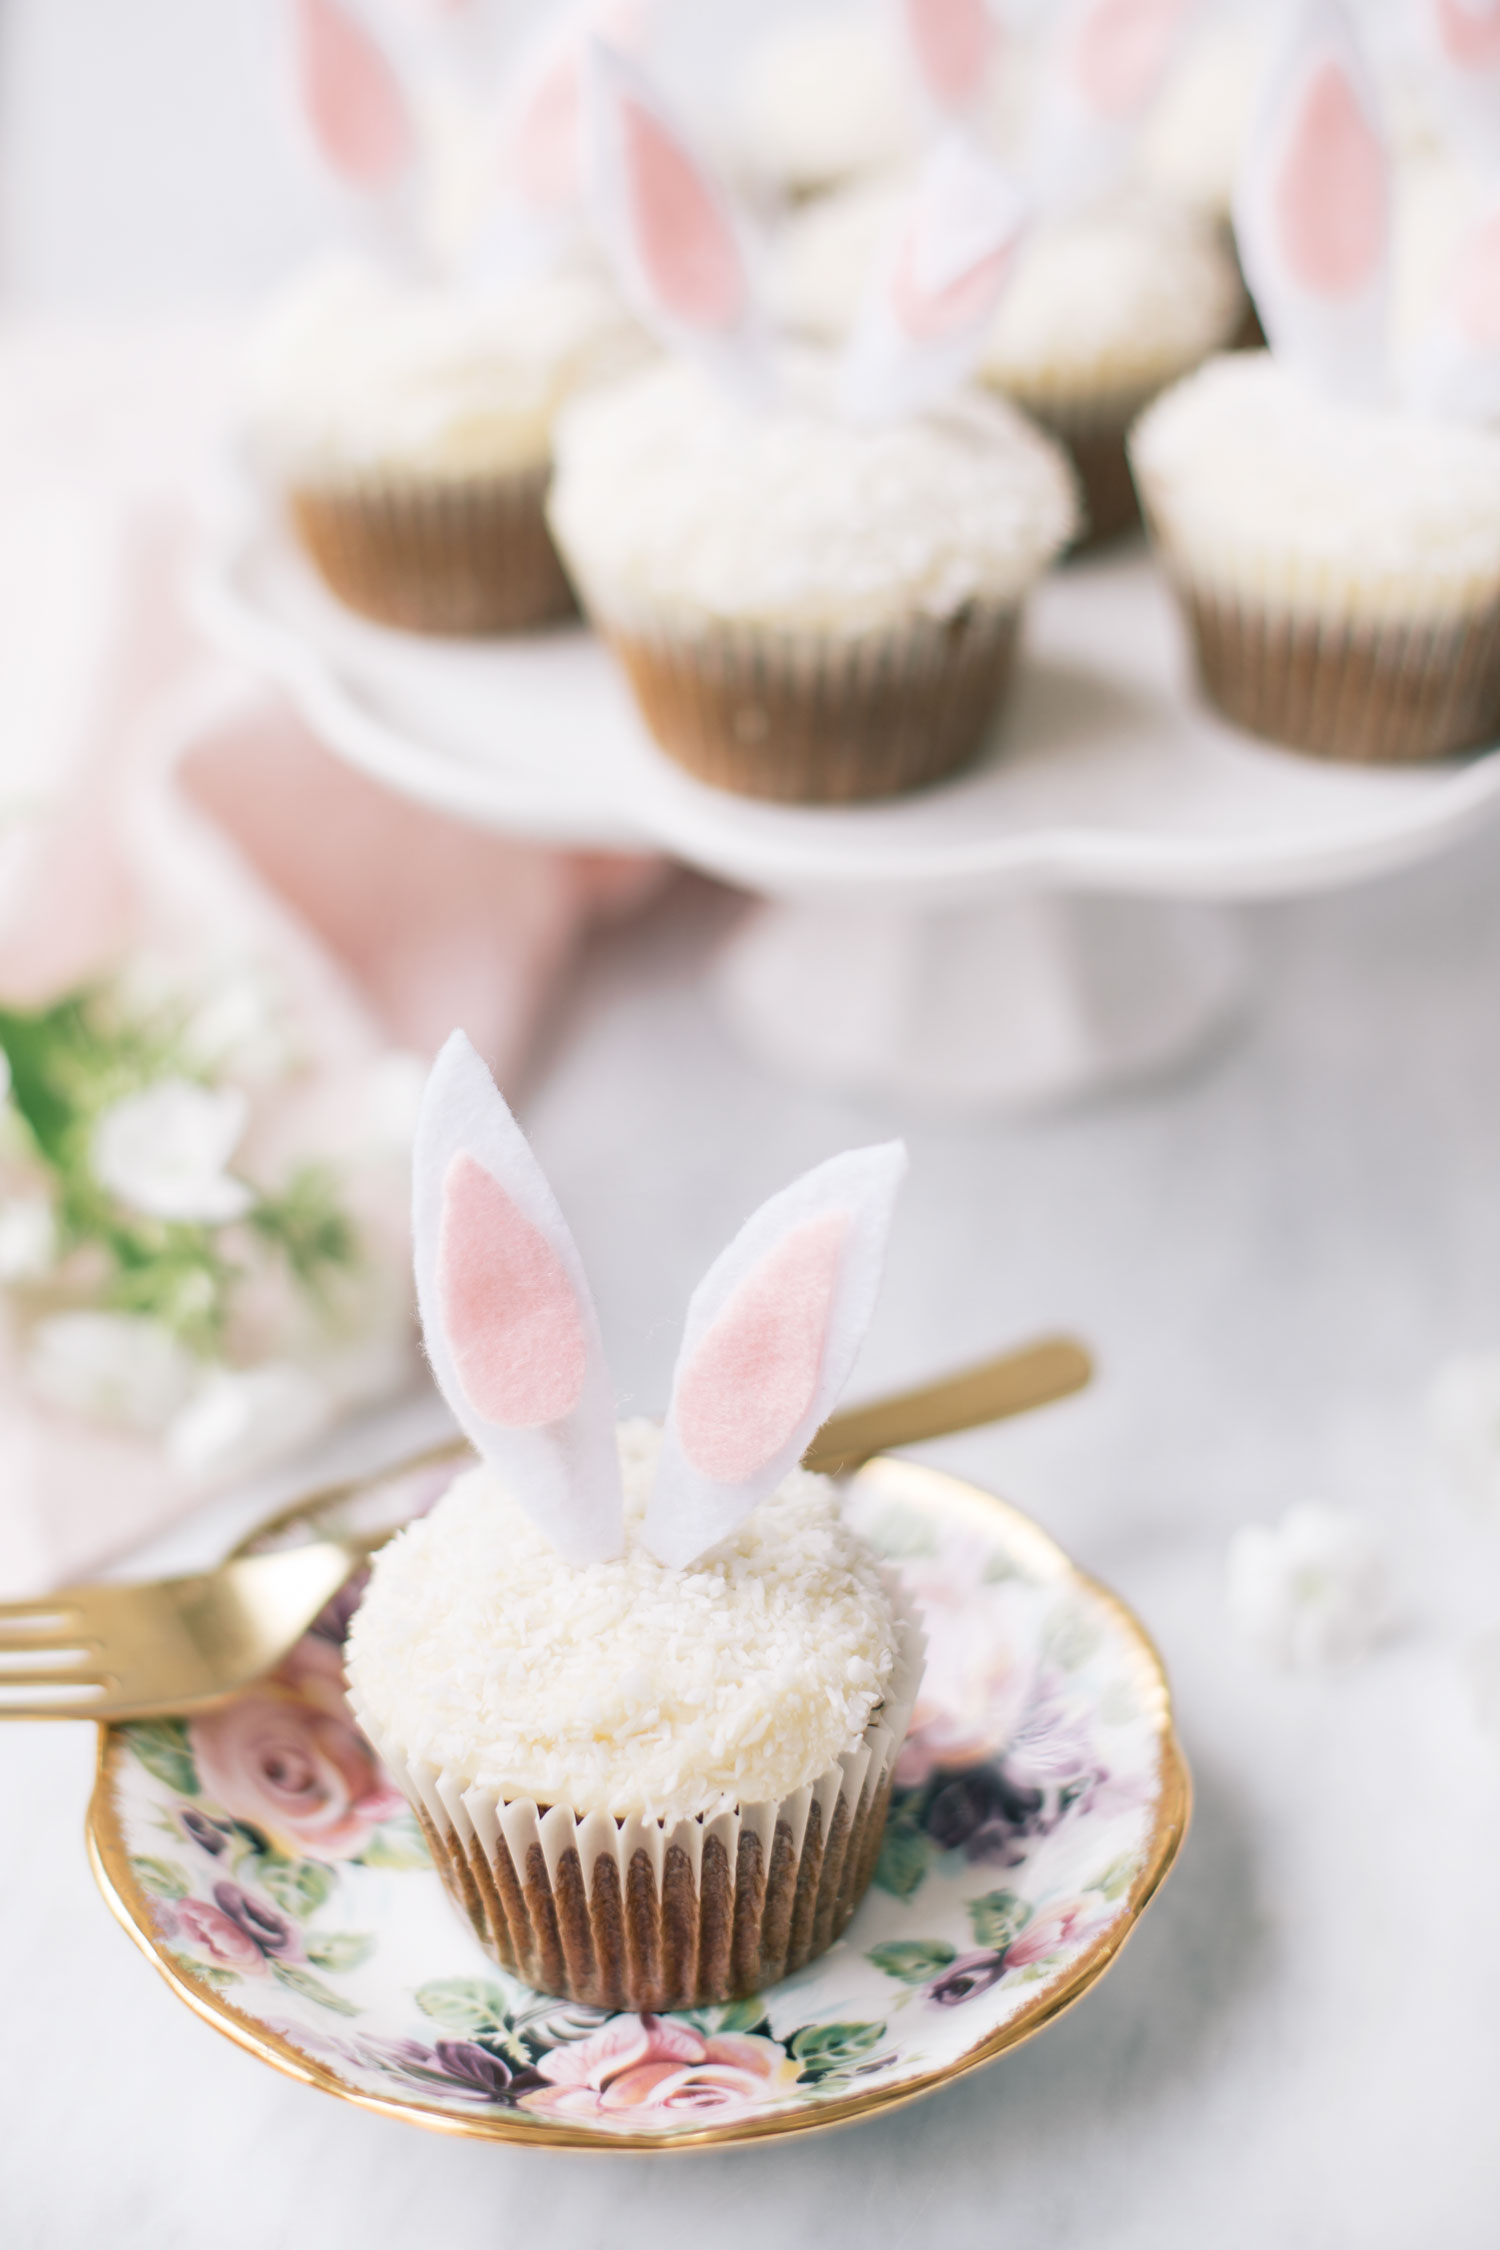
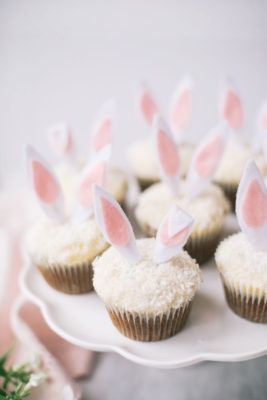
Typically, I’m not one to eat the sweets that I make. I usually leave that up to Jamie or, when we had neighbors who also happened to be our friends, sneak whatever I made over to them, haha! Carrot cake, however, is an exception…I could literally eat pounds of it, especially if it is smothered in a light, fluffy cream cheese frosting and topped with shredded coconut. I recently whipped up a batch of these carrot cake cupcakes to celebrate Easter and for a shoot (so excited to share tomorrow) and let me tell you, it took everything in me to not eat them before I took the photos. As soon as we wrapped shooting yesterday, I dug into these babies and now there are only 3 left (okay, Jamie and my sisters ate some too). To really get the Easter message across, I also made 12 sets of these adorable felt bunny ears. I was inspired to make these ears when I saw Lauren Conrad’s Animal Easter Eggs post last week and decided to give them a try for myself. Instead of making animal eggs, I turned them into cake toppers and using white and pink felt as opposed to gray/brown. I love how they turned out and think that the ears add the cutest touch to these already delicious cupcakes. Hoppy Easter!
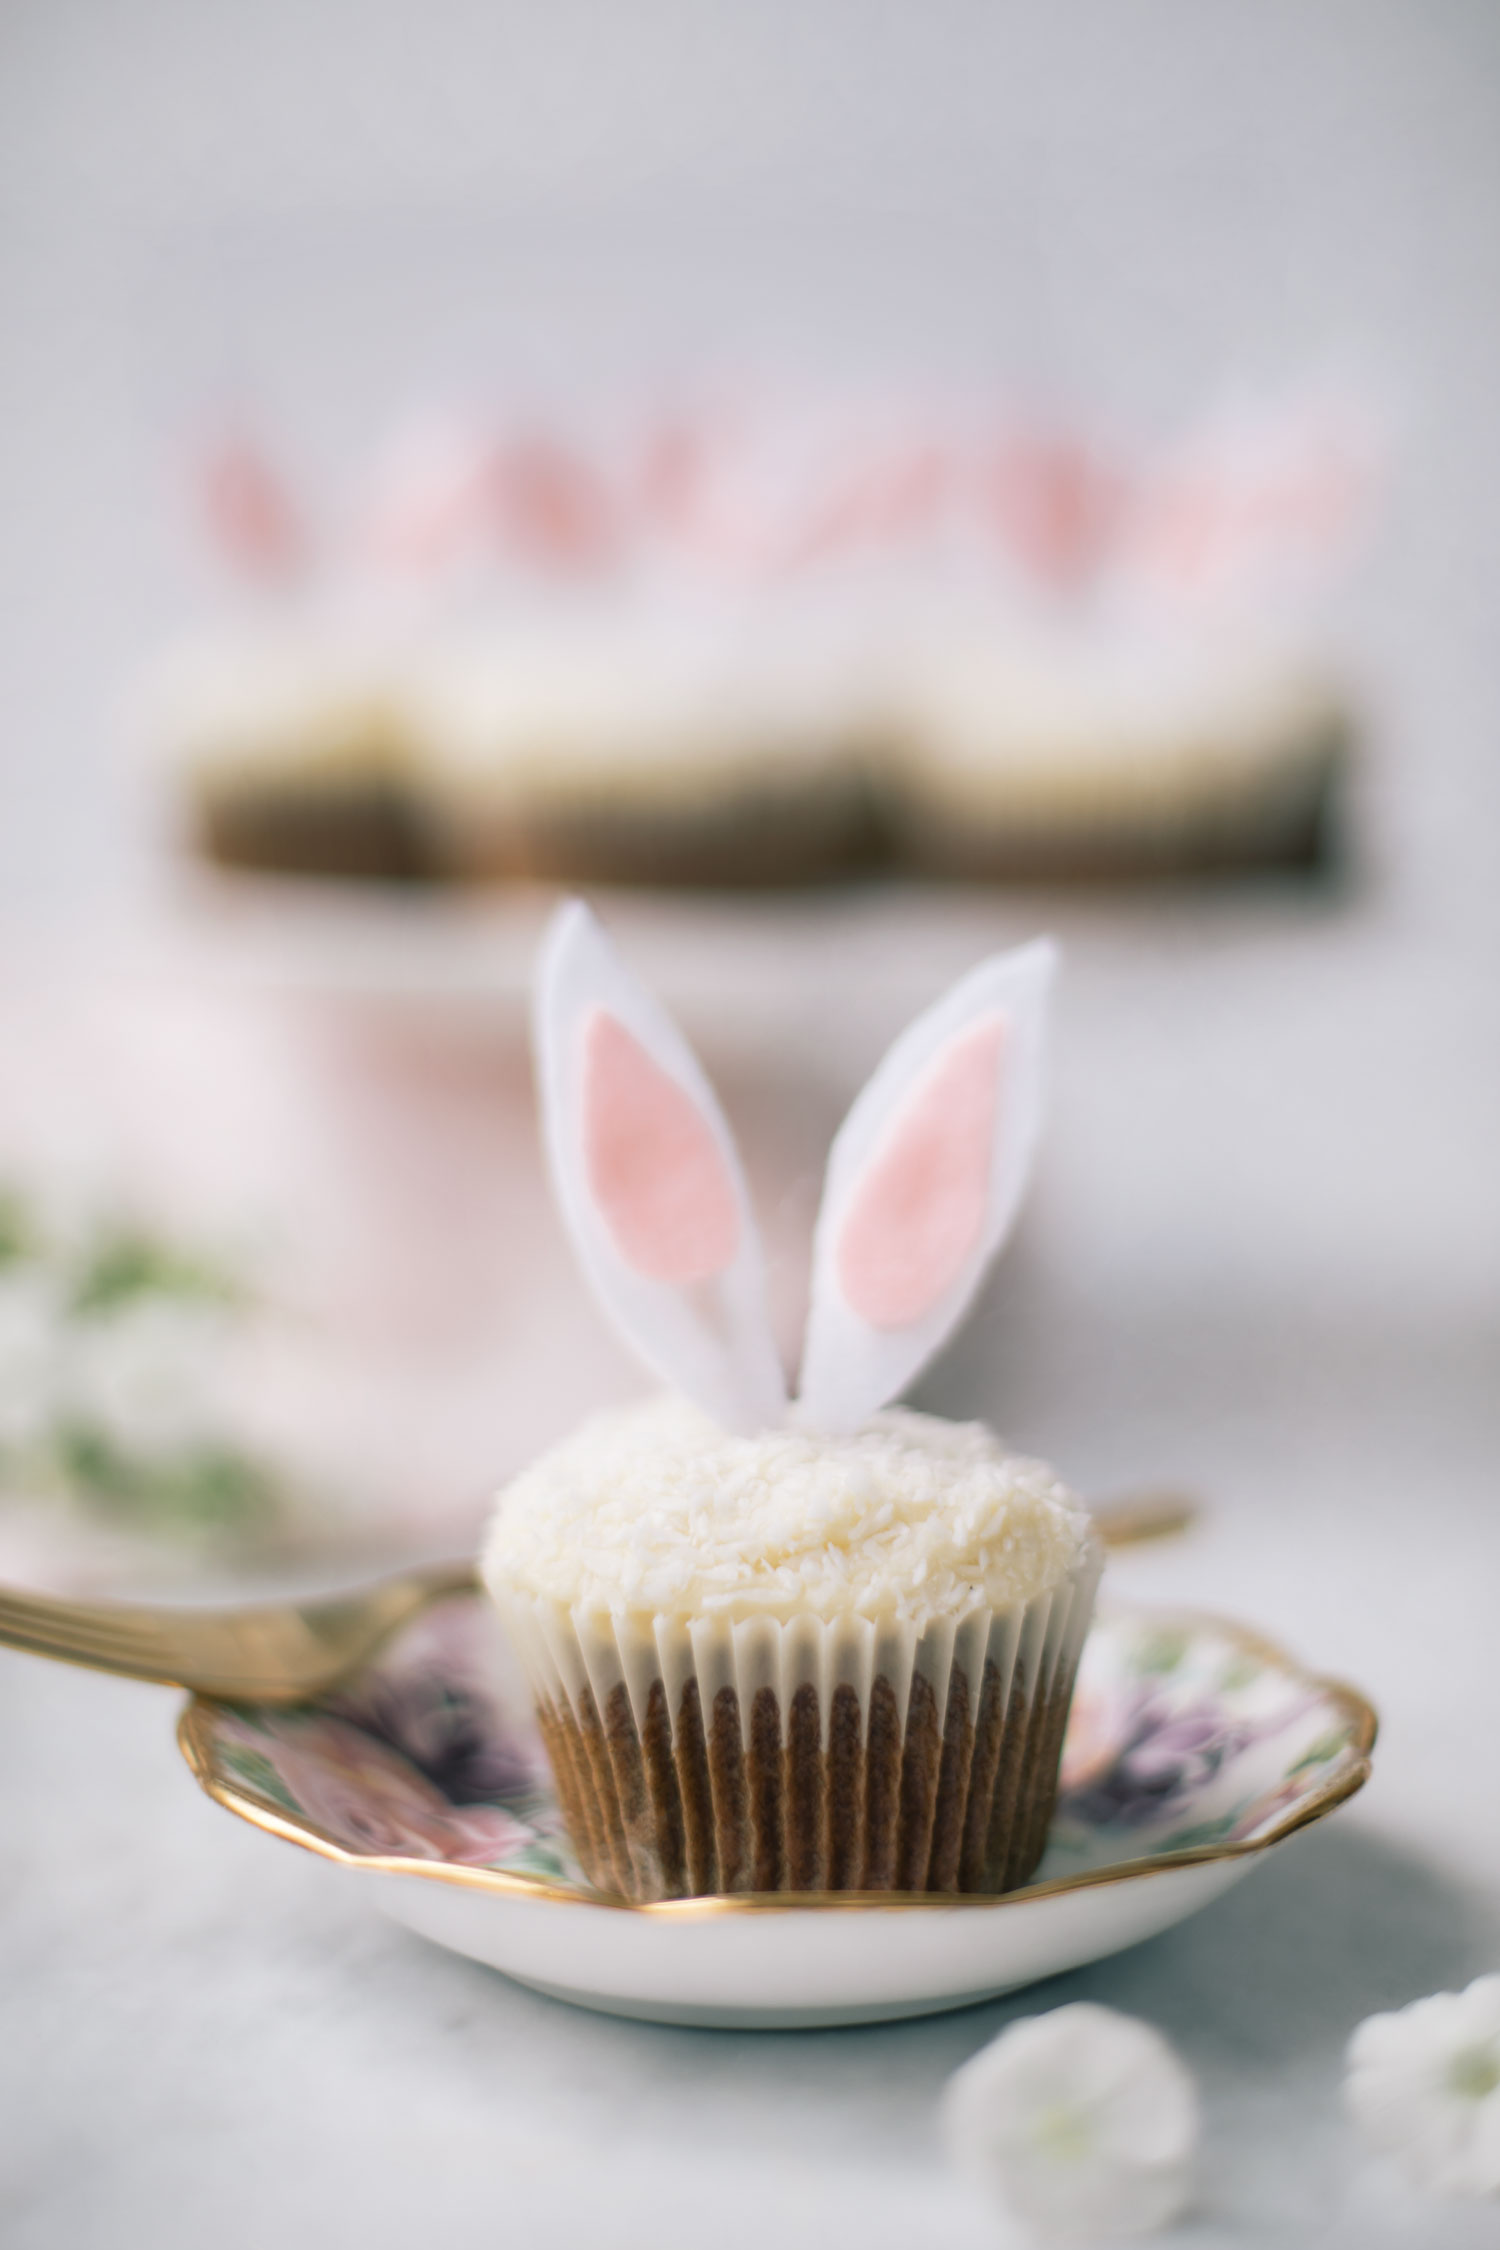
DIY Bunny Ear Cake Toppers:
What You Will Need (makes 12-15 sets)
1. 1 Piece white felt, 1 piece pink felt (or whatever colours you like)
2. Sharp scissors
3. Hot glue gun
How to Make:
1. Roughly trace out the shape of your bunny ears, at first I used a pencil but I actually found it easier to just go for it with the scissors. The white felt will be the larger part of the ear and the pink the smaller.
2. Use your first cut out shape as a guide for the other ears
3. Glue the pink part of the ear to the white, you only need the smallest dab of hot glue.
4. I bend some of the ears in half by simply adding another small amount of glue and bending the ear down.
5. Squeeze another small amount of glue onto the back of the ear and press a toothpick down into it to create your toppers.

- 1 cup flour
- ¾ cup sugar
- 1 teaspoon cinnamon
- 1 teaspoon baking soda
- ½ teaspoon baking powder
- ¼ teaspoon salt
- 1½ cups grated carrots (heaping)
- ⅔ cup oil
- 2 eggs, beaten
- unsweetened shredded coconut
- 8 ounces cream cheese, room temperature
- 8 tablespoons (1 stick) unsalted butter
- 1 cup confectioners' sugar
- 1 teaspoon pure vanilla extract
- Preheat the oven to 350 degrees. Combine the flour, sugar, cinnamon, baking soda, baking powder, and salt in a large bowl. In a separate bowl, combine the grated carrots and the oil. Slowly add the flour mixture, stirring until just mixed. Add the beaten eggs and stir a few times (like 15 or less around the bowl - the fewer the better)!
- Scoop the batter into paper liners with an ice cream scoop for even distribution. Bake for 13-20 minutes, check how they're doing, and add a few minutes if necessary. baking time changes from oven to oven greatly with oven so check for golden brown colour and springy tops. Allow the cupcakes to cool.
- Place cream cheese in a medium mixing bowl. Using a rubber spatula, soften cream cheese. Gradually add butter, and continue beating until smooth and well blended. Sift in confectioners' sugar, and continue beating until smooth. Add vanilla, and stir to combine.
- Set aside a bowl of shredded coconut
- Add cream cheese frosting into a piping bag with a large, circle tip. Pipe cupcakes with frosting and then gently press them into the bowl of shredded coconut to coat evenly.
- Top with your DIY bunny ear toppers!

