Banish Clutter: How to Organize Every Room in Your Home
"Clutter-free" are the two most beautiful words in the English language. We offer our best tips to help you tackle the mess and spruce up your living space -- one room at a time.
-
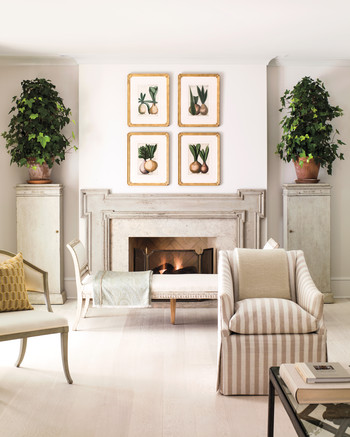
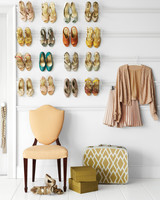
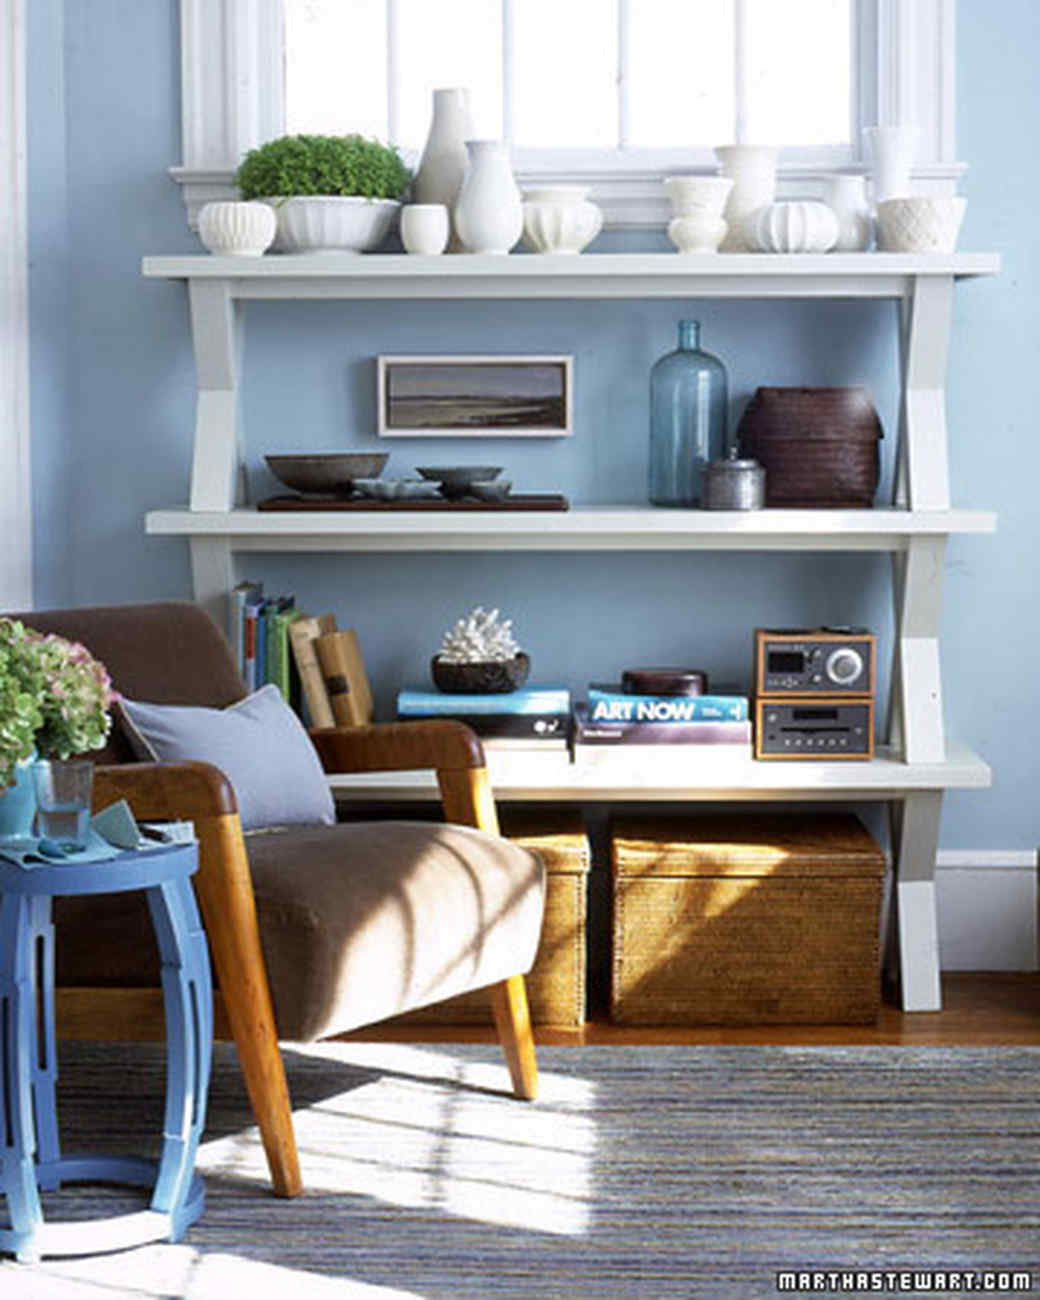
Photography: Annie Schlechter1 of 15
The Living Room
"Clutter-free" are the two most beautiful words in the English language. We offer our best tips to help you tackle the mess and spruce up your living space -- one room at a time.
Our organizational home tour starts in the living room, which is where most of your hosting, hanging out, and happiest memory-making takes place. Here, you can get an objective, clear-eyed view of your clutter and how it impacts your everyday life. Start by consolidating all of your electronics in one custom cabinet and use linen panels to conceal the television when it's not in use.
-
2 of 15
Living with a massive collection? It can double as statement decor when grouped together. Here, a display of aquariums, each topped with custom-cut Lucite to make them stackable, showcases an assortment of glass bubble fishing floats and marine castles.
-
Keep your bookshelves just for books. By stacking sturdy wooden benches to make a streamlined shelf, you can keep your extra treasures in this space.
-
4 of 15
The Bathroom
A space where you go to freshen up should reflect cleanliness. Think open space, clean lines, and a minimal amount of stuff.
For instance, give your medicine cabinet a makeover with an assorted collection of vintage cups and glassware. These can hold your toiletries such as cotton balls, bobby pins, and brushes.
-
5 of 15
For your bigger necessities, a three-tiered vertical basket is ideal for grouping bottles, brushes, and rolls of toilet paper.
-
Swipe here for next slide
-
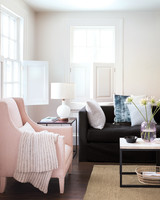
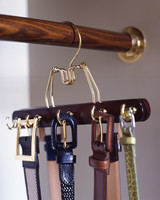
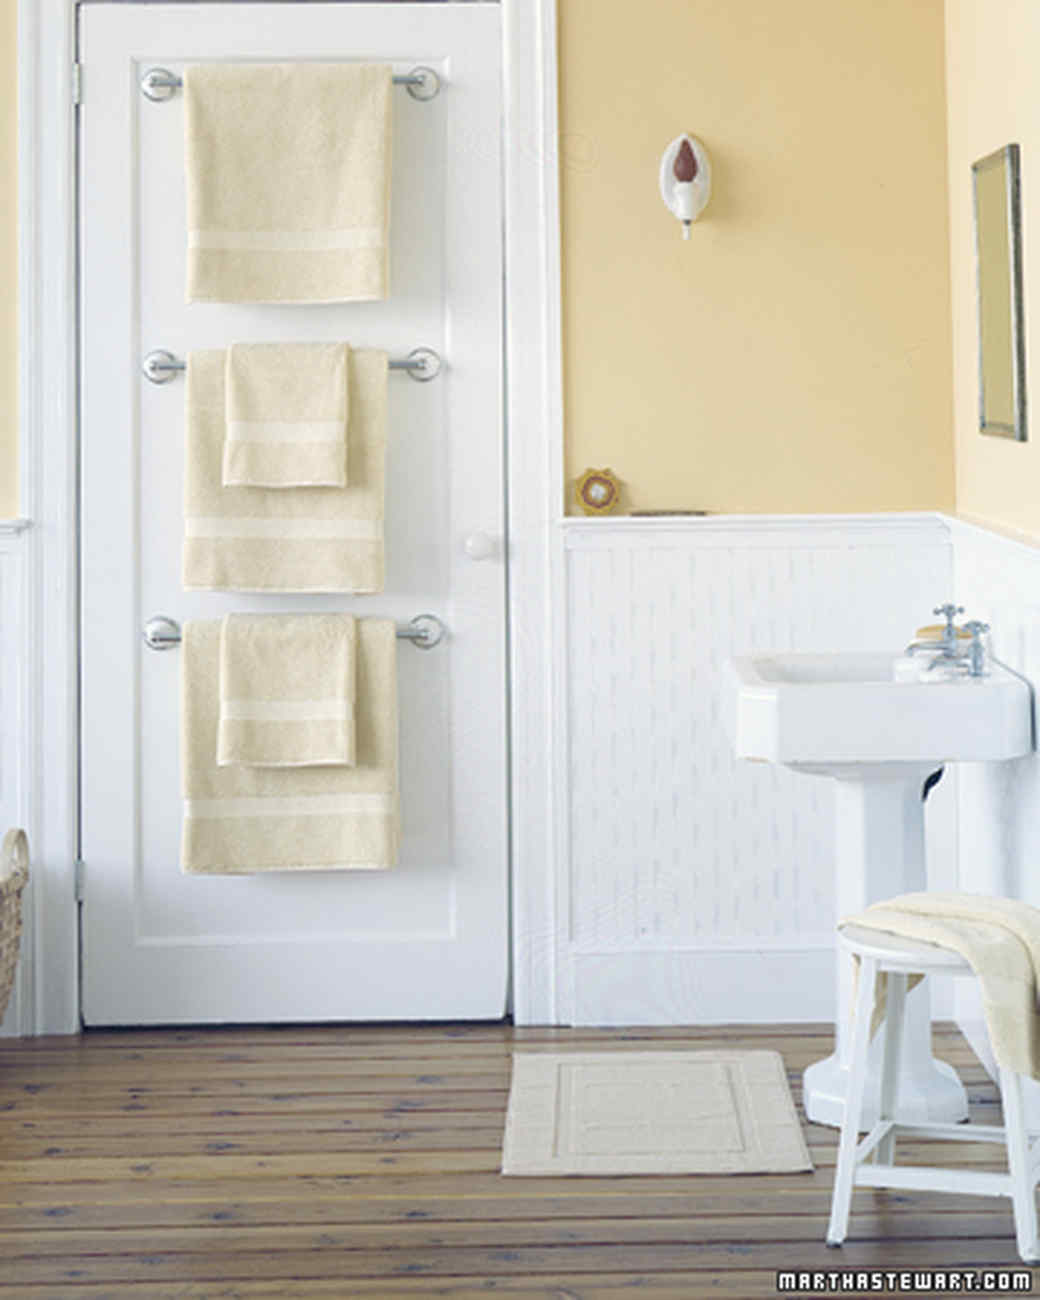
Photography: Matthew Williams
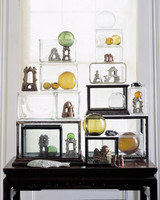
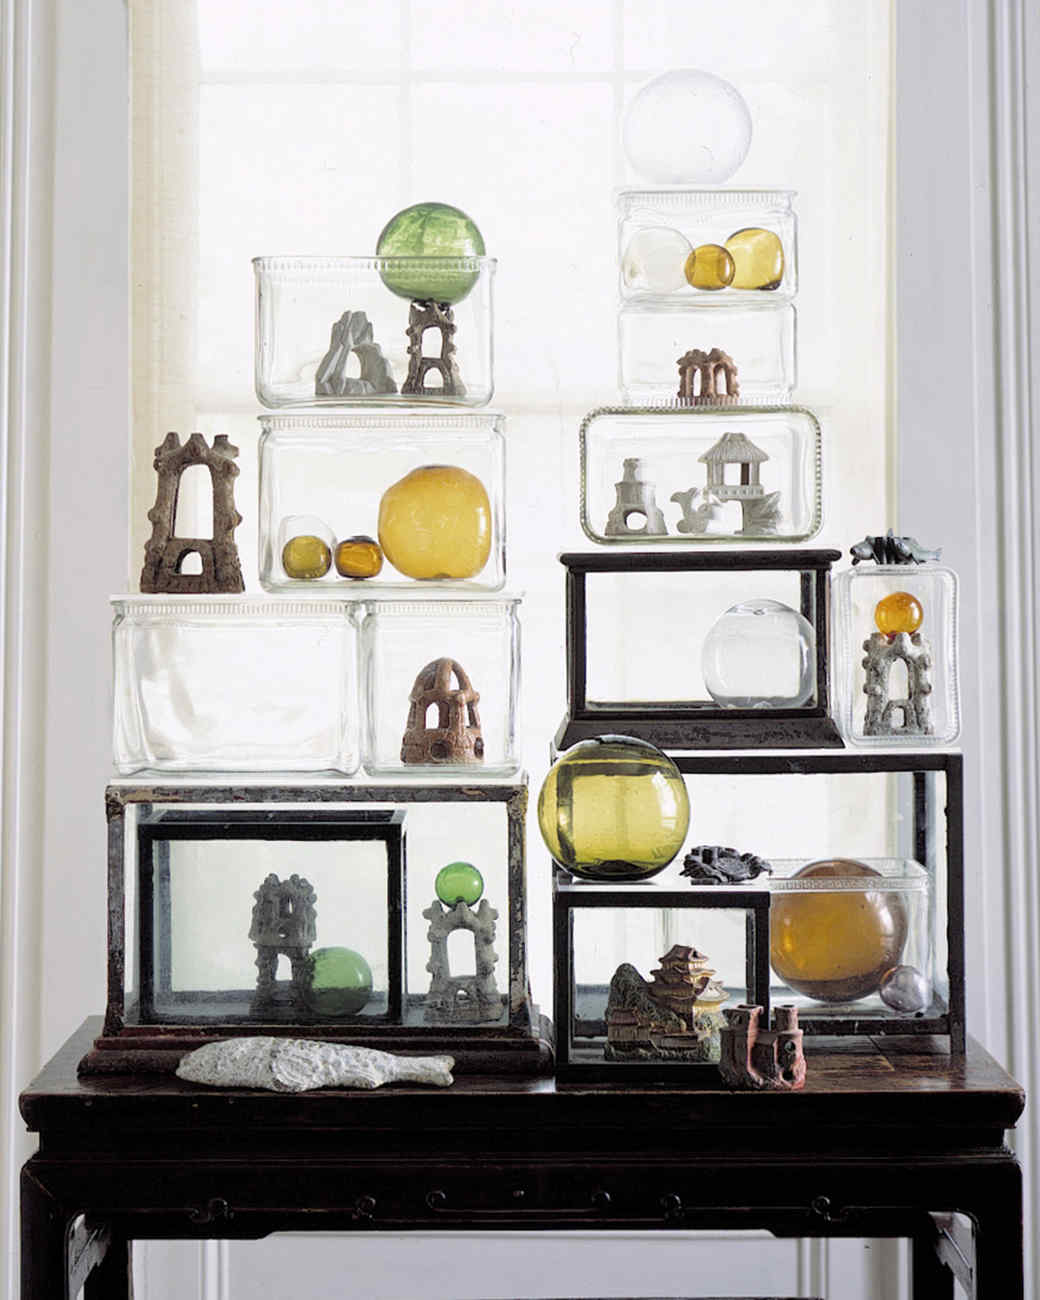
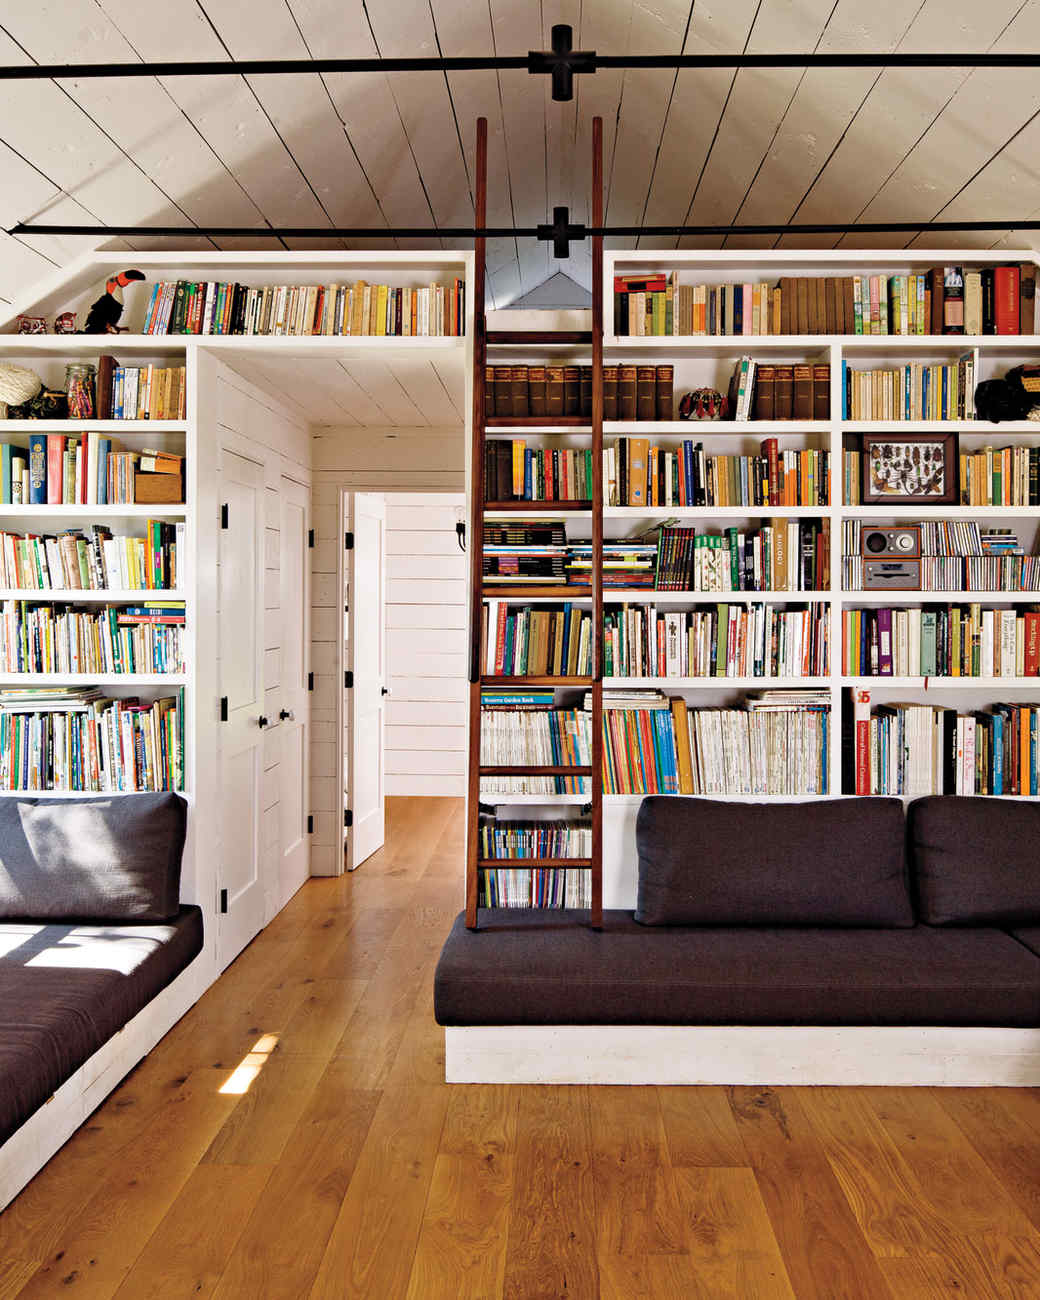
7 of 15
The Office
A cluttered desk often reflects a cluttered mind. Clear it and you'll feel more at ease to be creative, productive, and to fly through that to-do list.
To get started, tackle those piles of paperwork. Organize receipts, lists, and other items in a notebook that can accommodate papers of different sizes. You can also scan them in for storage on an electronic device in order to preserve them digitally.
-
8 of 15
Take this opportunity to go through your personal library: Keep only the books you truly love and purge the ones you will never read again. If you're on the fence about getting rid of a book, check if it's available as an e-book or still in print.
-
A framed bulletin board saves your extra paper and souvenirs.
-
10 of 15
The Kitchen
Whether you're cooking, cleaning, or entertaining a close group of friends, the work of a kitchen is never done (making it the last place clutter should be).
Every year, take an inventory of all utensils, cookware, and dishware. Get rid of unnecessary duplicates, items that are damaged beyond repair, or things no longer used. Group like items together -- such as all wooden spoons in the same ceramic crock or all spices in the same cupboard.
-
Swipe here for next slide
-
11 of 15
Make the most of your countertops by using a cake stand to hold olive oil, salt, pepper, and other frequently used seasonings. You can arrange even more around the base of the pedestal.
-
12 of 15
Don't let damp rags and dishwashing gloves clutter the sink area. Instead, hang them from hooks screwed to the inside of a cabinet door, where the items can stay hidden as they dry.
-
13 of 15
The Bedroom
Ahh, a private space meant for rest and relaxation. But how could you possibly unwind in a messy room?
Start by putting things out of sight to keep them out of mind. The space under your bed can be put to sensible use with bins, made by attaching casters to a wooden box, a drawer from a chest, or a wine crate.
-
14 of 15
Display your shoe collection like a work of art and keep the floor clear. To do this: Line the walls of your closet or with picture-rail molding. Buy preprimed pieces, and have them cut to length at the store. Paint before installing, either the color of the wall or a bold accent shade. Space the rails a foot apart, and attach them to the wall with construction adhesive. Hammer finishing nails every 18 inches (you don't have to hit studs), countersink nails, spackle, and touch up with paint.
-
15 of 15
Untangle a heap of belts and arrange them neatly on rack that matches your other hangers. To do this, predrill a row of holes in alternating spots on both sides of a wooden clamp hanger, and screw in cup hooks.
-
Swipe here for next slide
Other Ideas to Try
-
Banish Clutter: How to Organize Every Room in Your Home
-
Stylish DIY Storage Ideas to Keep Your Home Ultra Neat
-
12 Impeccably Organized Spaces that Will Inspire You to Declutter Your Home
-
9 products to help you get organized
Channel some of that back-to-school energy into your world.
-
Organizing Your Home
-
Storing Fragile and Bulky Items
-
Laundry Organizing Tips
-
De-Stress Your Desk: Office Organizing Tips
-
25 Reasons to Get Rid of It
-
25 More Reasons to Get Rid of It
-
Fall Organizing Tips
-
Home Essentials How-to
-
Entertaining Checklists
-
How to Stock: Home Safety
-
Homekeeping Checklists
-
Moving Checklists
-
Organize Everything
-
How to Stock: Cleaning and Maintenance
-
Winter Organizing Tips
-
Spring Organizing Tips
-
Get Organized: DIY Tips
-
Quick Organizing: 15 Ways to Get It Together in 15 Minutes or Less