DIY | yarn wall hanging
24/03/2016
weaving is something i've wanted to try for a long time.. there are so many beautiful woven and macramé pieces online that inspire me. the only catch is i've not had time to sit down and learn so i decided to make a non-weave wall hanging that requires little to no skill at all, hurrah!
this is a minimal version of the amazing woven ones but it's great for beginners (and you only need a few materials to get started!)
materials:
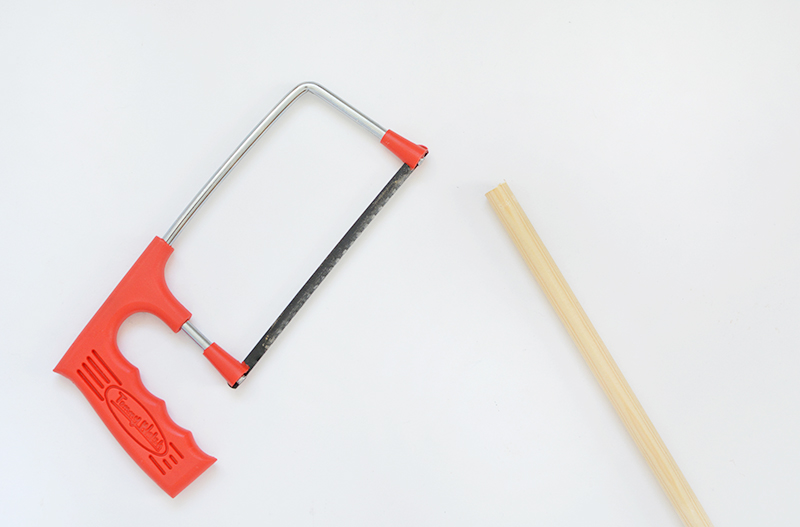
1. first take a length of dowel and use a small hacksaw to cut it to the length you'd like. mine is 20" long.
2. take your yarn and cut off a length, I wanted a long hanging so i cut 1 meter lengths. (you'll be folding it over so it will end up half this size.)
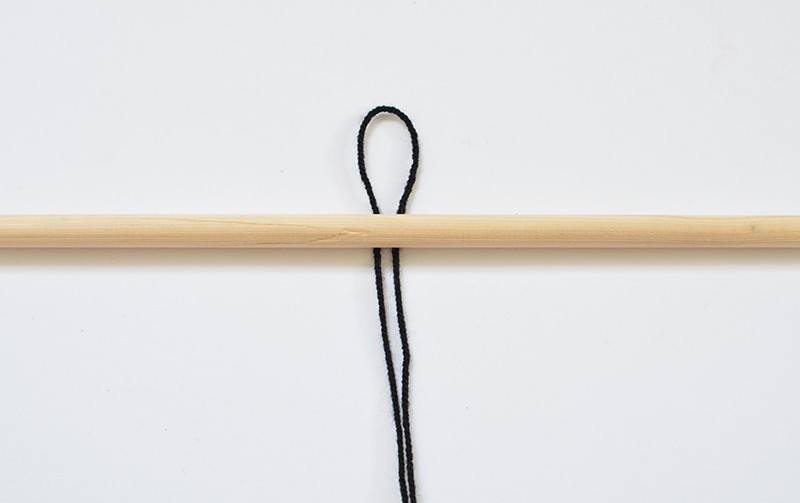
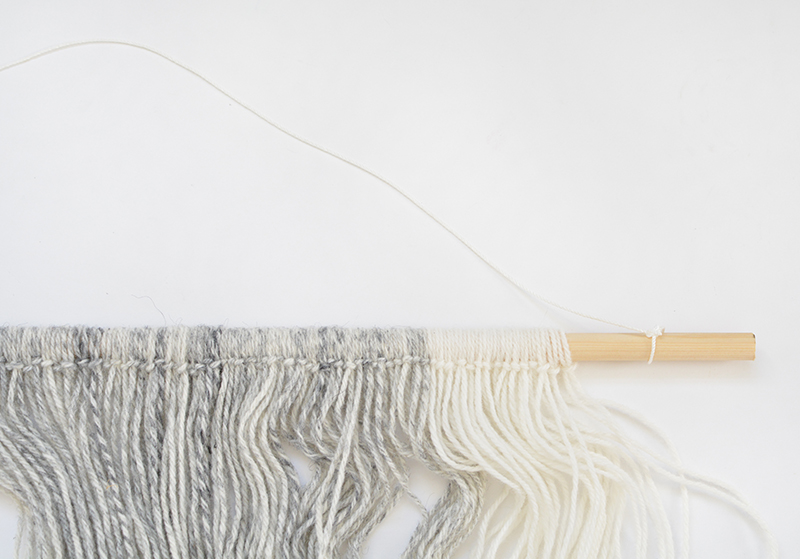
3. next you'll attach the yarn to the dowel using a larks head knot. (i've used black yarn above so you can see the shape better.) fold your length of yarn in half to create a hoop at one end, place this hoop under the dowel as shown above..
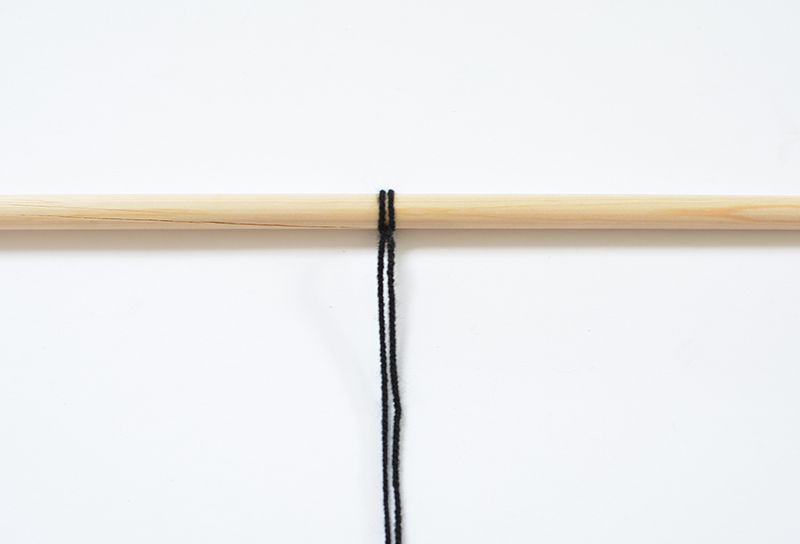
4. take the opposite two loose ends of the yarn and thread them through the loop to secure the yarn onto the dowel.
5. pull the yarn tight to finish- this is a simple larks head knot. you'll find video tutorials on youTube if you google it!
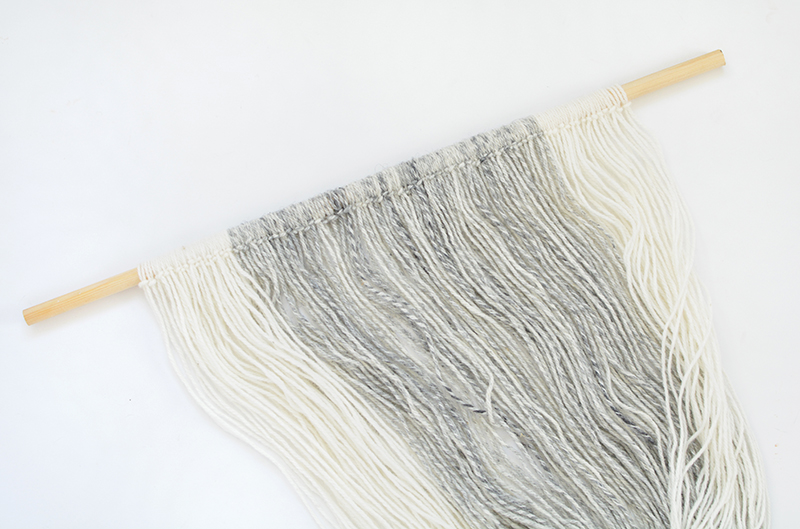
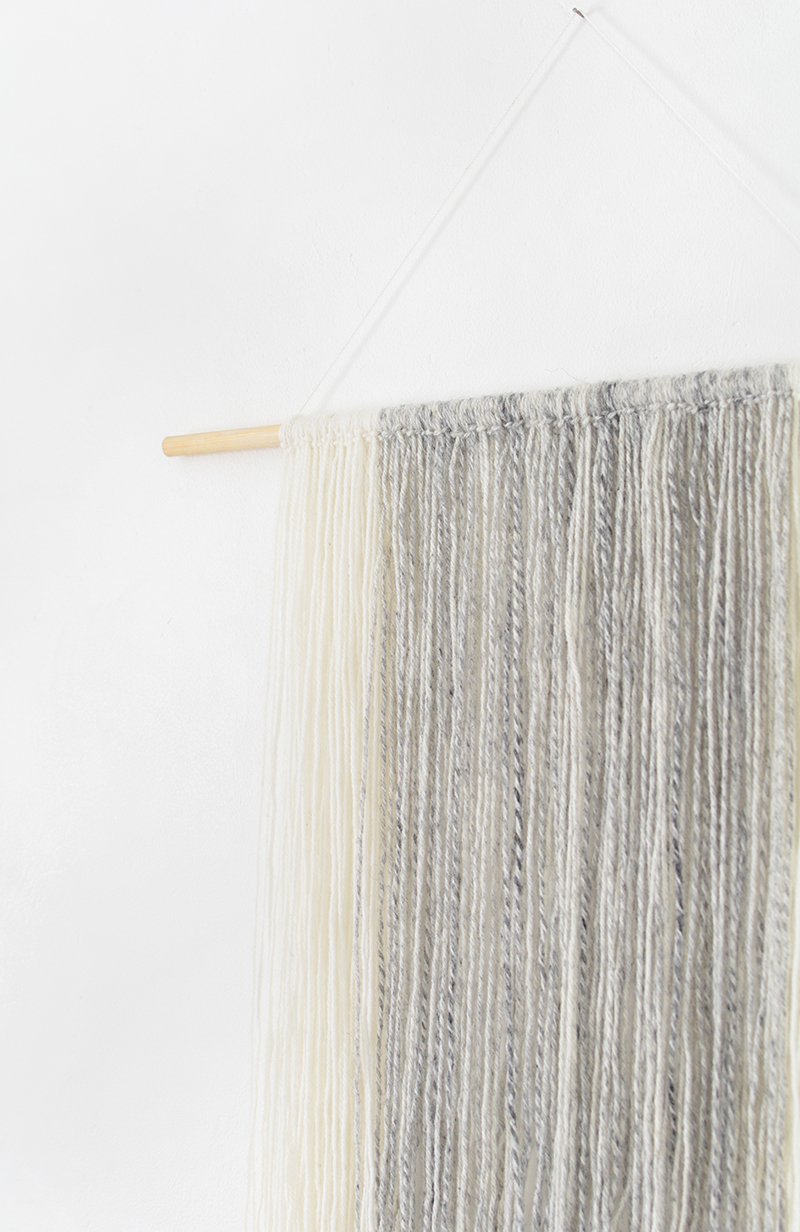
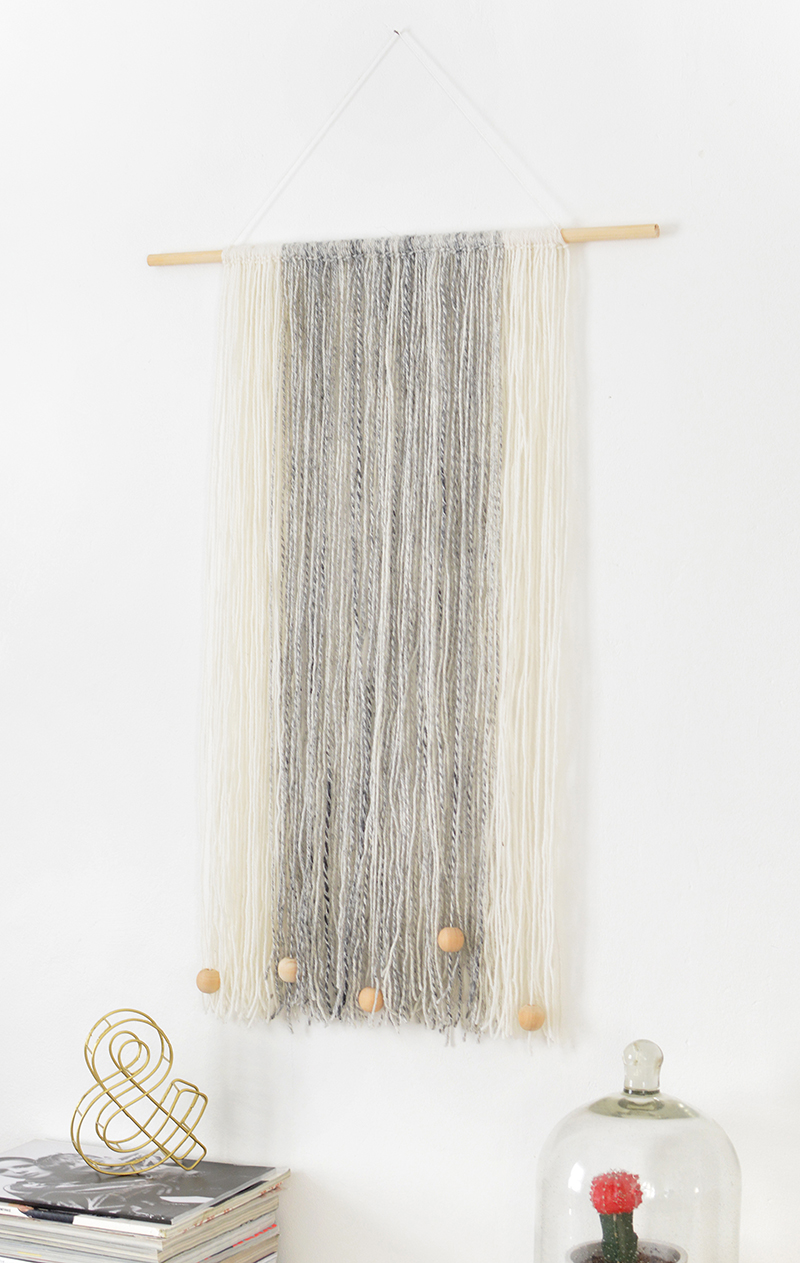
6. continue to cut lengths of yarn and attach them using larks head knots until you build up a whole row. i decided to keep quite a clean palette using white and grey yarn for mine- but you can be a colourful as you want!
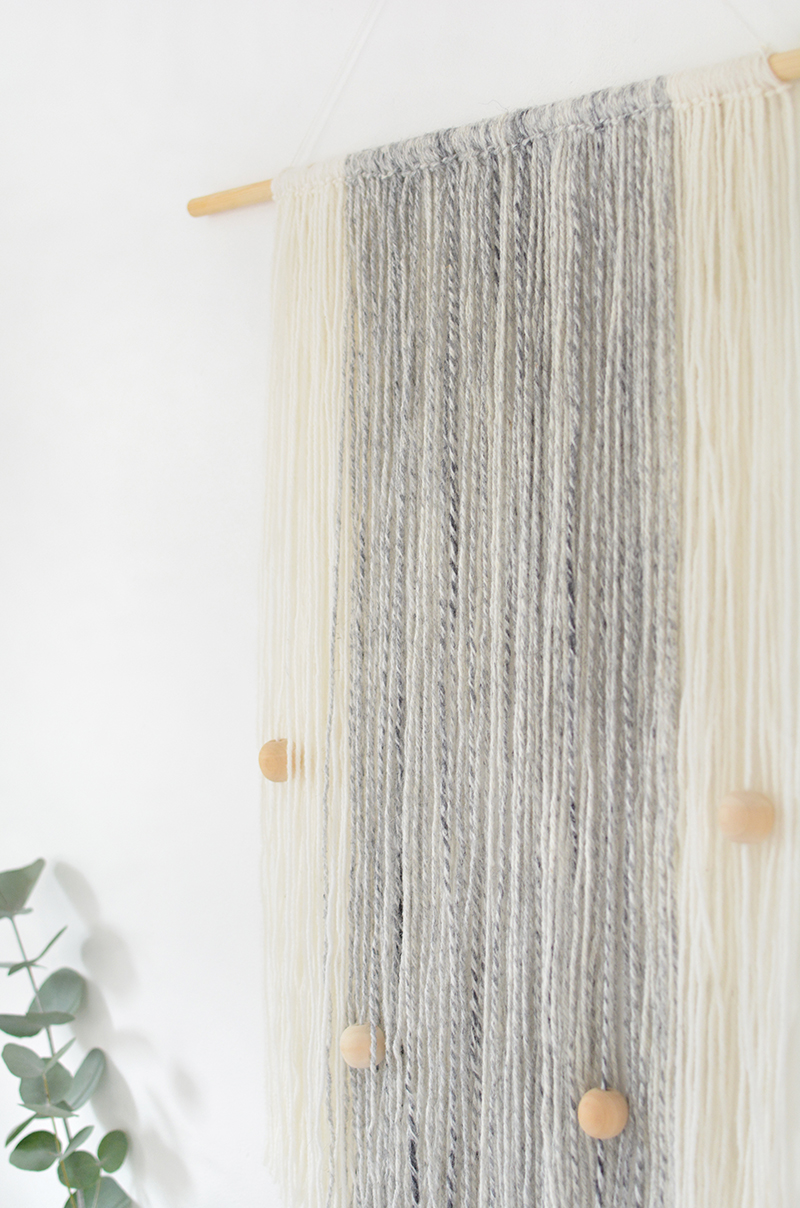
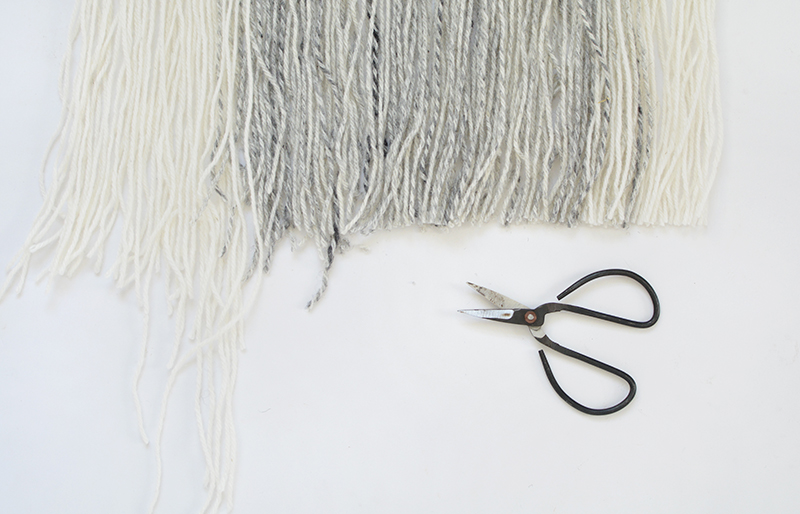
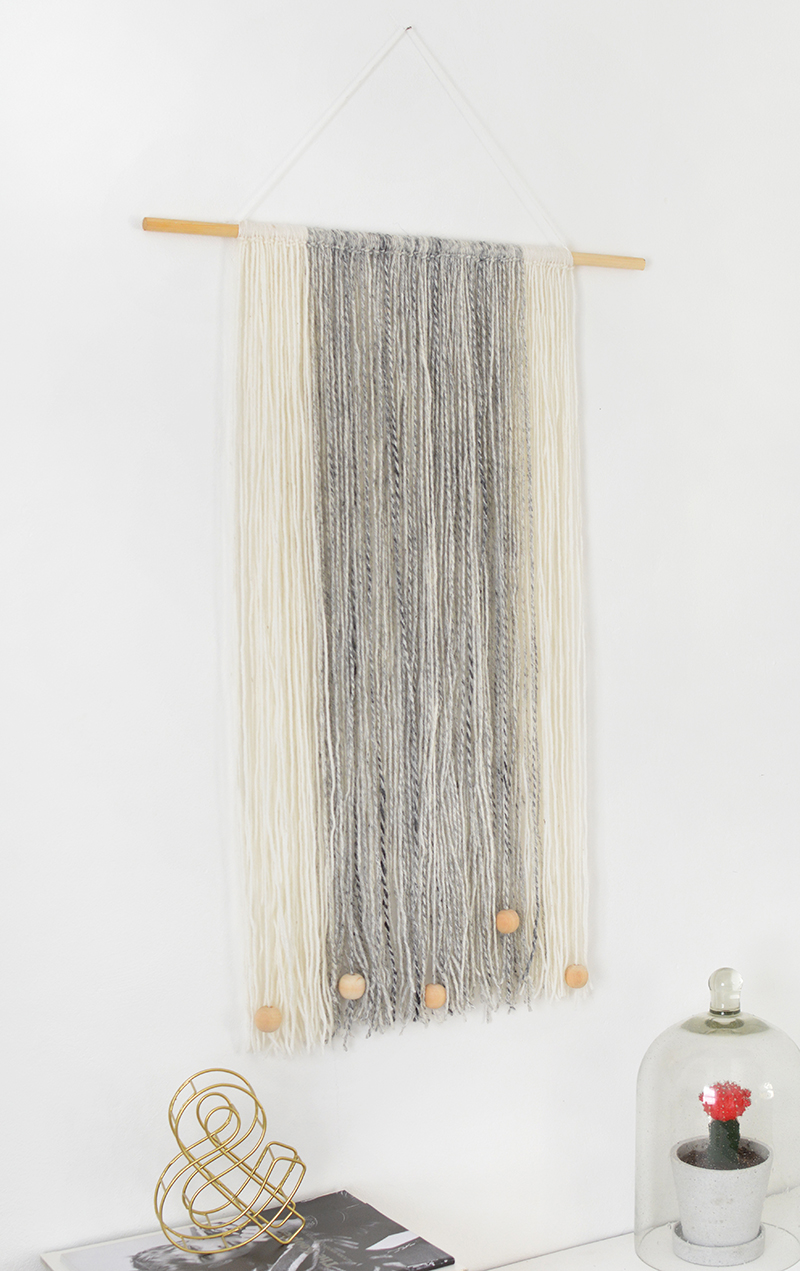
7. once you're happy trim the bottom of the hanging with scissors. at this point you can grab some wooden beads and thread them onto the ends of your hanging for a little extra detail. if you struggle to feed the yarn through the holes grab a toothpick and give it a push through, tie the end with a simple knot to stop it sliding off!
8. to hang simply tie a piece of string around the two ends of the dowel rail.
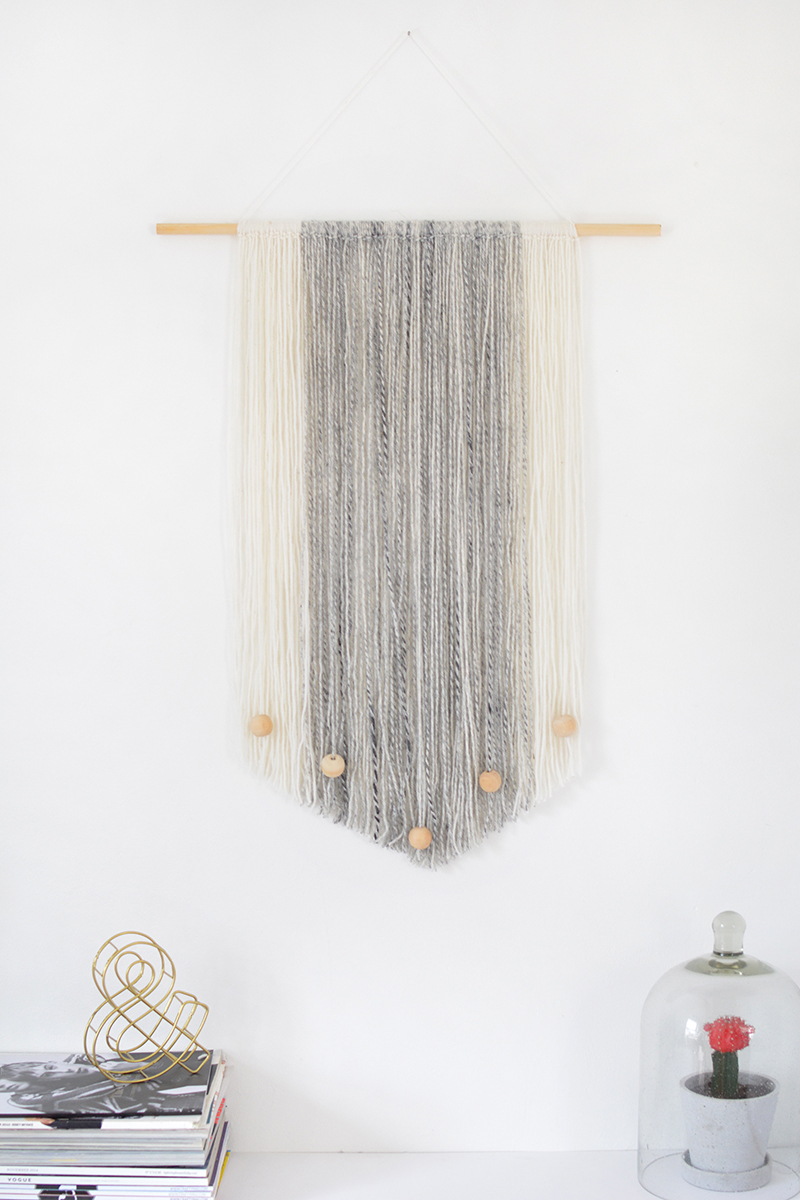
there you have it- a simple DIY hanging that really only requires you to tie a basic knot! at first i left my hanging with a straight edge at the bottom...
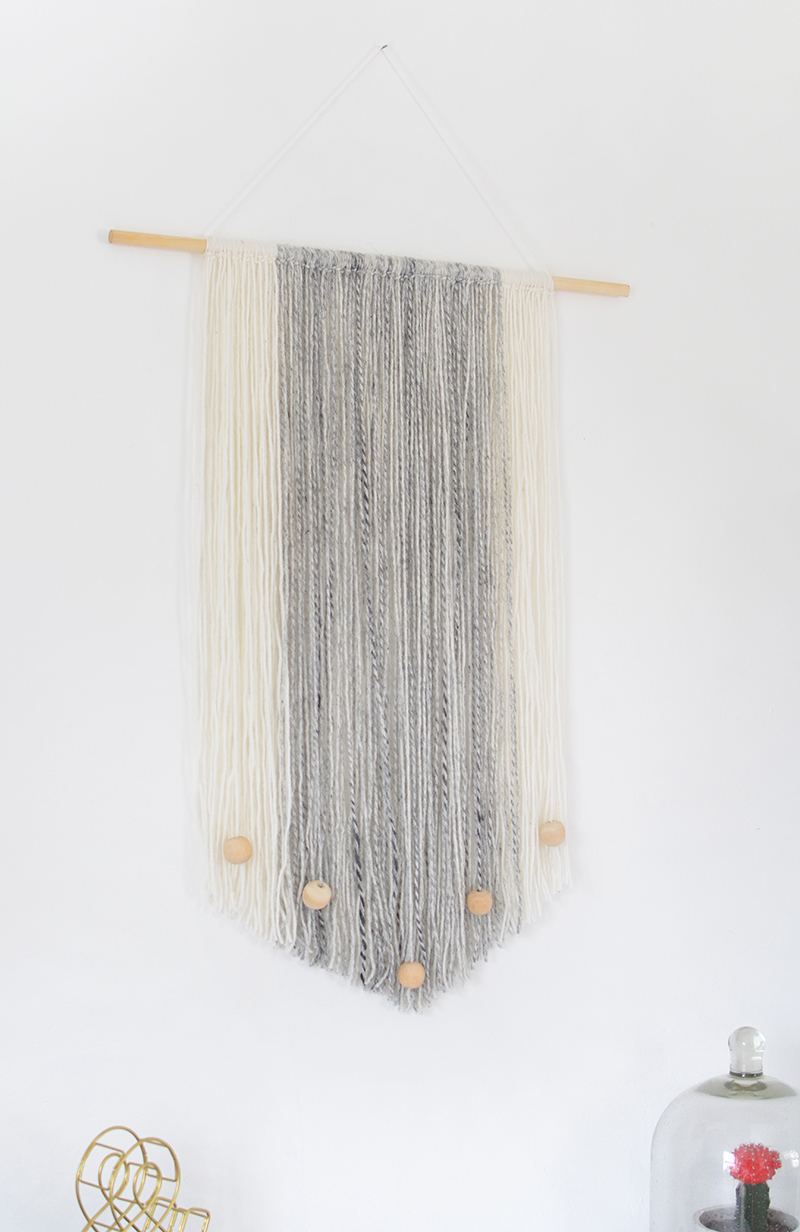
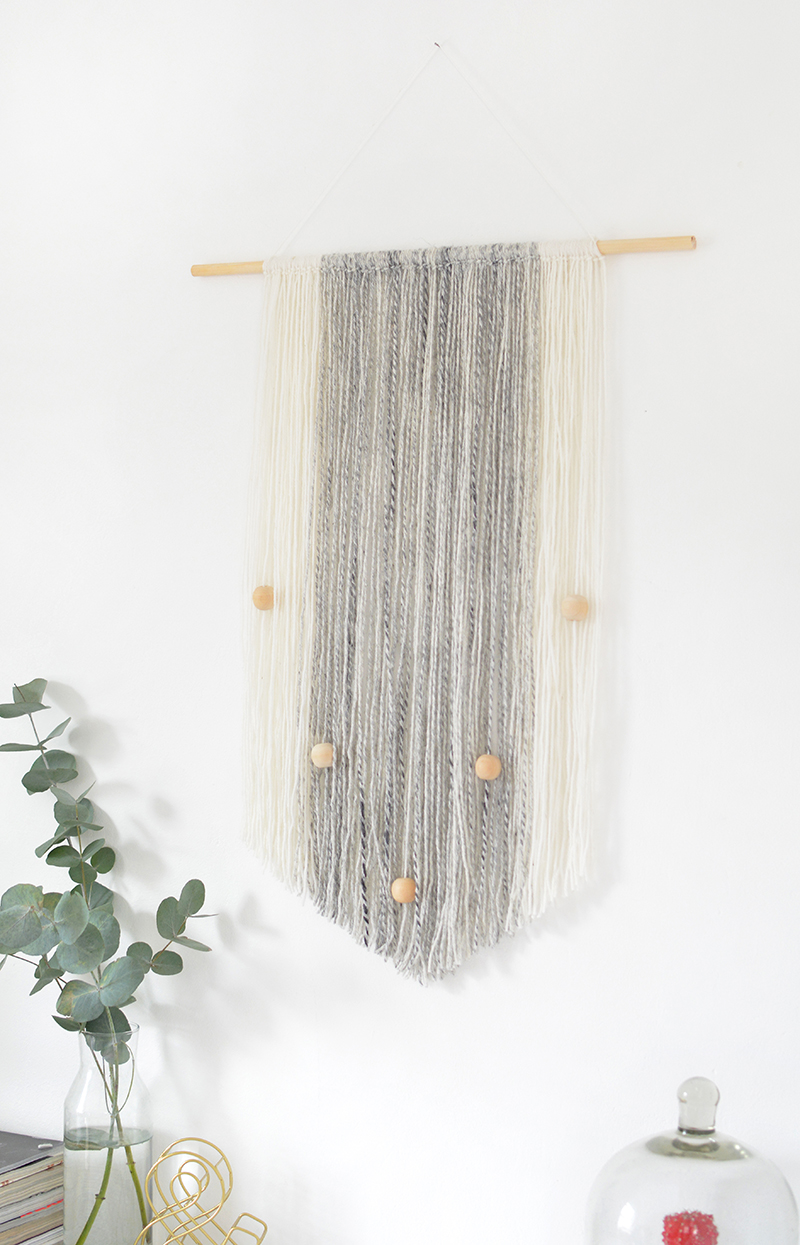
but then i decided to cut the end into a v shape- i think i prefer this version!
you could thread small pieces of copper or brass tubing onto the hanging instead of wood beads- or just leave it bare for a more minimal look!
what do you think? are you a fan of textured wall hangings?
back soon
caroline x



19 comments
This is so cool, and it looks amazing. Great idea!
ReplyDeleteAnika | anikamay.co.uk
thank you anika! :)
DeleteSo simple yet beautiful!! Love it.
ReplyDeleteDesi
thank you desi :)
DeleteA cosy addition to your home!
ReplyDeleteVivian | LIVE . IN . LOVE
~
and my cat loves it haha ;)
DeleteThis comment has been removed by the author.
ReplyDeleteLove this! Just had some wool delivered to do something similar but I ordered online and it's too thin so need to buy some more! Internet order fail! :(
ReplyDeletethelunamayblog.blogspot.co.uk
ah thats annoying- hard to tell sometimes when you order online!! :)
DeleteThats a great diy idea! Thanks for sharing with us. Kisses from Greece :)
ReplyDeletethank you angie! can you send some greek sun to the UK haha :)
DeleteI love how simple yet effect this process is, the finished product is so pretty. Thanks for sharing. =^-^=
ReplyDeleteSam | Momentarily Dreaming
thanks sam- hope you try making one! :)
DeleteWonderful effect, just with thread. I love it !
ReplyDeleteso pleased you like it! :)
DeleteHow much yarn did you need for this?
ReplyDeletejust one regular sized ball of each colour, i think it was 200gm size (and there was plently left over) hope that helps :)
DeleteThat is so helpful! Thanks! Beautiful project!!
ReplyDeleteExcellent idea no work just the imagination to put together a design that you love Thanks so much I will do this I am doing macrame after a long long time away and this is a refreshing idea to motivate me
ReplyDelete