After eating Thanksgiving dinner for the past couple of days, I’m sure you can agree that an easy, fall inspired dinner is in order. Much like last weeks soup, I wanted to cook a meal that was full of undoubtably fall ingredients. I figured that something pumpkin flavoured would be the perfect choice. I took to the internet and found this recipe for Pumpkin Pasta and knew immediately I wanted to give it a go. My boyfriend and I love pasta but normally stick with tomato based sauces, so a pumpkin based sauce was a welcomed change. The recipe tasted very seasonally appropriate and uses few ingredients making it straight forward yet full of flavour. I added crumbled goat cheese on top of the almonds as I assumed they would pair well together with the pumpkin flavour giving it a salty element. And if I can have an excuse to use goat cheese (seen here, and here) you know I am taking it.


welcome to our home part II
October 2, 2013
{I love that our bathroom sink and counter is big enough for each of us to have a roomy side. Mine is filled with the products I use most (perfume, moisturizer, etc.) and this mini beach treasure set my mom gave me for my birthday.}
Continuing with our home tour from last week I wanted to move along into our bedroom and bathroom. As there still is a bit of our home that you’ve yet see (sister’s bedroom’s, bathroom and basement (or office)) I will make sure to post more pictures in the near future. But for now our bed, bath (not beyond) will do. For our bathroom and bedroom we wanted to stick with keeping everything white and shades of grey. As the walls are already white there wasn’t much work to be done on that front. We are actually going to keep all of walls white for now as we feel it keeps the rooms looking more open and clean. The shades of grey are used more as accents through sheets, rugs, trays etc. Everything is still coming together and I intend to work more on this place throughout the year but for now I hope you have enjoyed our mini home tour and have inspired you with a few ideas!
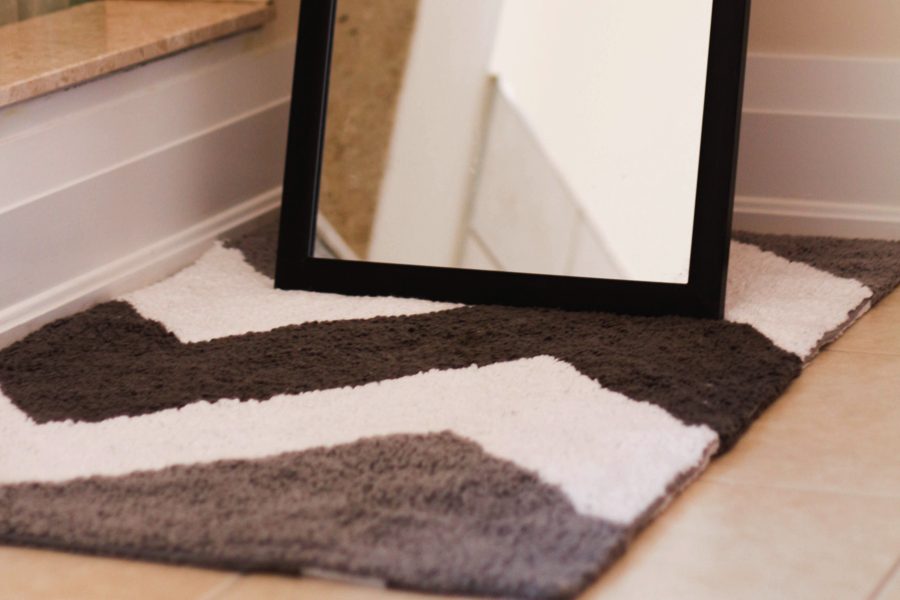
{this chevron rug from west elm, it gives a nice print to an otherwise plain bathroom.}
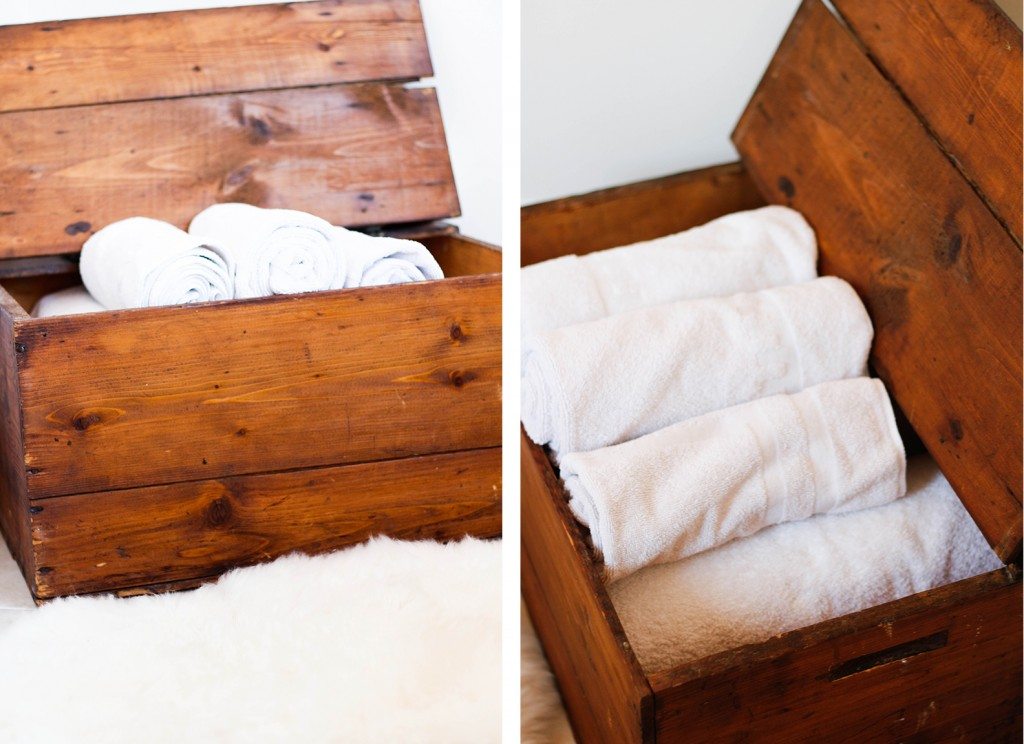
{The fact that we bought this vintage looking wood bin from value village for under $10 was insane. We use to roll fresh white towels for easy pickings.}
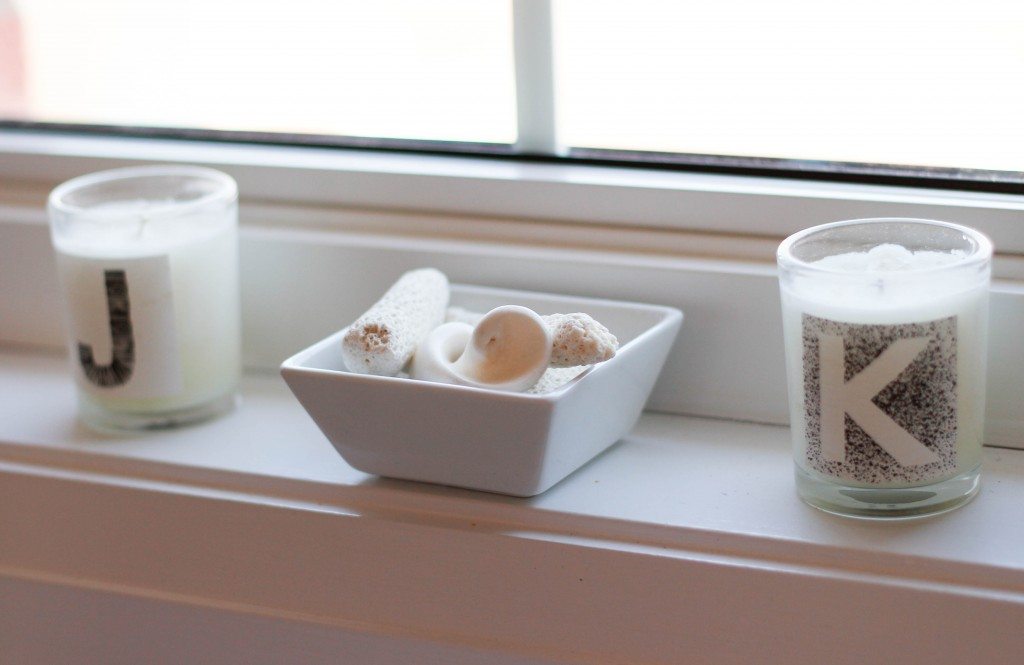 {Our windowsill holds two candles from West Elm with our initials on them and seashells that we picked up on beaches in Aruba.}
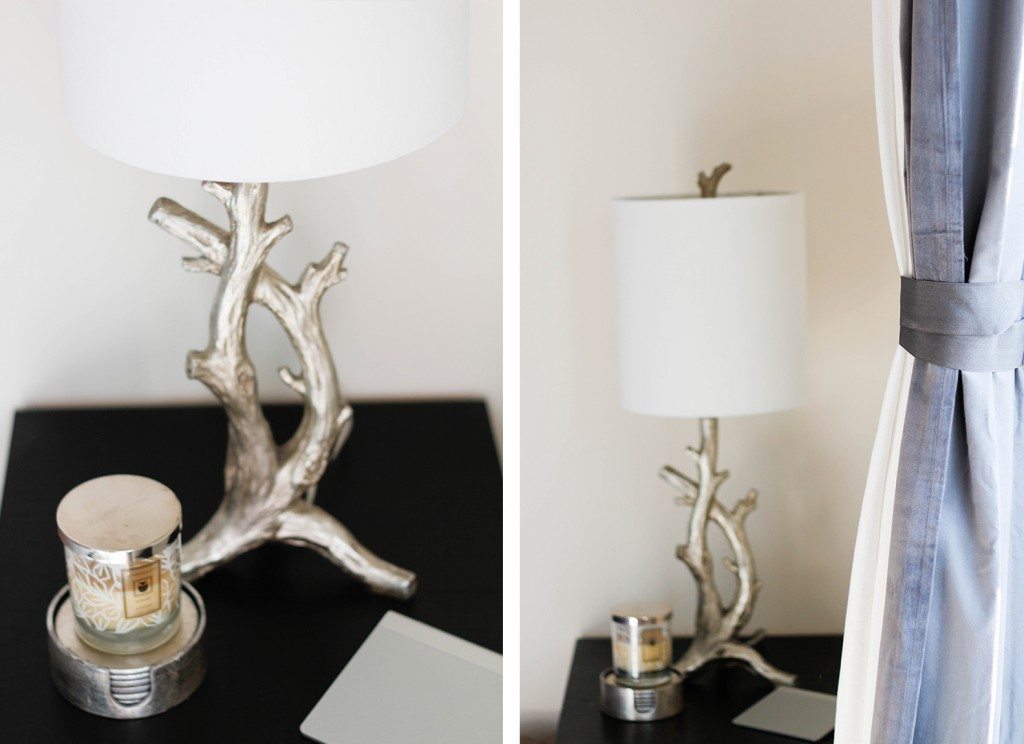
{I am so in love with this lamp my boyfriend found at Winners Home Sense (I have a really big obsession with branches and antlers so he knew I’d be all for it).
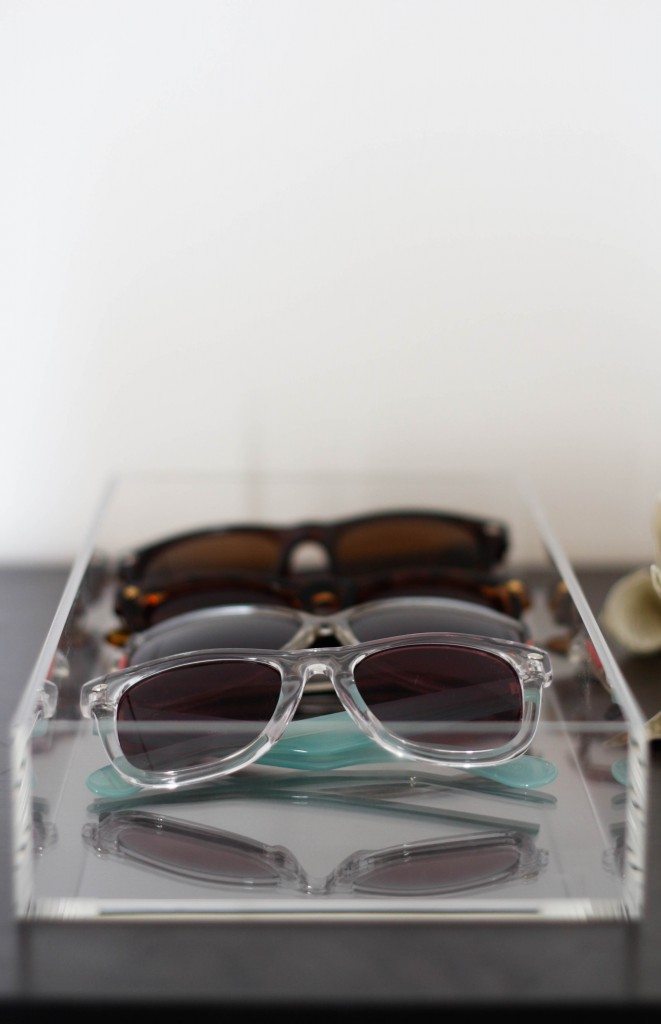
{On my dresser I use trays to display my jewellery and sunglasses, on top of the tray I put different size, colour and textured bowls, plates, vases, etc to organize it all. These lucite trays are from CB2 and all of the little bowls are either from West Elm or Crate and Barrel
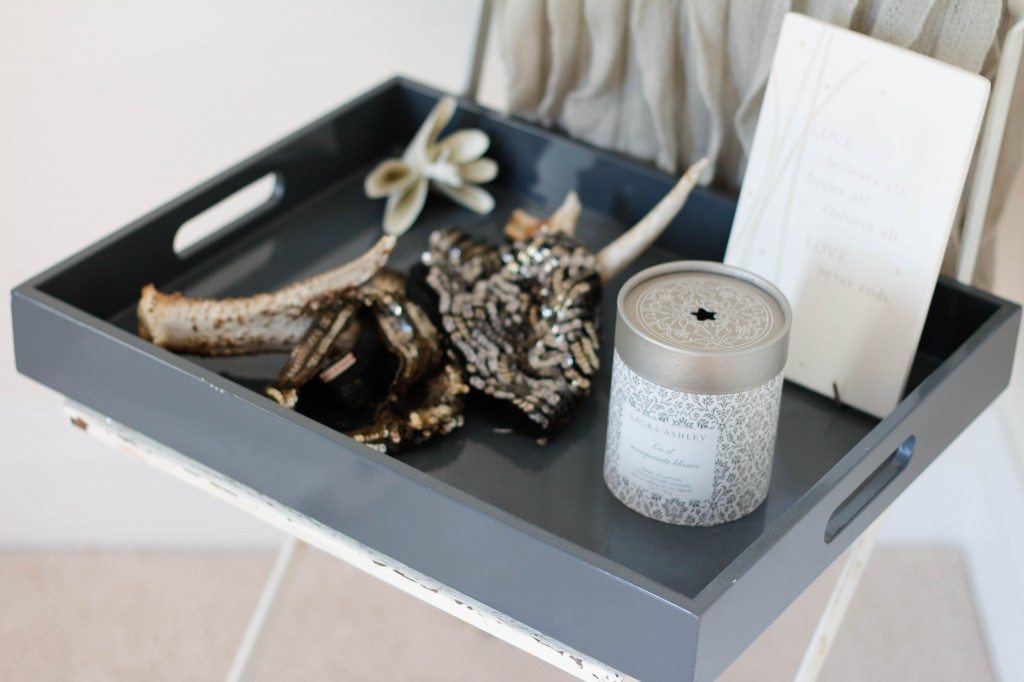
{In the corner of our room sits a vintage chair that I was told was pulled out of a barn (maybe an exaggeration). I enjoy how the paint is chipping and there are some rust spots, I think it gives it character. On Top sits another tray from West Elm, an antler (obviously), and two vintage hats from the 1920’s from here.}
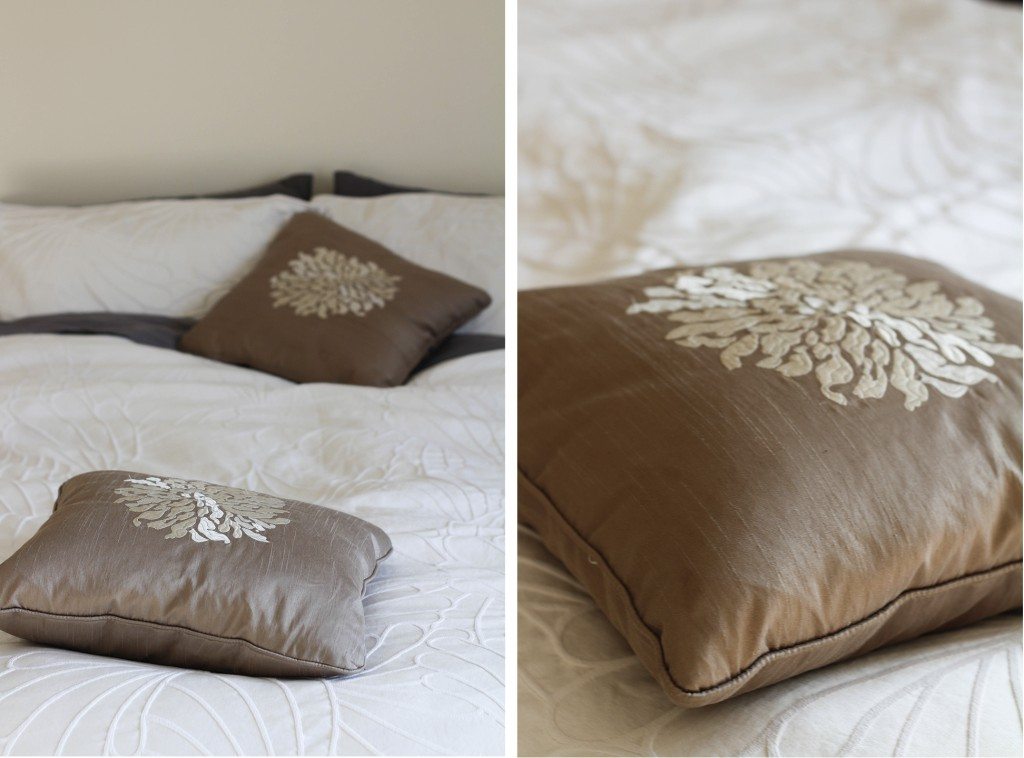
{Sticking with the white and grey theme is our bed that is just that.}
How To: Turn a T-shirt into a Muscle shirt
August 7, 2013
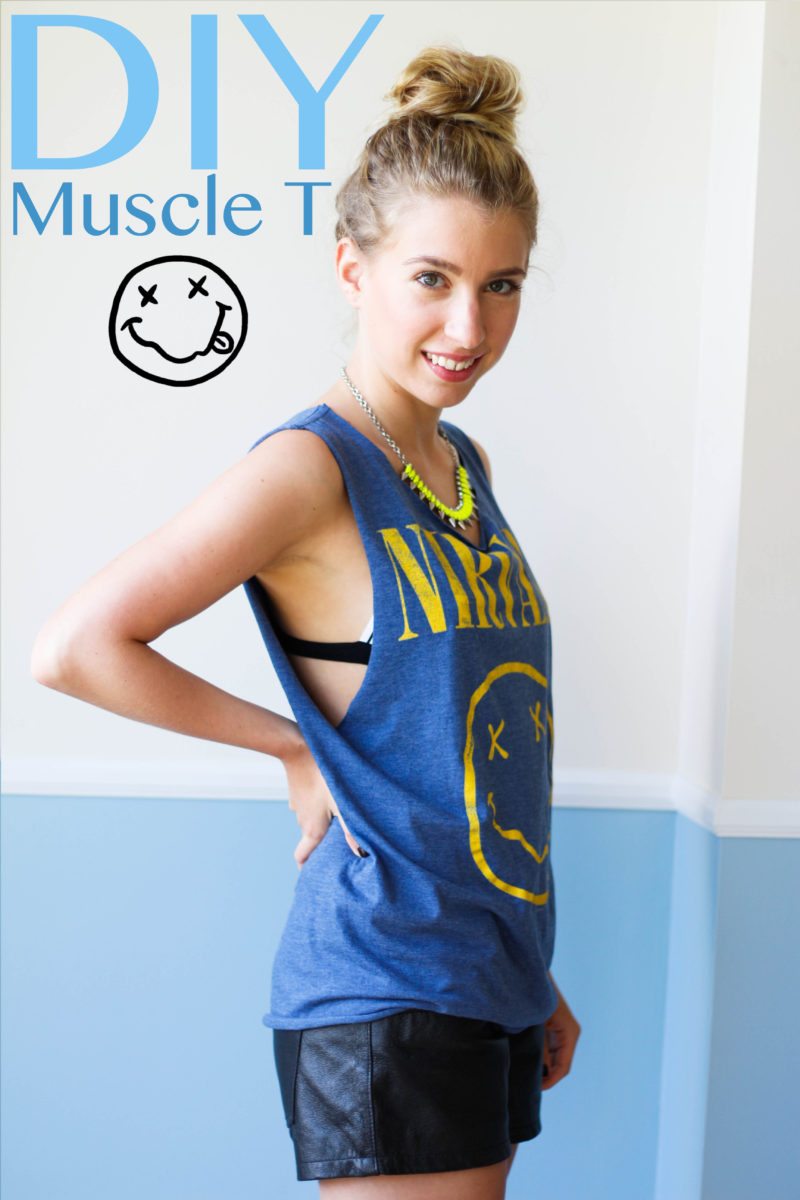 I purchased this Nirvana t-shirt back in April in the mens section at Target (for $12) with full intent to cut it up so that it would fit. The fact that I only just got around to doing it now (can you say procrastinator) is rather embarrassing, but I’m glad I can share the process with you! As this was my first attempt at cutting up a t-shirt I have to say it turned out pretty well, and I can say with full confidence It will be my new go to graphic t-shirt, besides this one by Chaser that is also very similar.
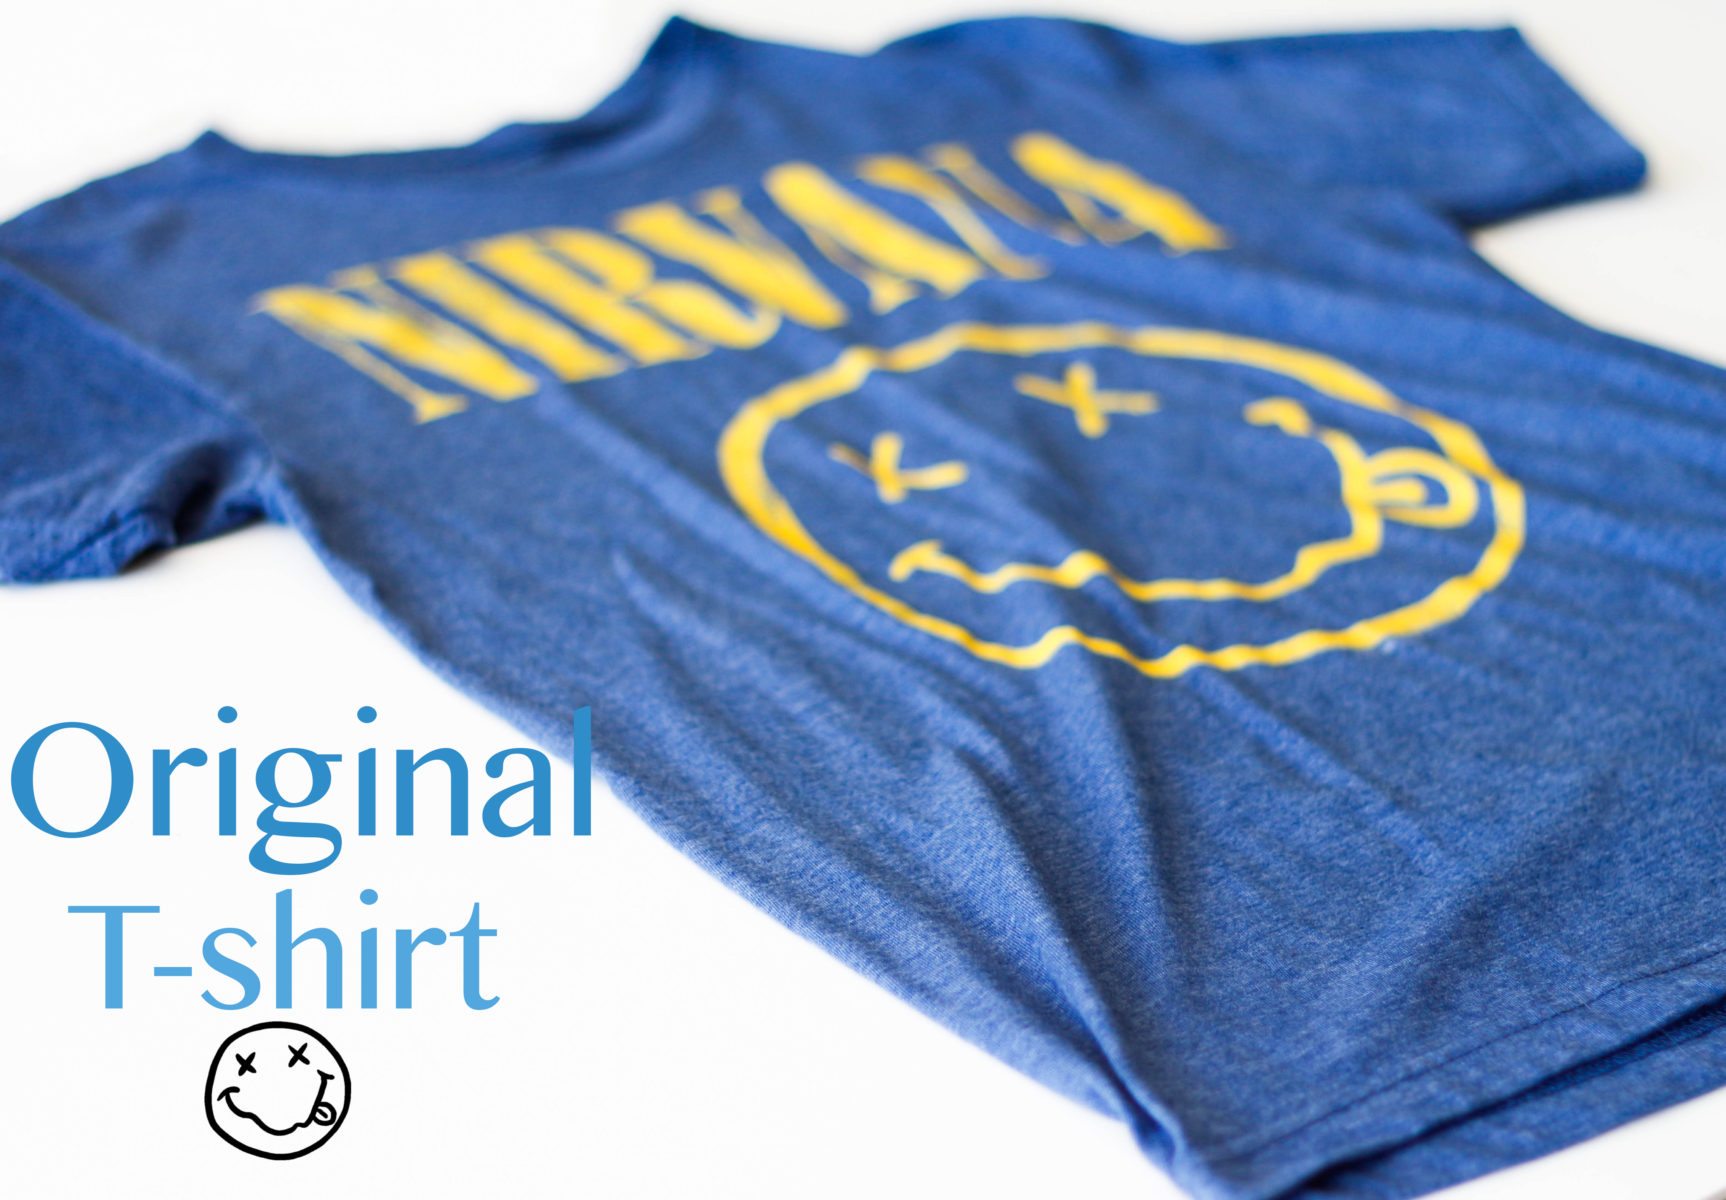
What you will need:
1. Pen or chalk
2. Very sharp scissors
3. Baggy t-shirt
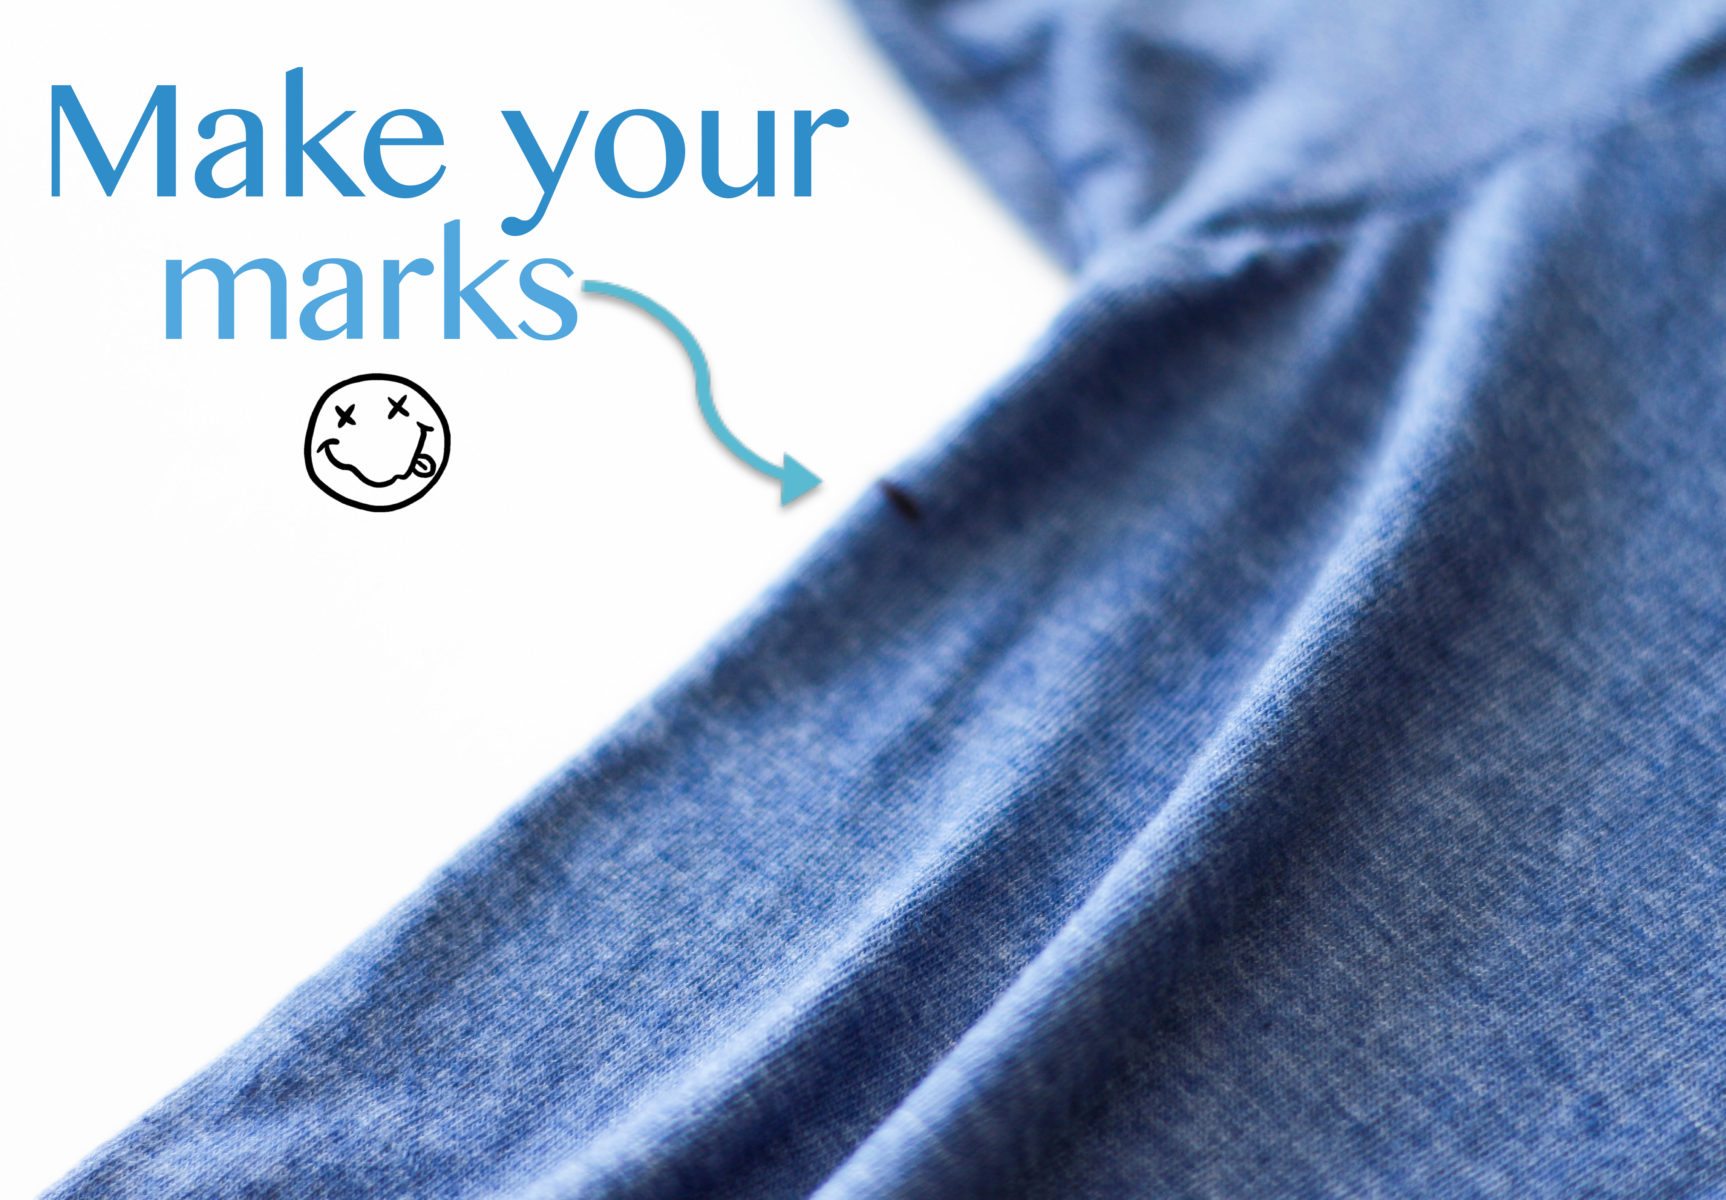 Take your pen or chalk and mark out 3 points:
1. An inch away from the shoulders seam
2. An inch away from the collars seam
3. An inch or 2 (depending on how low you want your shirt) below the armpit seam
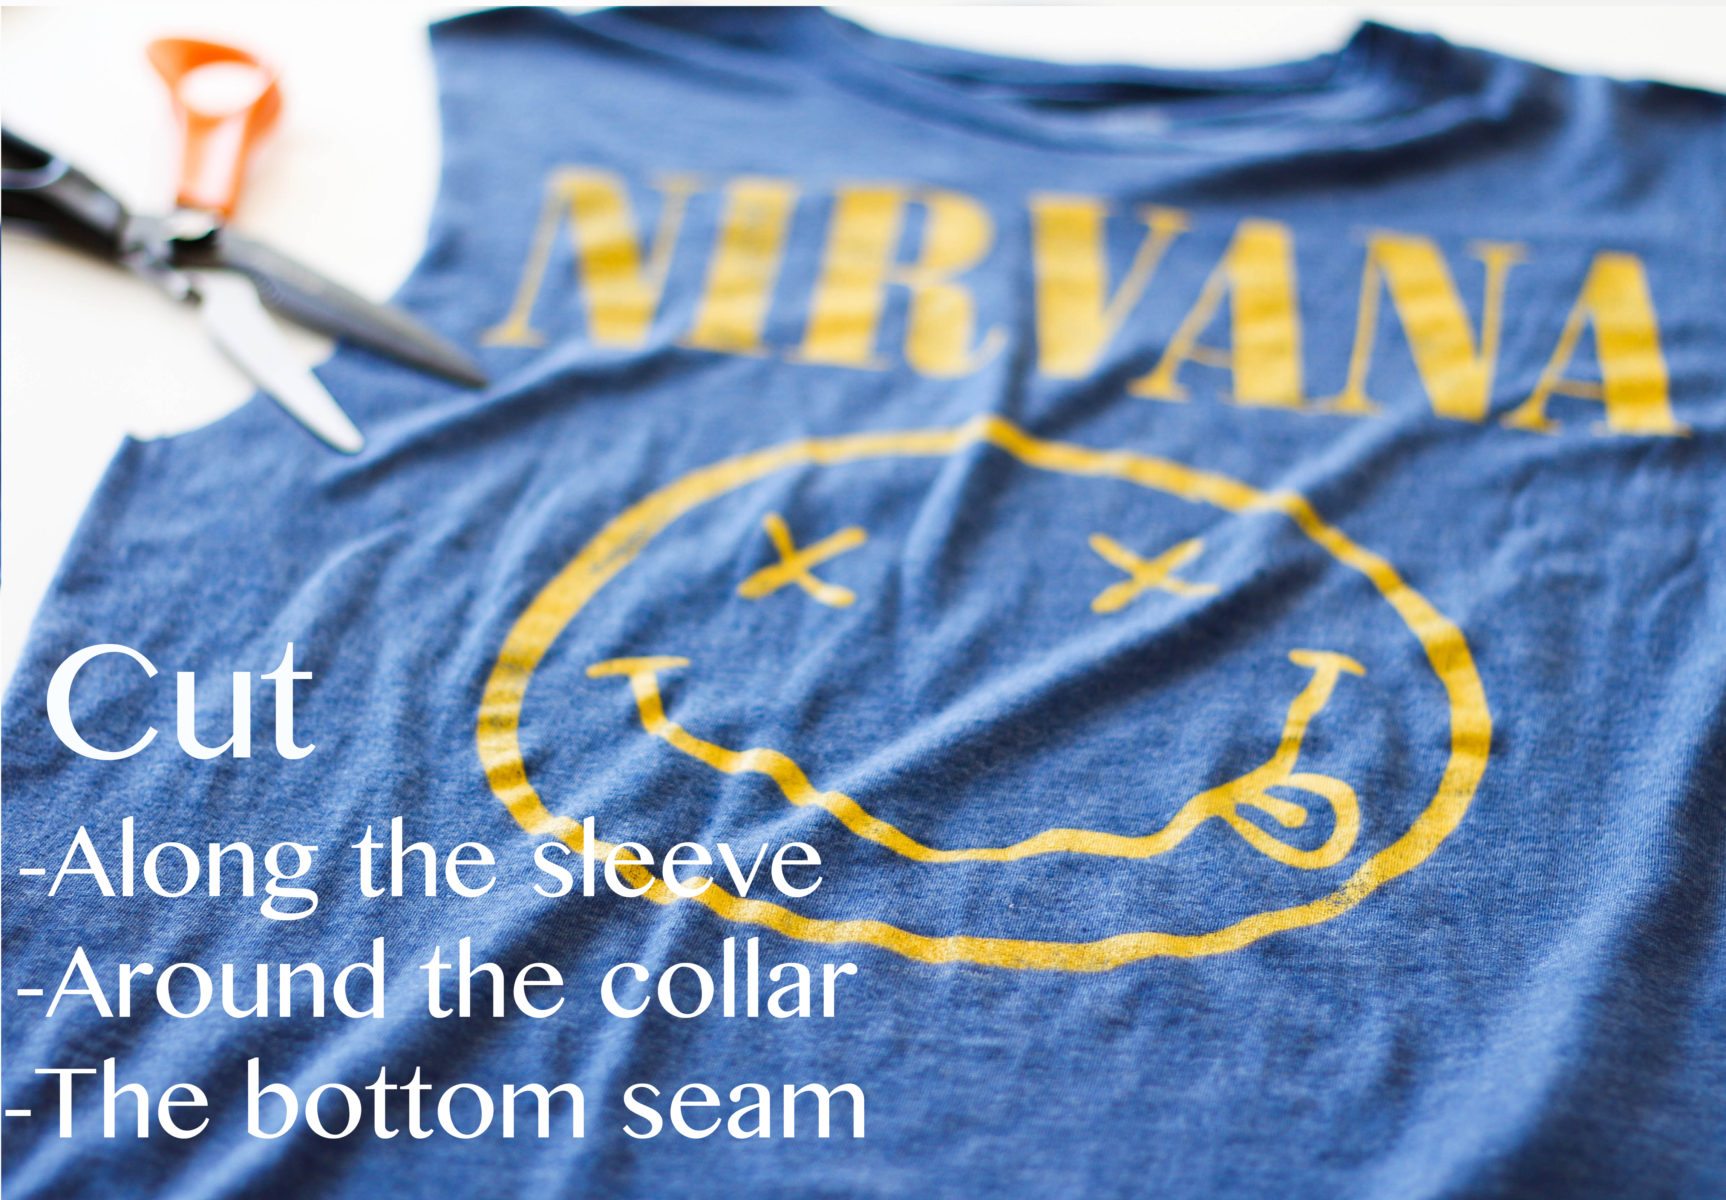
To Cut Shirt:
1. Use a SHARP pair of scissors.
2. The Sleeves: Cut from the mark you made at the armpit to the mark that is an inch away from the shoulder seam.
3. Do the same for the other sleeve.
4. The collar: cut from the mark an inch away from the collar to the mark on the other side.
5. The Bottom: Cut right above the top seam just so that you have cut it off
 Pull and gently stretch the arms, collar, and bottom so that the fabric curls up slightly. Any imperfections will be hidden in the curl and will not be noticeable once the shirt is on.
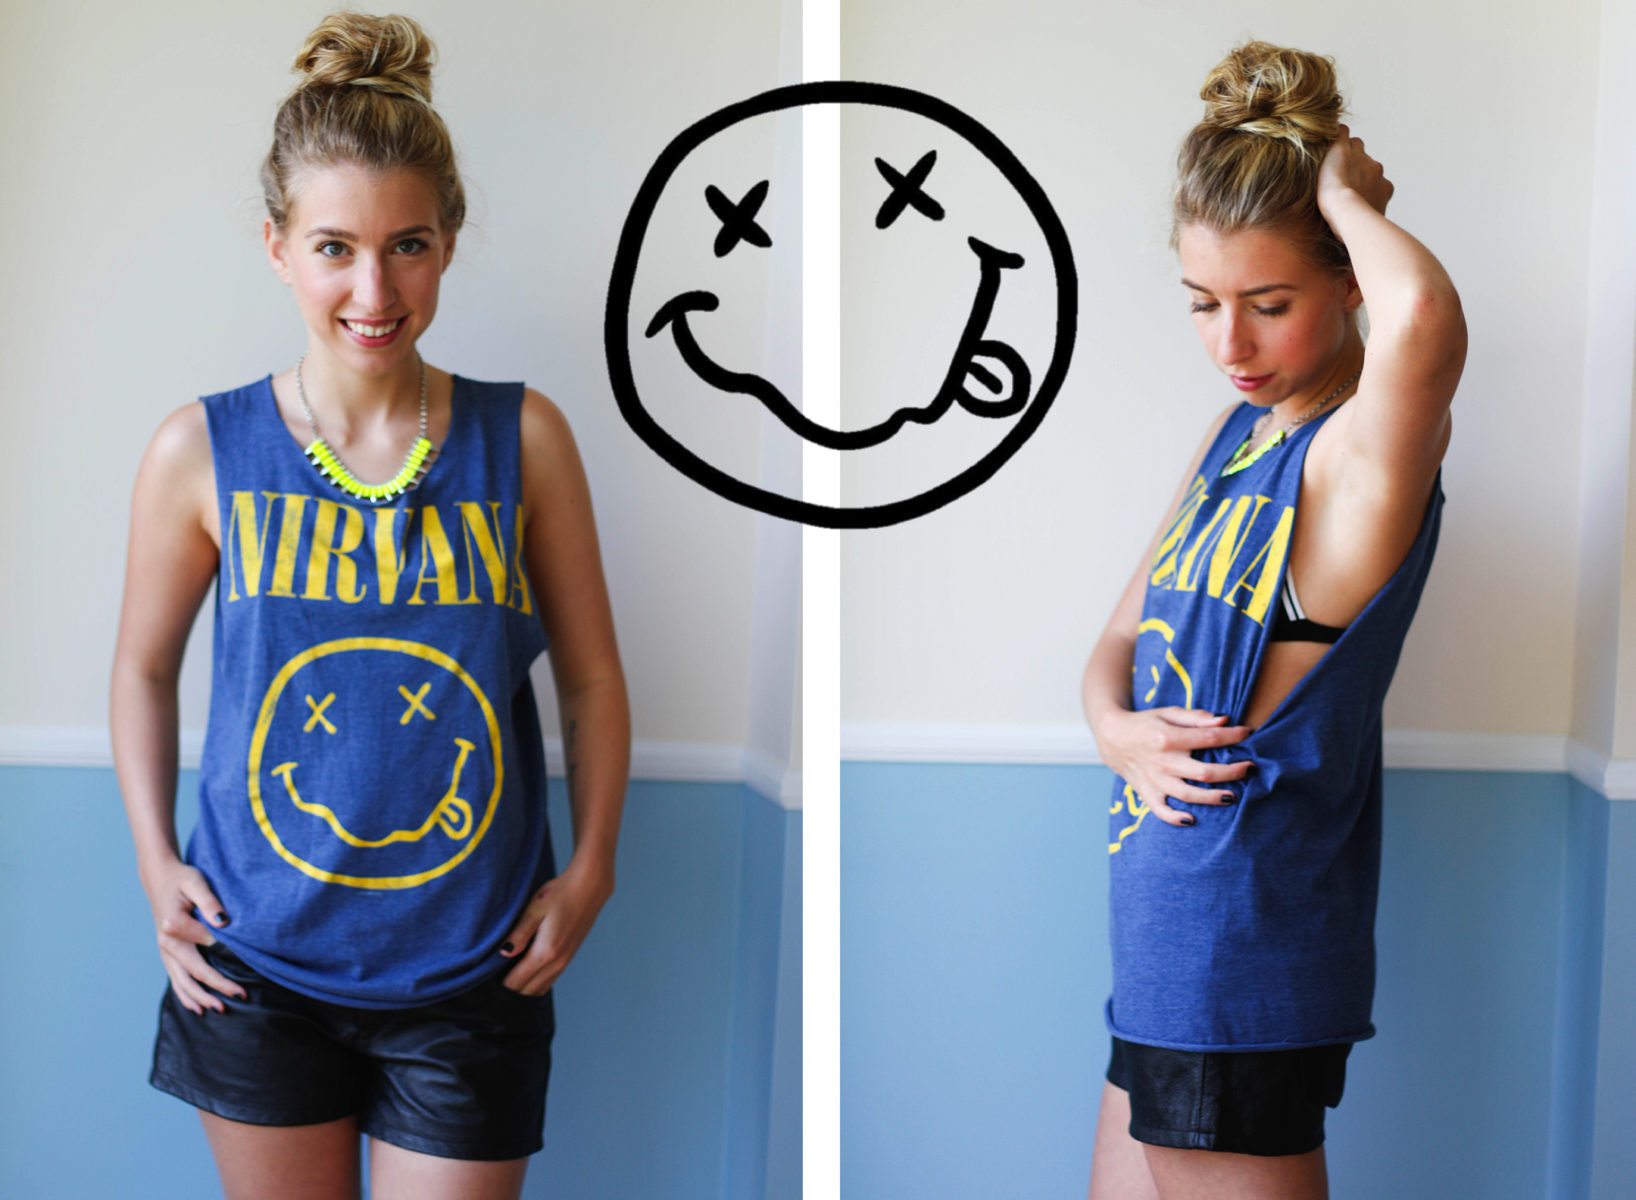 What I’m Wearing: T-shirt; Target // Leather Shorts; Blank Denim // Necklace; Call it Spring // Bralette; Winners
