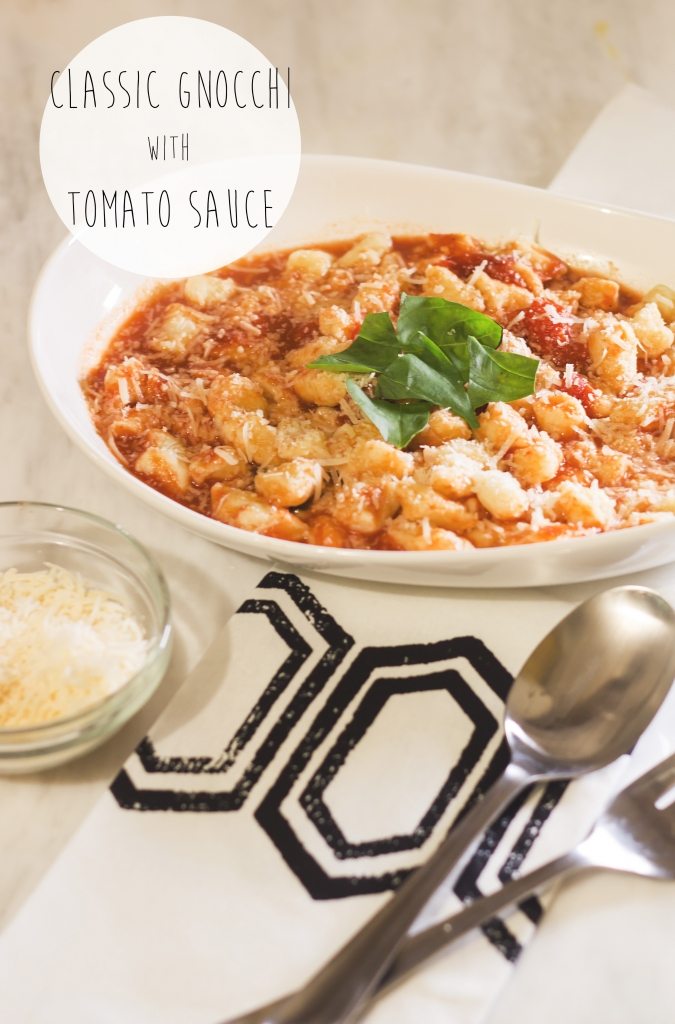
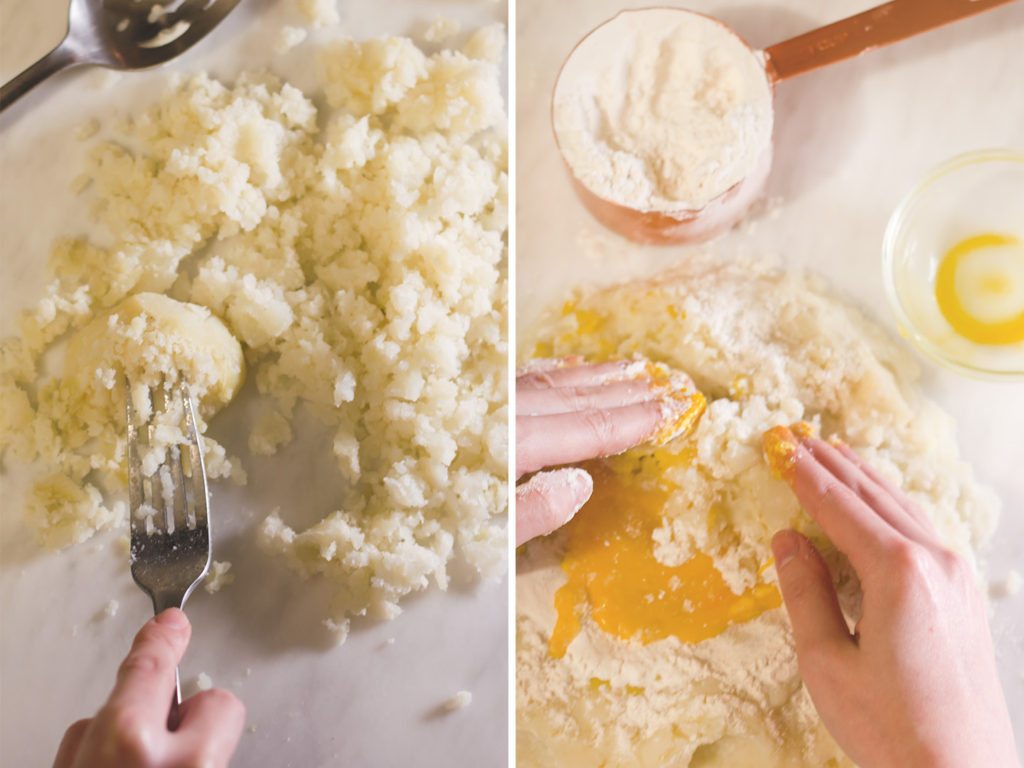
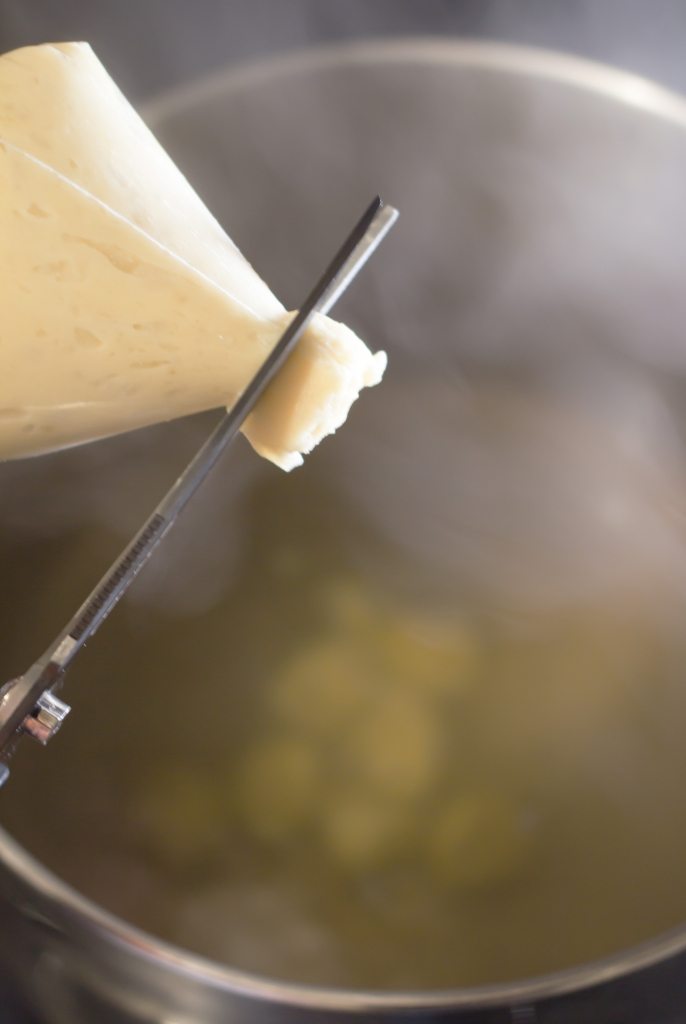
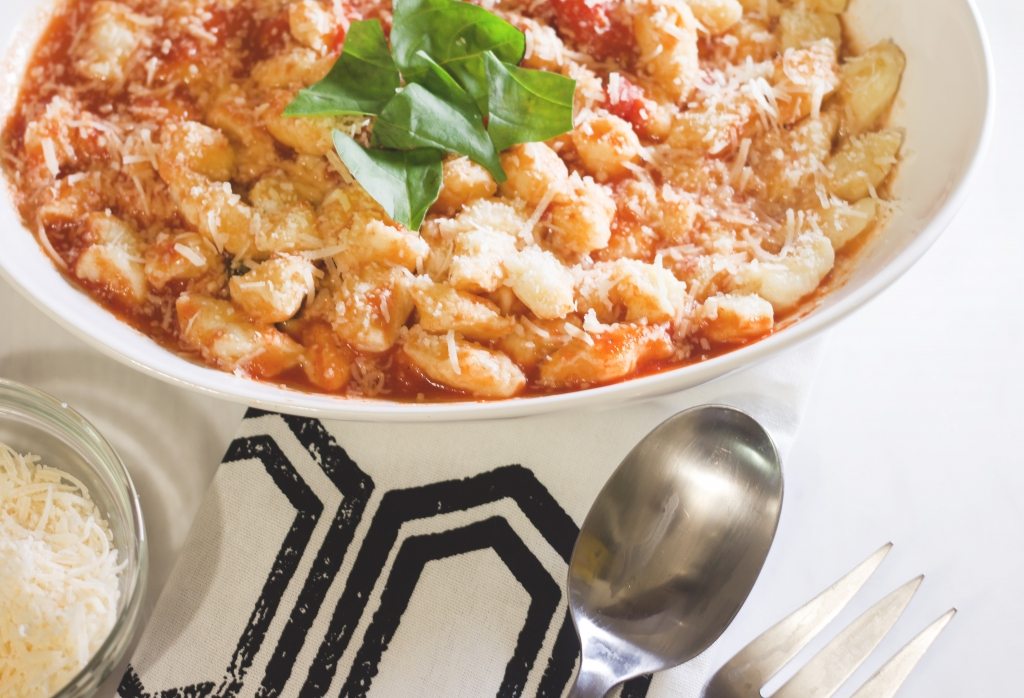
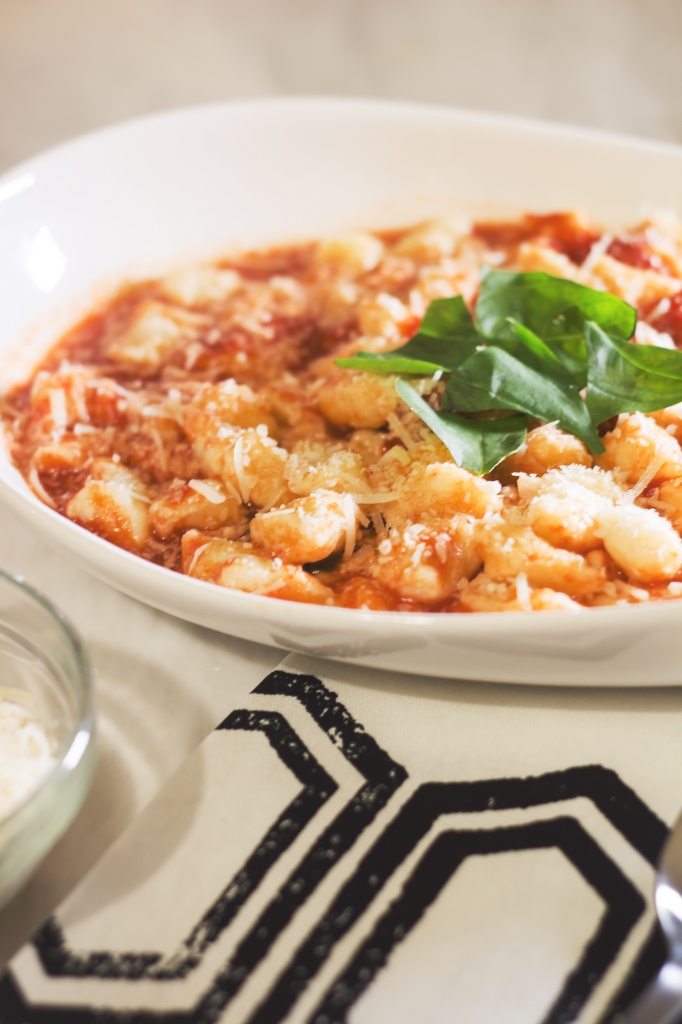
Gnocchi had always been a mystery to me ever since I first tried it back in college at a fancy restaurant before heading to a Kanye West and Jay-Z concert (true story). I didn’t know how to pronounce the name, let alone even know what those fluffy little nuggets of heaven were made from, I just knew that they were delicious. I have since learned both the pronunciation and the ingredients, yet have made gnocchi only once previous, using this recipe both times. I remember thinking the first time around that my gnocchi tasted a little off, but this time they turned out just as I remember them from that restaurant back in College. The only thing I did differently with the gnocchi was putting it in a bag with a small hole at the end and cutting my gnocchi directly into a pot of boiling water instead to forming them first and making lines with a fork. I also paired this simple but fresh and flavourful tomato sauce to go with it. 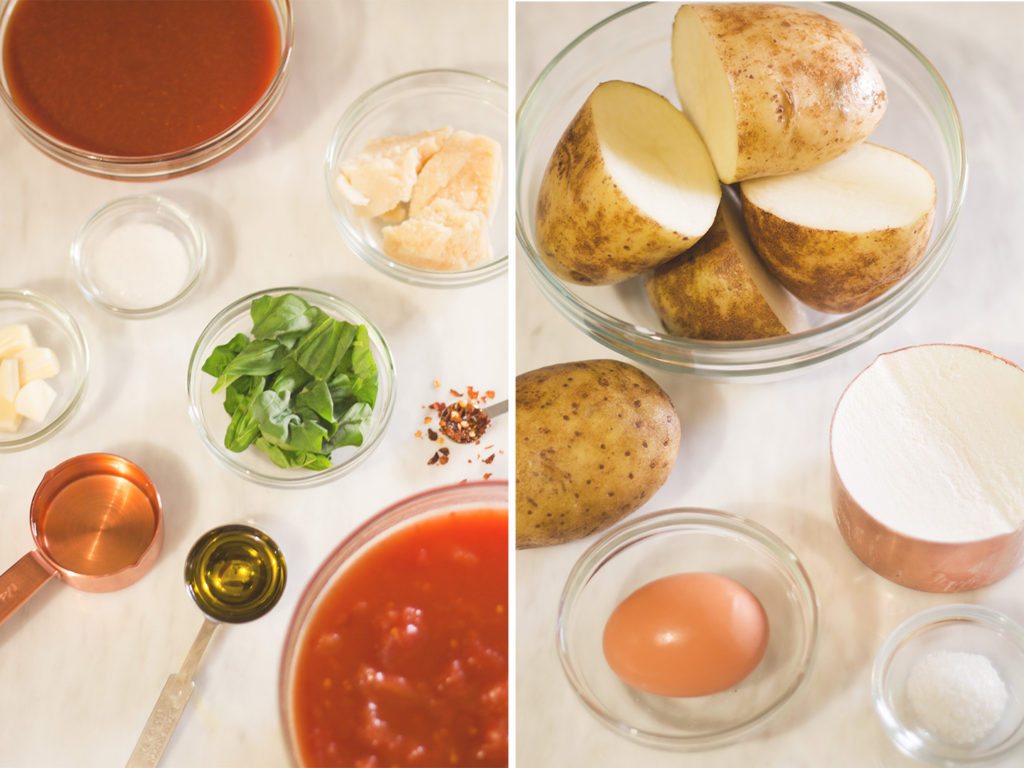
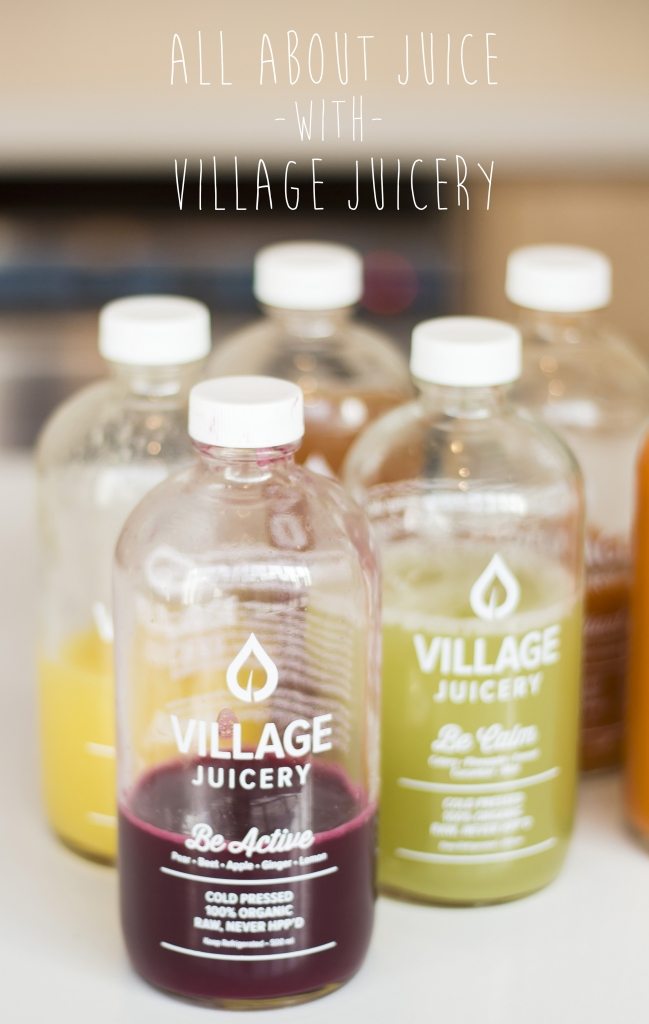
All About Juice With Village Juicery
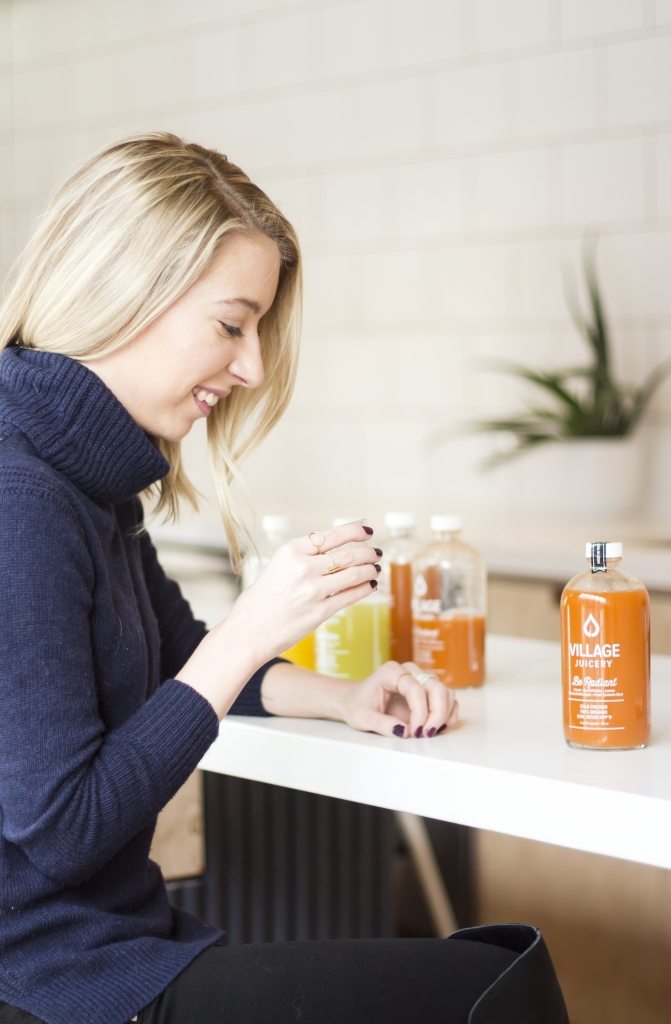
January 21, 2015In the last year or so I have heard more and more about juicing and the benefits that drinking cold-pressed juice can have on overall health and well-being. Green Juice makes a daily appearance on my Instagram feed, and most recently juice bars have been popping up in what seems like every neighbourhood in Toronto. I try to eat a balanced diet, and get my exercise through walking Milo everyday and walking to work, but I know that I am not as active and healthy as I would like to be. I have been curious to try cold-pressed for a long time because I don’t believe that anything could be wrong with adding more fruits and veggies into my diet. Village Juicery is one of Toronto’s newest juice bars, located in a small but beautiful, light filled spot in Little Italy. The store is simple and minimal and really allows the juice to speak for itself…and boy does it. I wanted to see first hand what juicing is all about and because I am no expert, and because Village Juicery hires only experts to work in their store, I felt confident that it was the place to go for my first juicing experience. I spent an afternoon tasting every kind of juice and learning the in’s and out’s of juicing from Marieke who is a holistic nutritionist. I honestly LOVED every single juice that I tried, and now really want to begin adding cold-pressed juice into my diet. There are so many things that I learned about cold-pressed juice from Marieke, but here are the top 5 things that I think everyone should know.
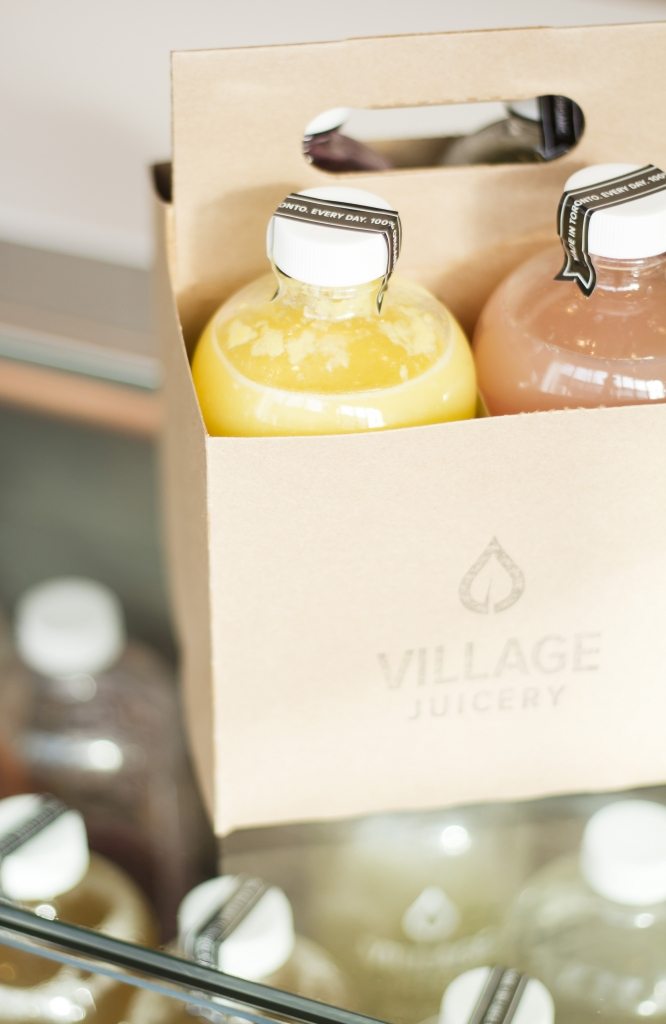
1. Did you know that the conventional manufactured juice that you purchase in store can take 365 or more days to get from sourcing stage to the store front? I had no idea that the juice that I drink everyday for my breakfast took that long. Using Ingredients that are non-organic, not local and not fresh, the nutrients that I was receiving from the juice I drink is nearly non-existent. Plus, the chemicals and preservatives that are in those juices? No thank you. Raw organic juice from Village Juicery uses fresh, organic and local when possible ingredients that are freshly pressed every night and brought into the shop the next morning. This process takes a total of 12 hours!
2. Fruits and veggies aren’t the only thing you can juice! Along with all of the organic fruit and veggie juices that Village Juicery has to offer, they also offer 3 kinds of nut milks. From pure almond milk, to two milk mixtures called Be Happy (cashews, alkaline water, dark maple syrup, pink salt, cacao nibs) and Be Smart (alkaline water, almonds, hemp hearts, mehjool Dates, pink salt), these milks contain no additives or preservatives and are soaked and made by hand daily. Both Be Happy and Be Smart taste like a decadent treat but are so good for you.
3. Different types of juice help different parts of our bodies. Just like all fruits and veggies are meant to help with specific parts of our bodies and prevent ailments later on in life, different juice recipes do the exact same. All of the juice at Village Juicery are named after what they do. From Be Radiant, a juice that is packed full of carrots, sweet potato and other ingredients to help you shine, to Be Active, a juice rich in antioxidants such as beets, pear and ginger to keep your cardiovascular system in check. Every juice has a purpose.
4. There is a process in the making of store bought juice called HPP that stands for High Pressure Pasteurization. This means that after juice is packaged in plastic, it is treated to 80,000 pounds of pressure in hot water chambers. Although the process of HPP kills bad bacteria, it also kills the good bacteria that aids in digestion and doesn’t allow for proper alkalization of the body. Village Juicery does not HPP which keeps the all of the good bacteria that is important for digestion.
5. Green juice is actually delicious. I was skeptical all morning about trying a juice that was made from 90% leaf and 10% fruit, but was pleasantly surprised at how delicious it was! Village Juicery’s Be Clean juice is made from kale, celery, Granny Smith apple, parsley, romaine lettuce, cucumber, dandelion greens and lemon which made this juice the healthiest thing I’ve had all year.
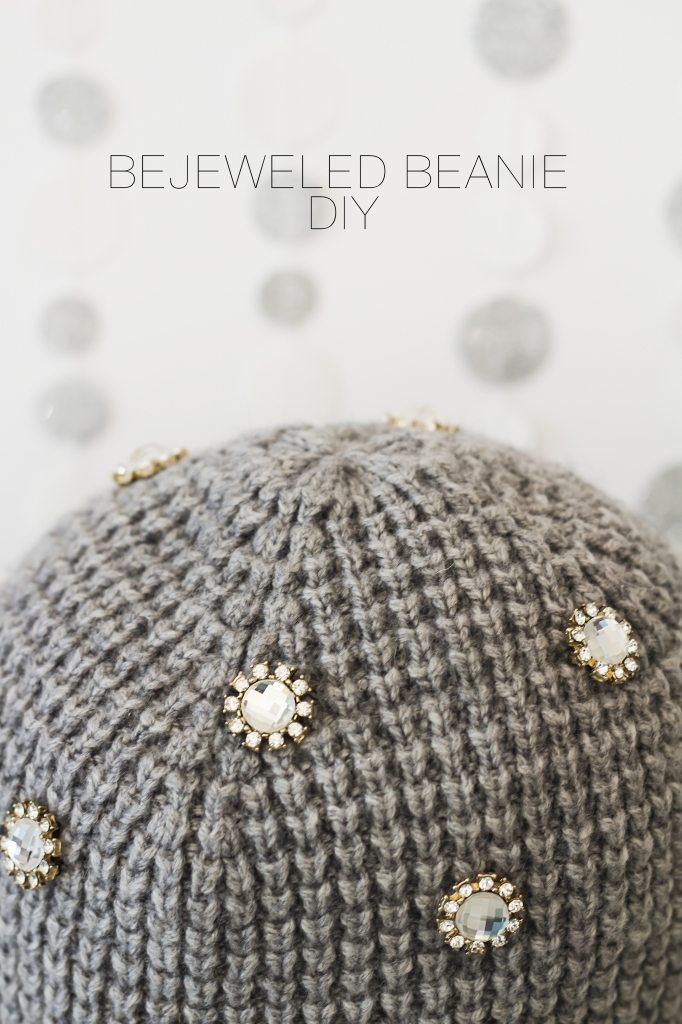
DIY: Bejeweled Beanie
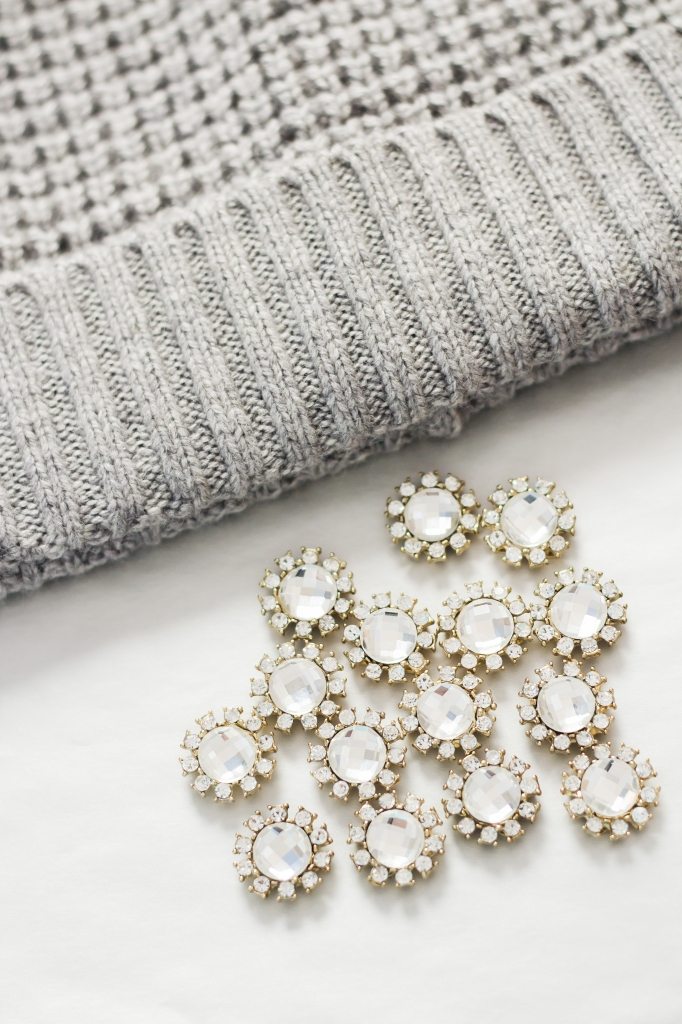
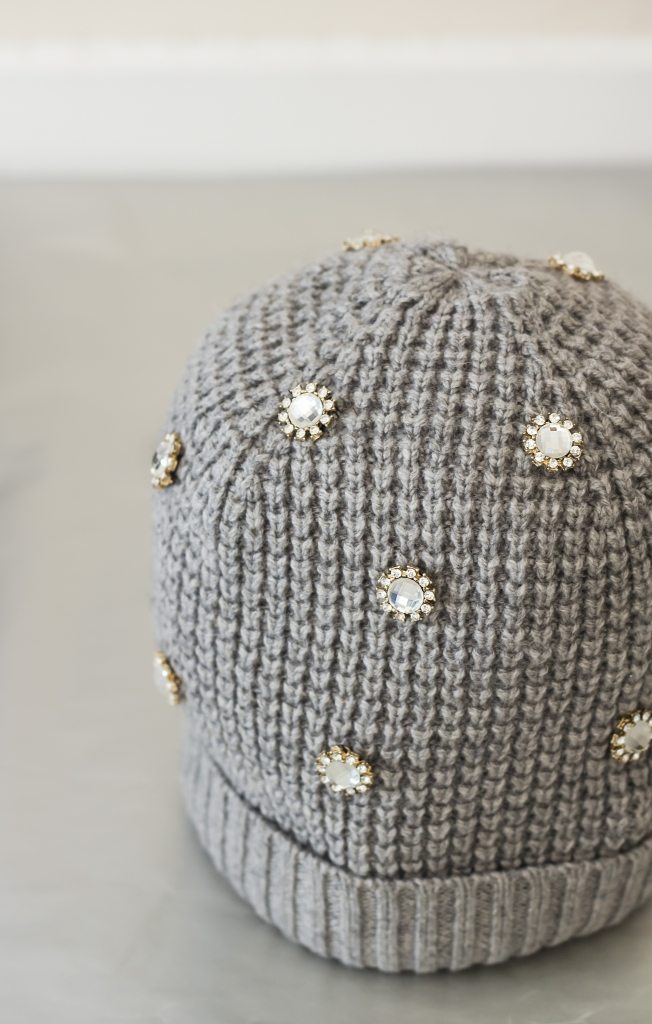
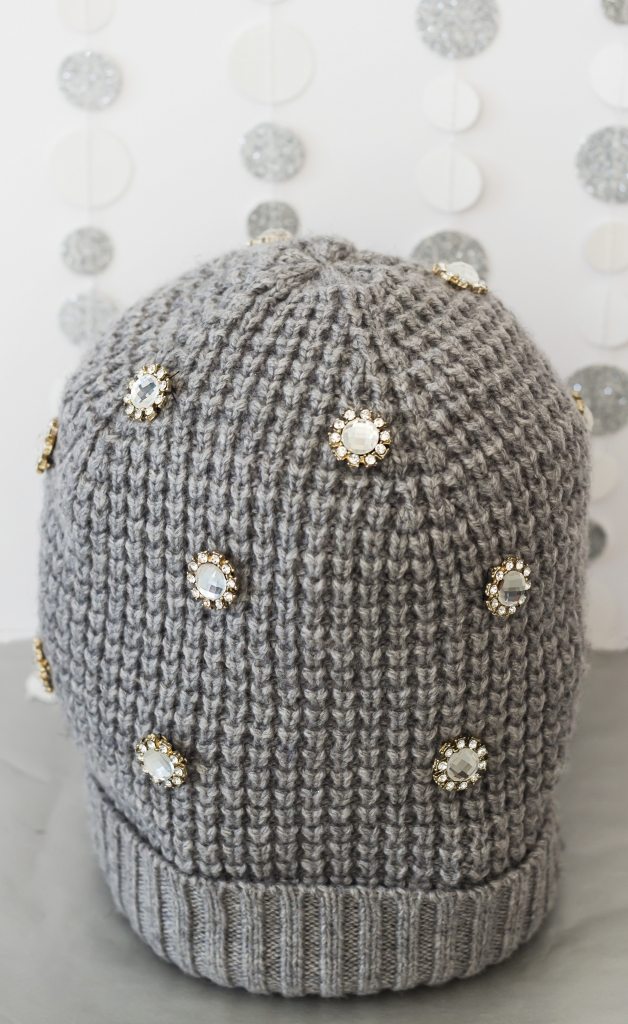
January 6, 2015As of late I have been noticing a plethora of cozy knit winter accessories adorned with beautiful embellishments everywhere I go. From this beautiful beaded beanie, to this hat that looks like it’s raining crystals, these bejeweled beanies have been calling my name. The prices however, have not. I’ve found that most of the beanies I have been lusting over priced at upwards of $90, and after all of the money spent on the holidays, it’s not justifiable. I realized, making my own bejeweled beanie would be a much better, and economical option. I purchased an adorable grey knit hat at Joe Fresh for around $12, and these gorgeous beads at Michaels for $11/7 beads. I purchased 3 sets of beads, but Michaels always has an online coupon for 50% off one item, so one package cost $5.50. For half the price of a store bought beanie, I made myself one that I LOVE, and can also say I “designed”. Check out below to see how I did it, and how you can too!
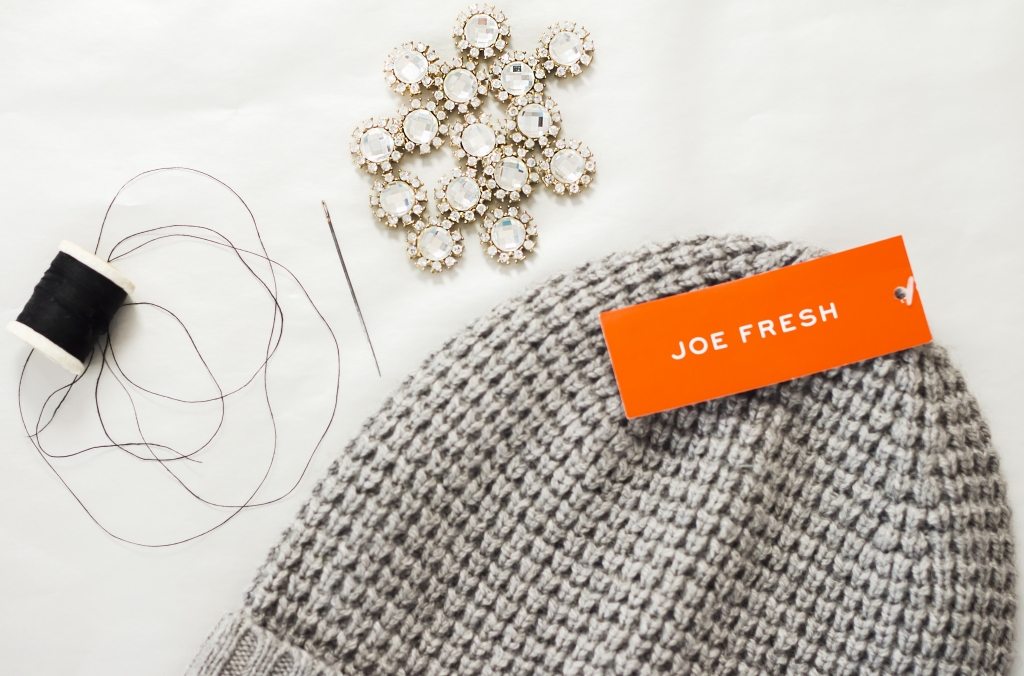
What You Will Need:
1. Beanie
2. Beads, or jewelled embellishments.
3. Sewing needle and thread
4. You can also hot glue gun instead of sewing on your jewels. Just make sure to put a piece of cardboard inside the beanie to separate the sides.
How To Make:
1. Lay out the beads on the hat to figure out where you want them to be placed.
2. Using your needle and thread, sew and secure the beads onto the hat.
3. If you are using a hot glue gun, be sure to slide a piece of cardboard inside the beanie. Turn on the glue gun, squeeze a bit onto the bead, and place the bead onto the hat, holding the top of the bead down firmly with your index finger. Allow time to dry before wearing.

